The Making Of The Sakura Samurai Stormtrooper
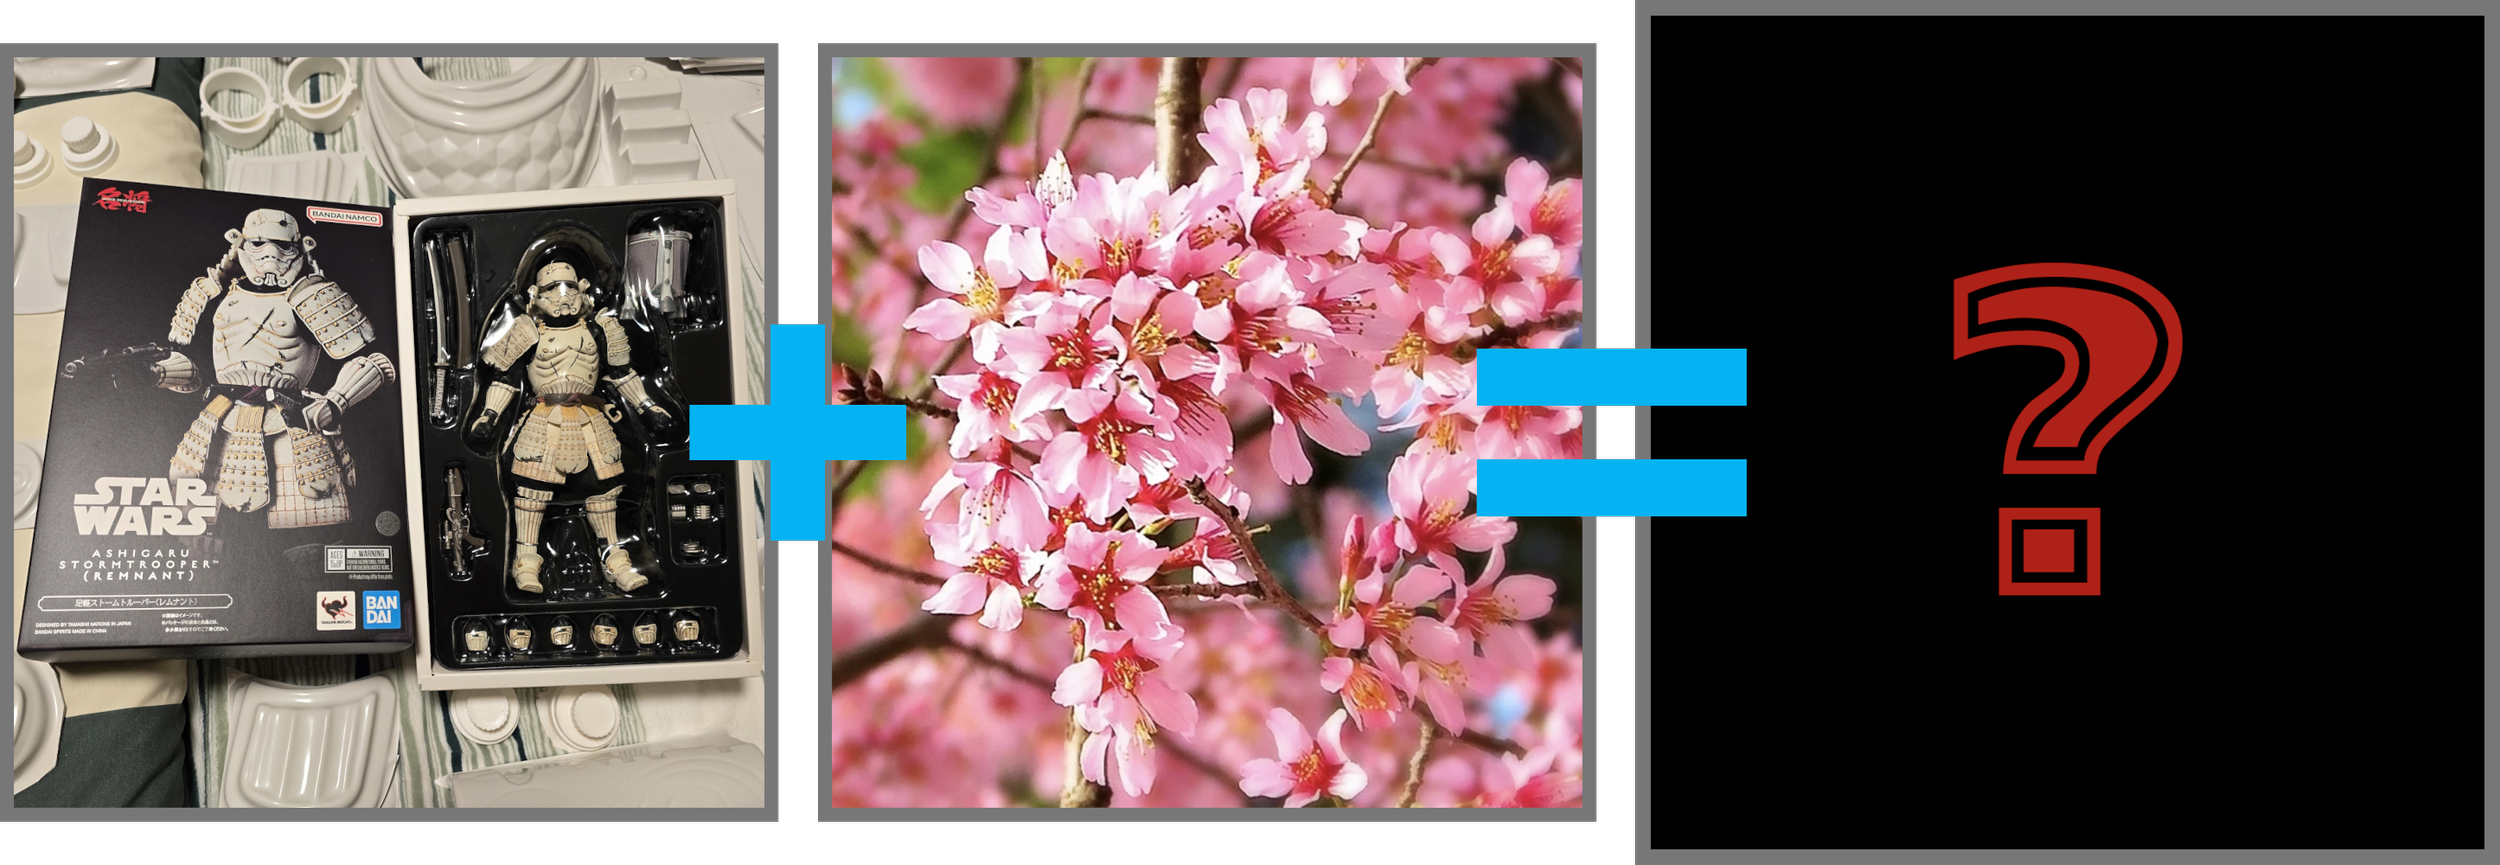
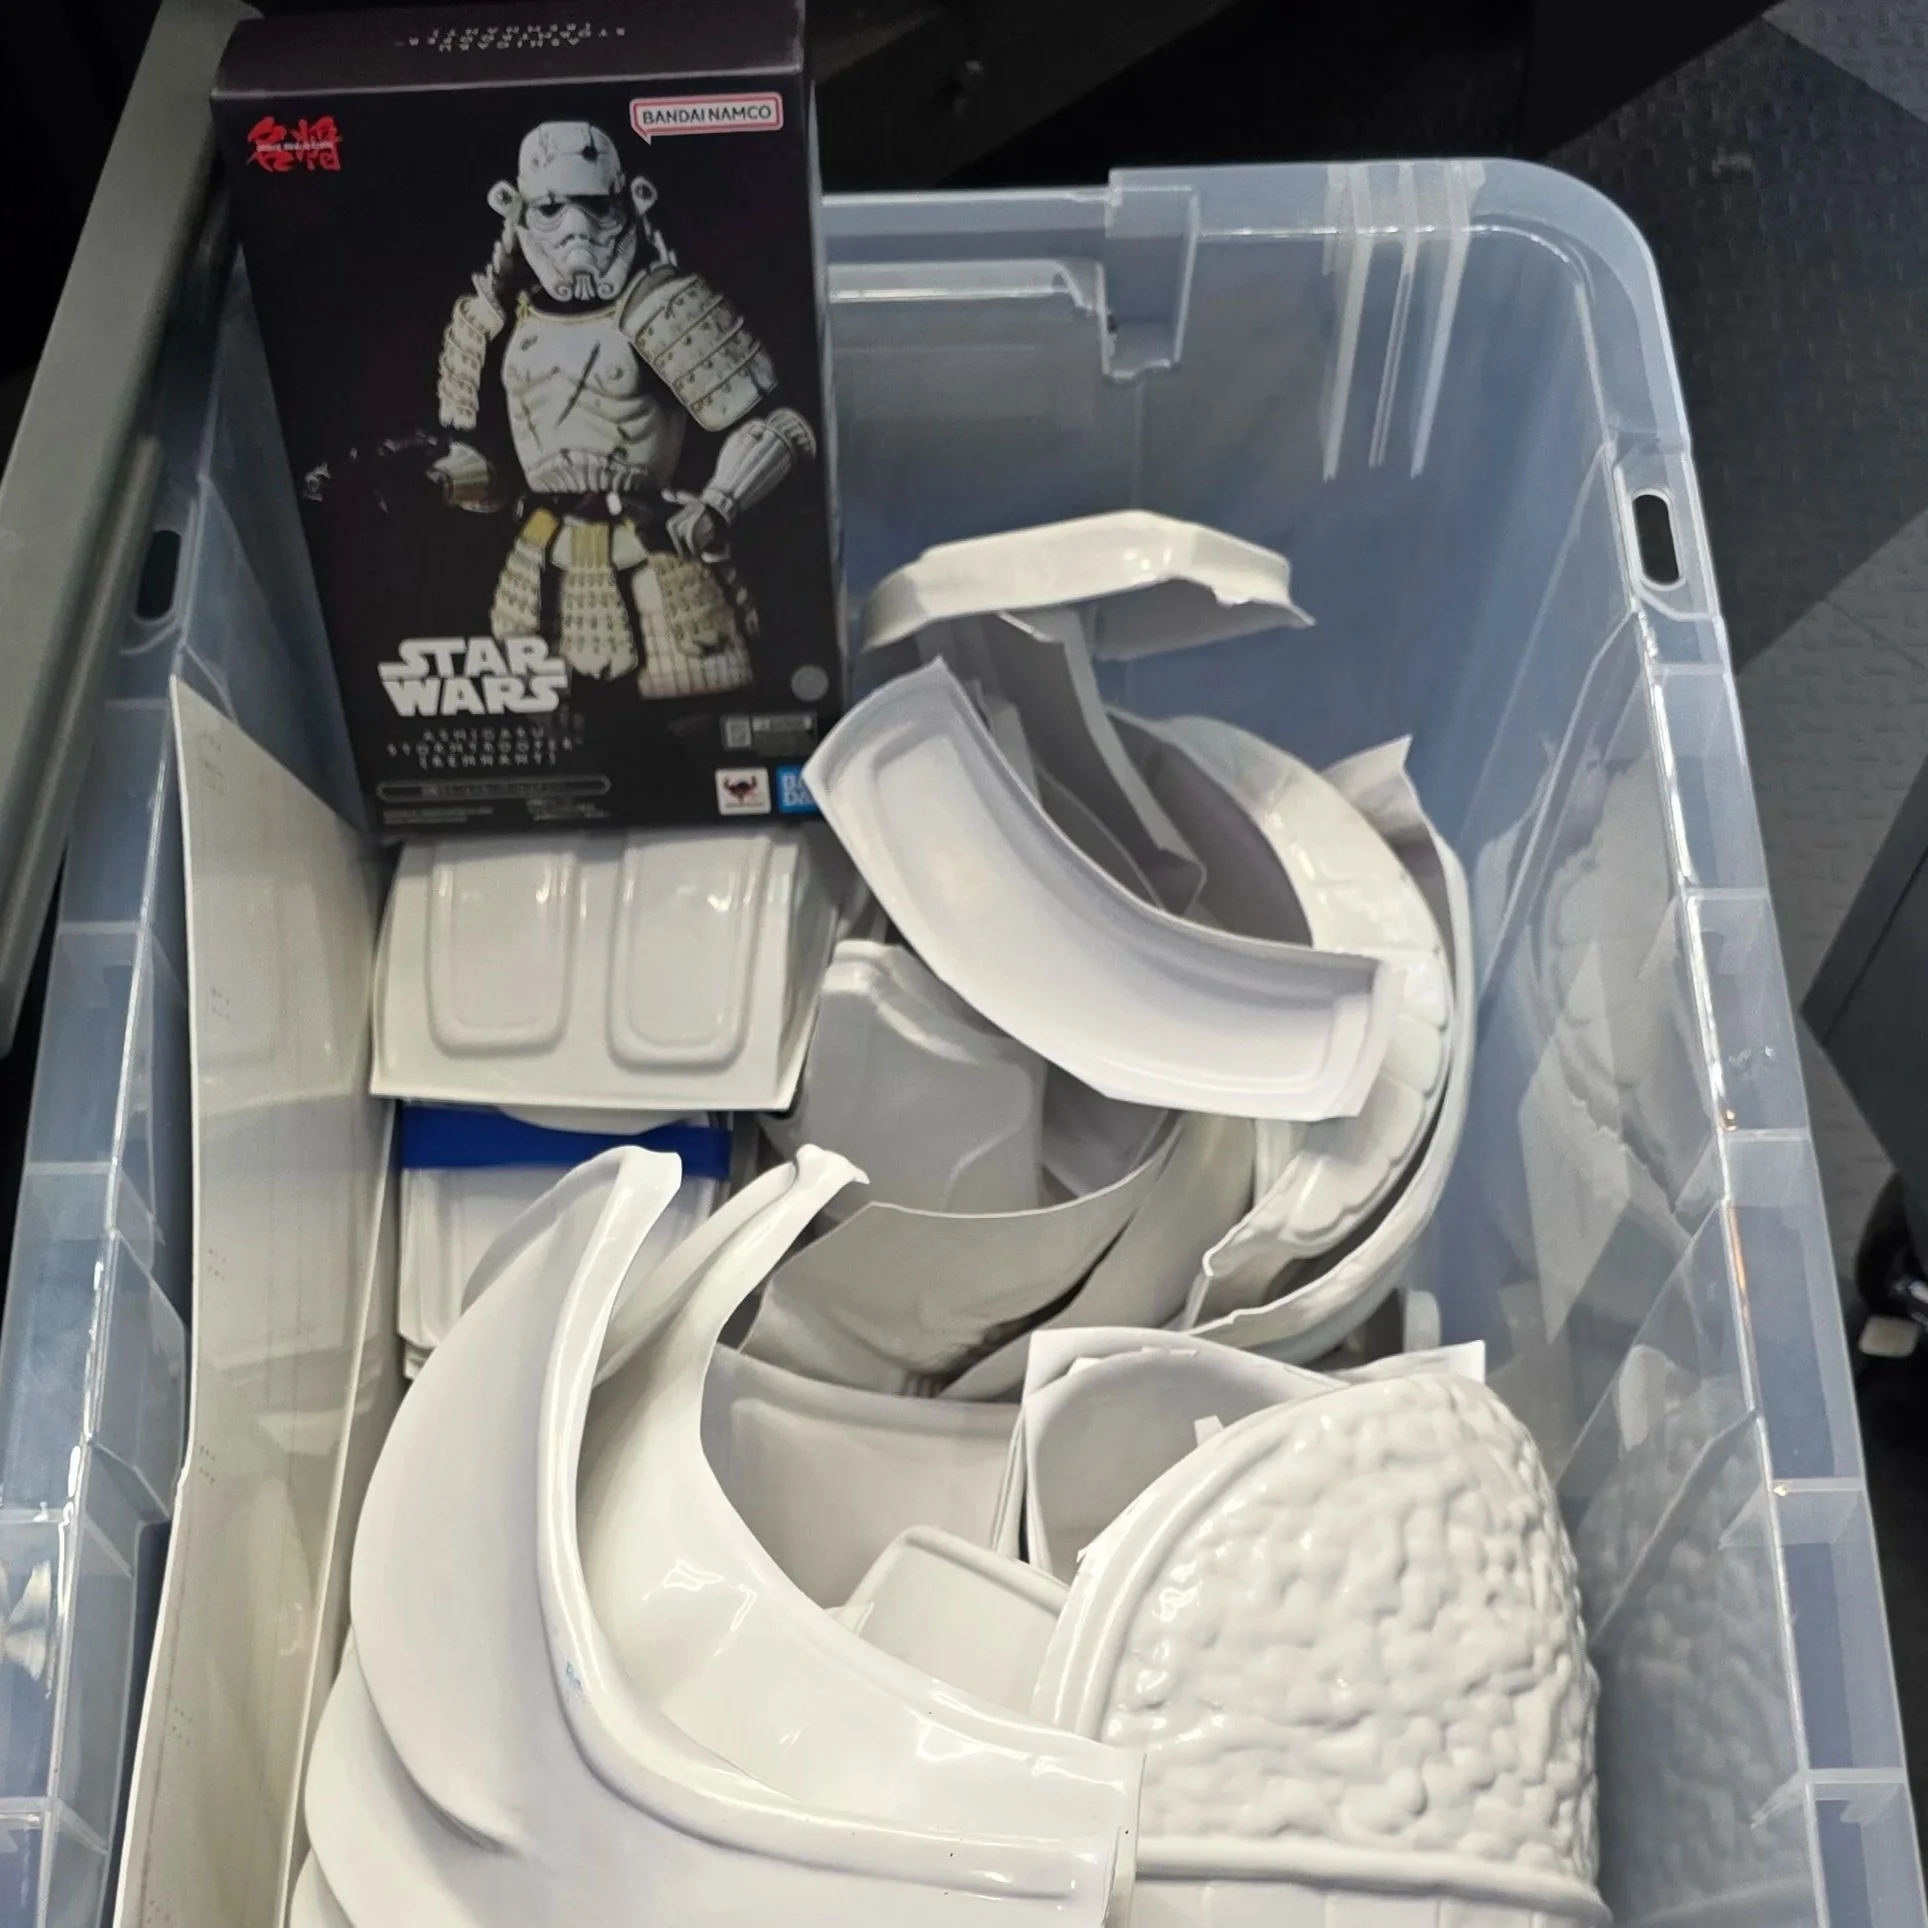
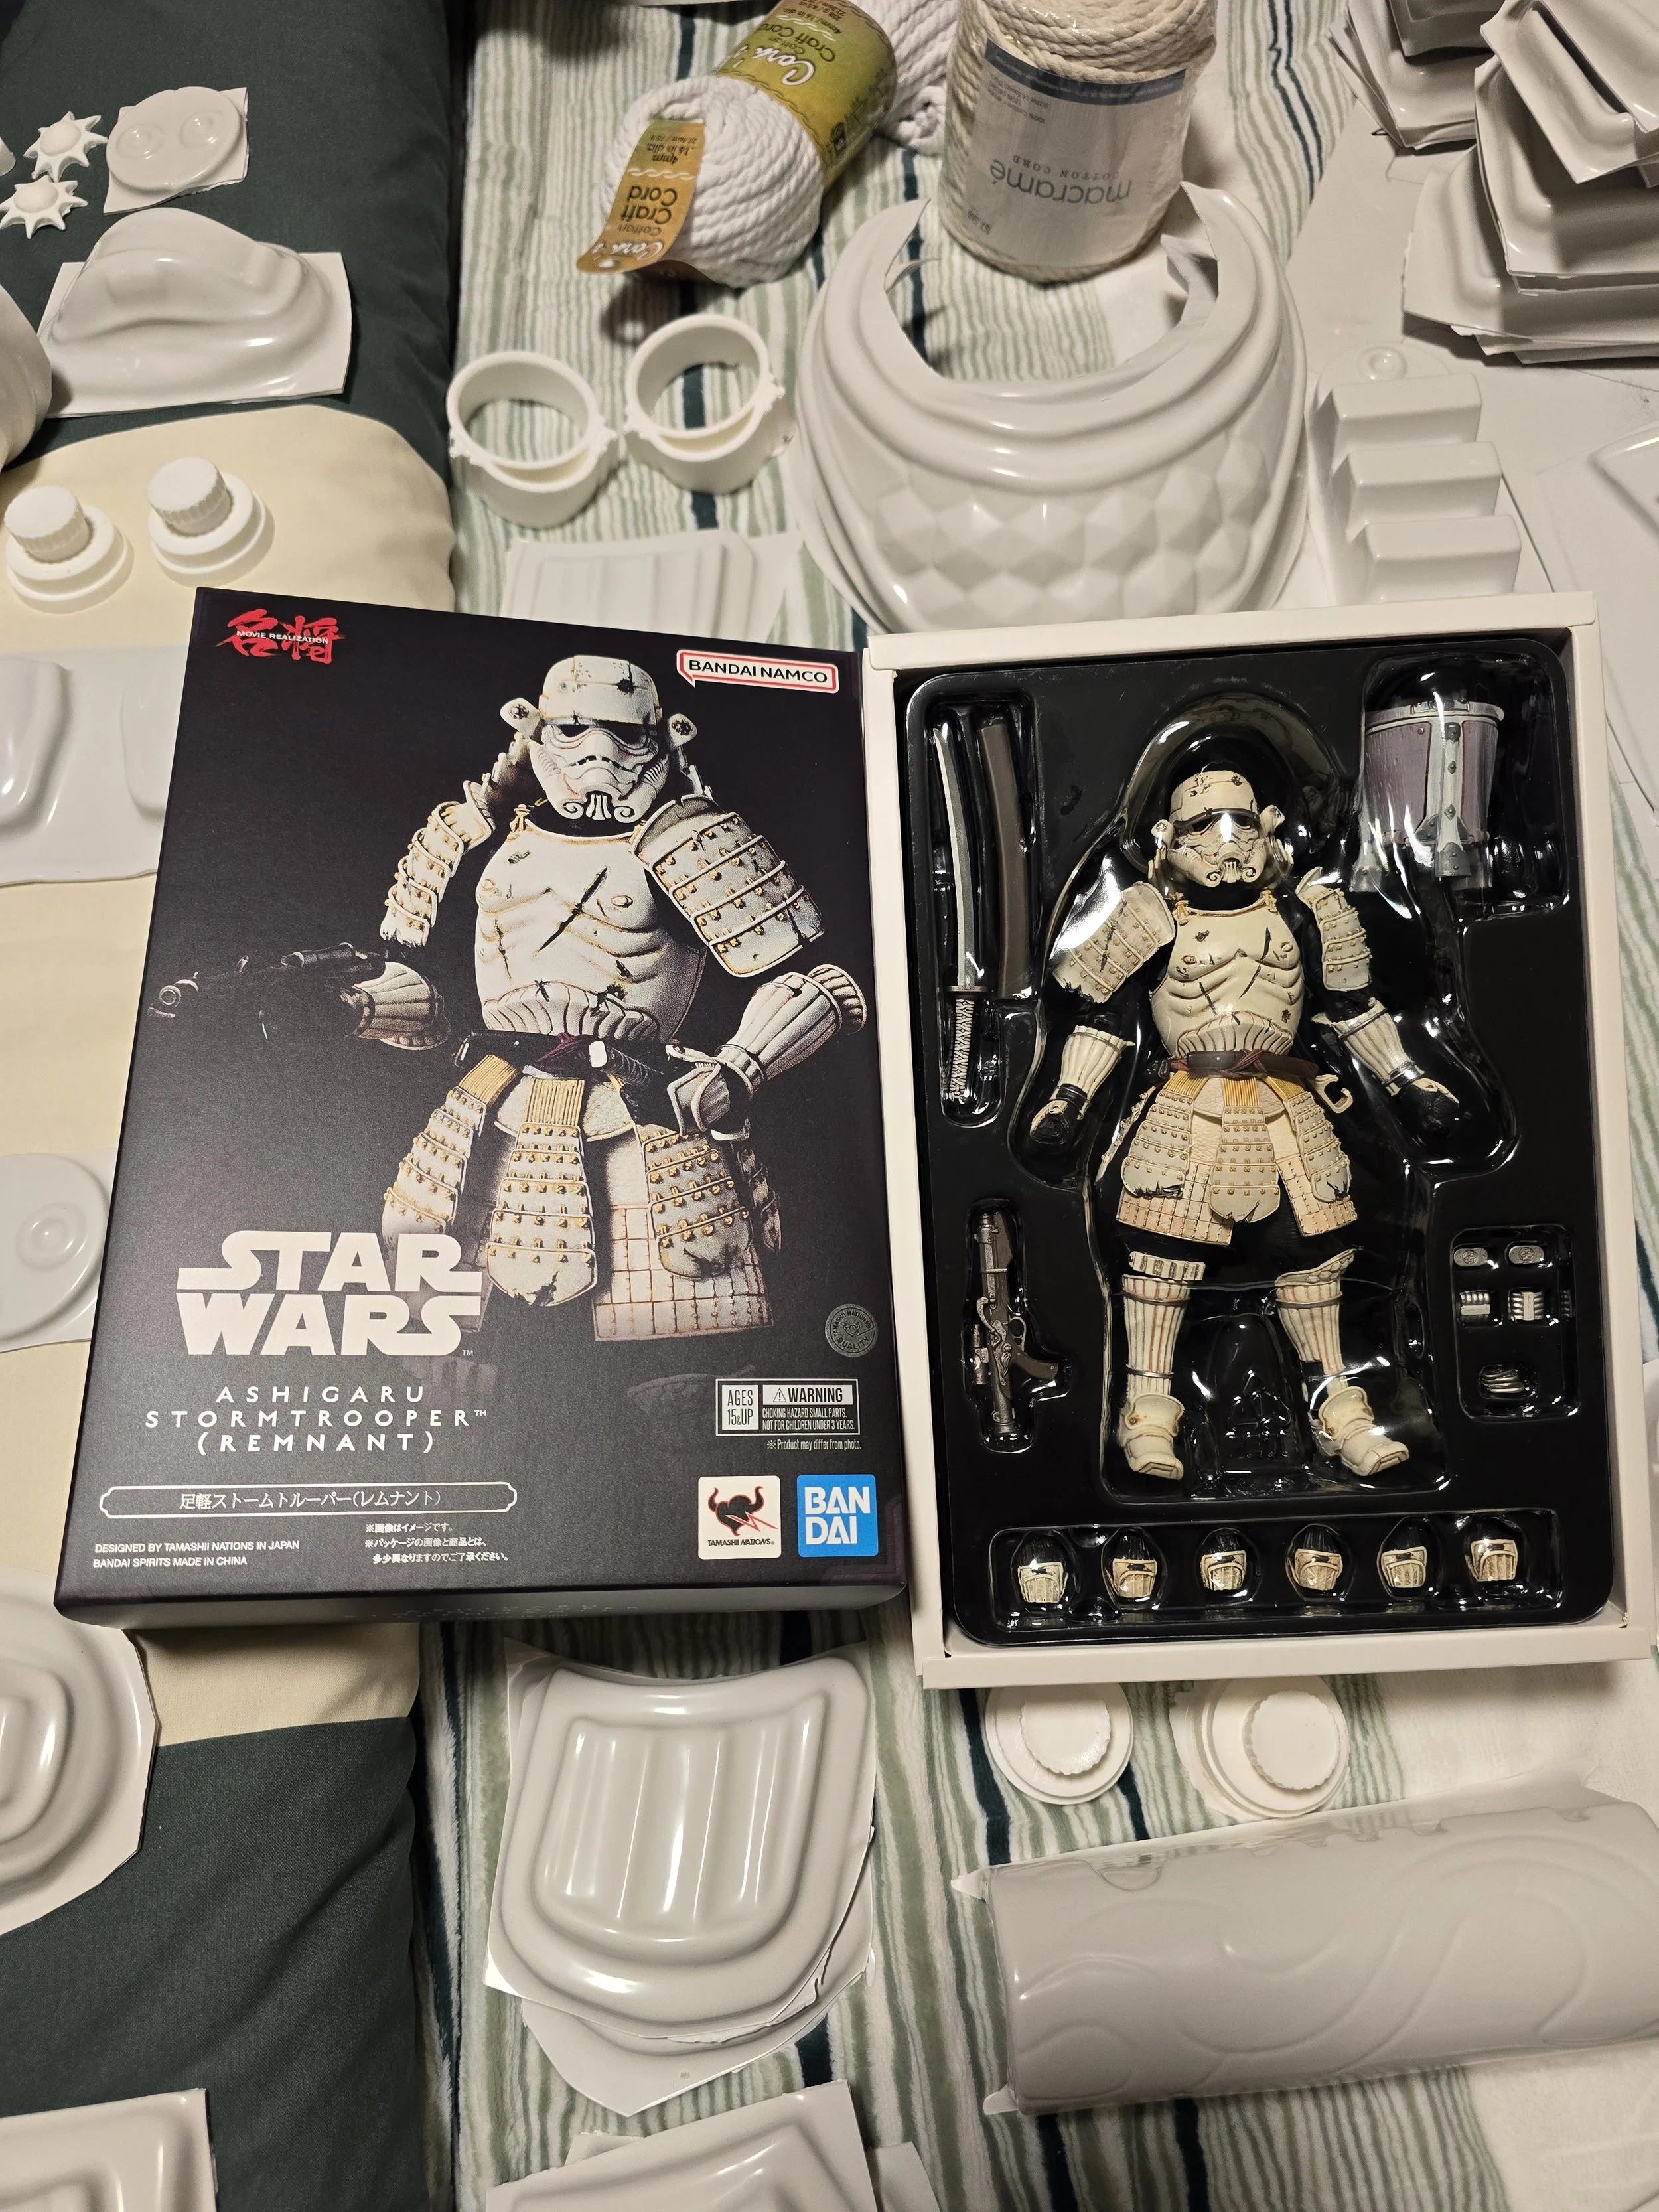
On July, 2nd 2024, I signed into eBay and pulled up a samurai stormtrooper armor I had watch listed. It would be the beginning point of my costume for Star Wars Celebration Japan the following April. From what I could tell, it appeared to be based off of the Bandai Namco Star Wars Ashigaru Stormtrooper figure. You may have seen the Samurai versions released of Vader, Boba, 3PO, Mando or other Stormtroopers. This was another in the line and someone looked to have created a human sized armor kit. With the purchase made, I had about nine months to get this vision ready to go once it arrived. That gave me plenty of time or so I thought. Little did I know a few days later on July 8th, I’d be without power, internet, a/c and at times cell service for the next nine days after Houston got hit by Hurricane Beryl. By the time I recovered and got back to normal I’d now have about eight months to get it completed.
Part 1: The Vision
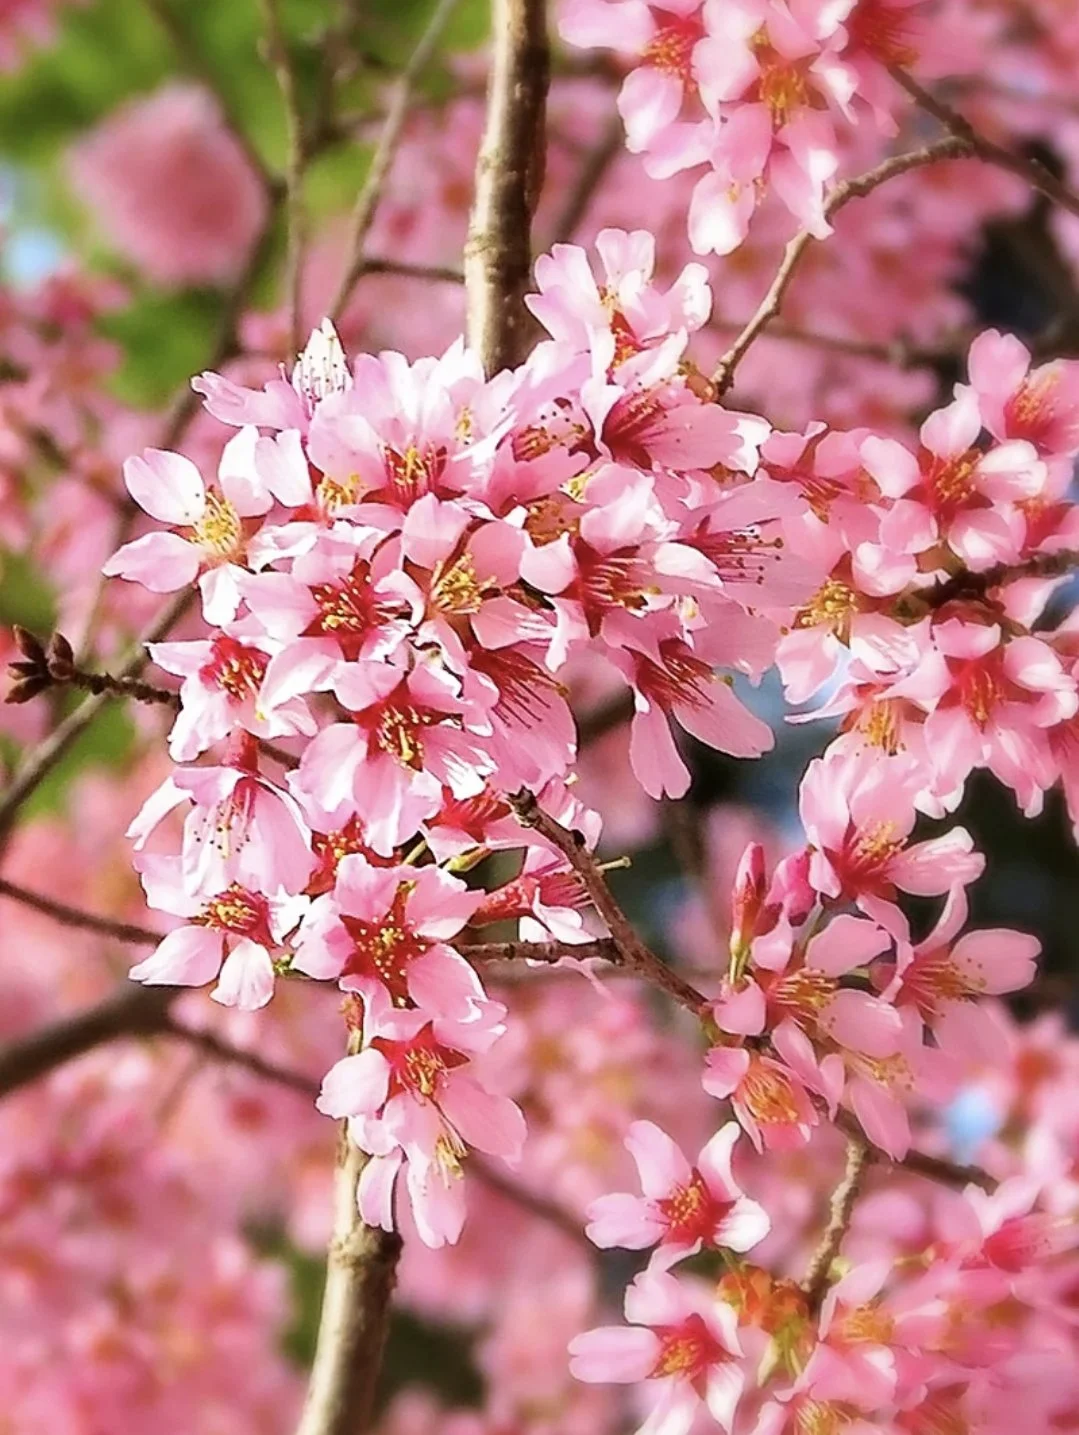
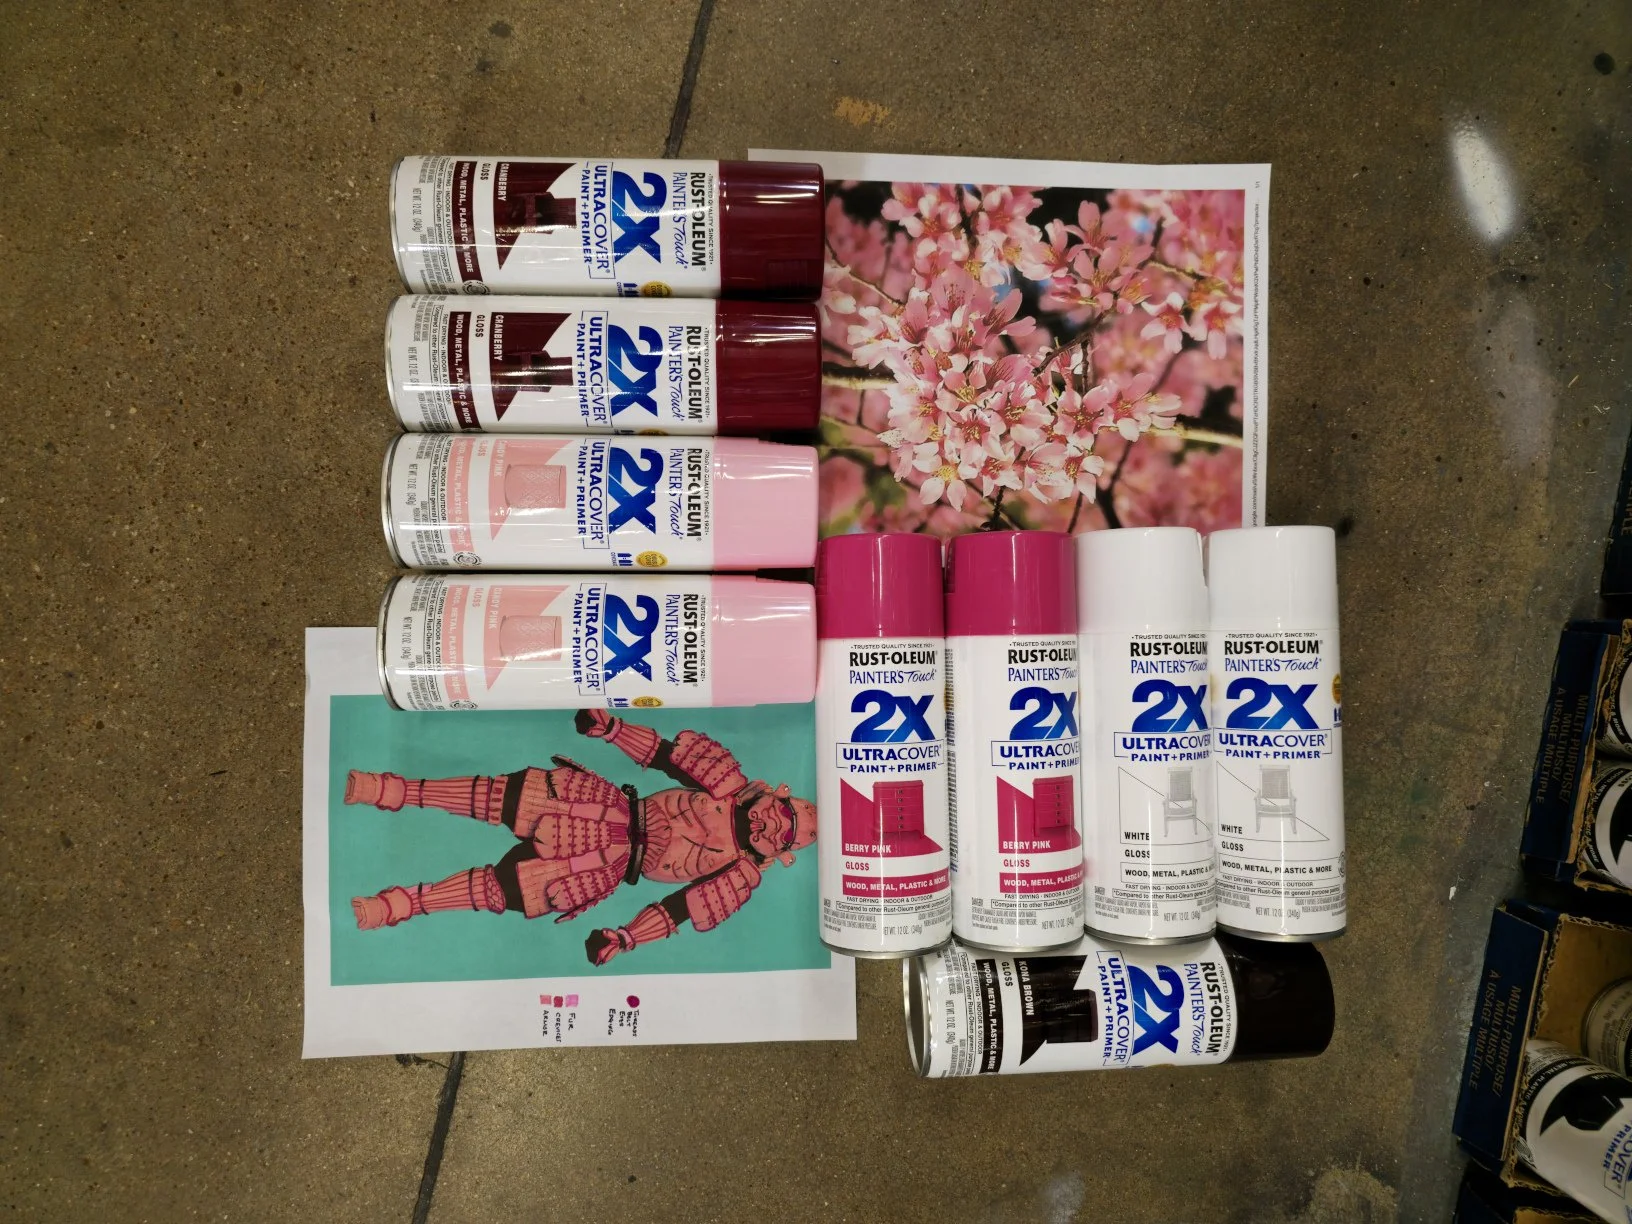
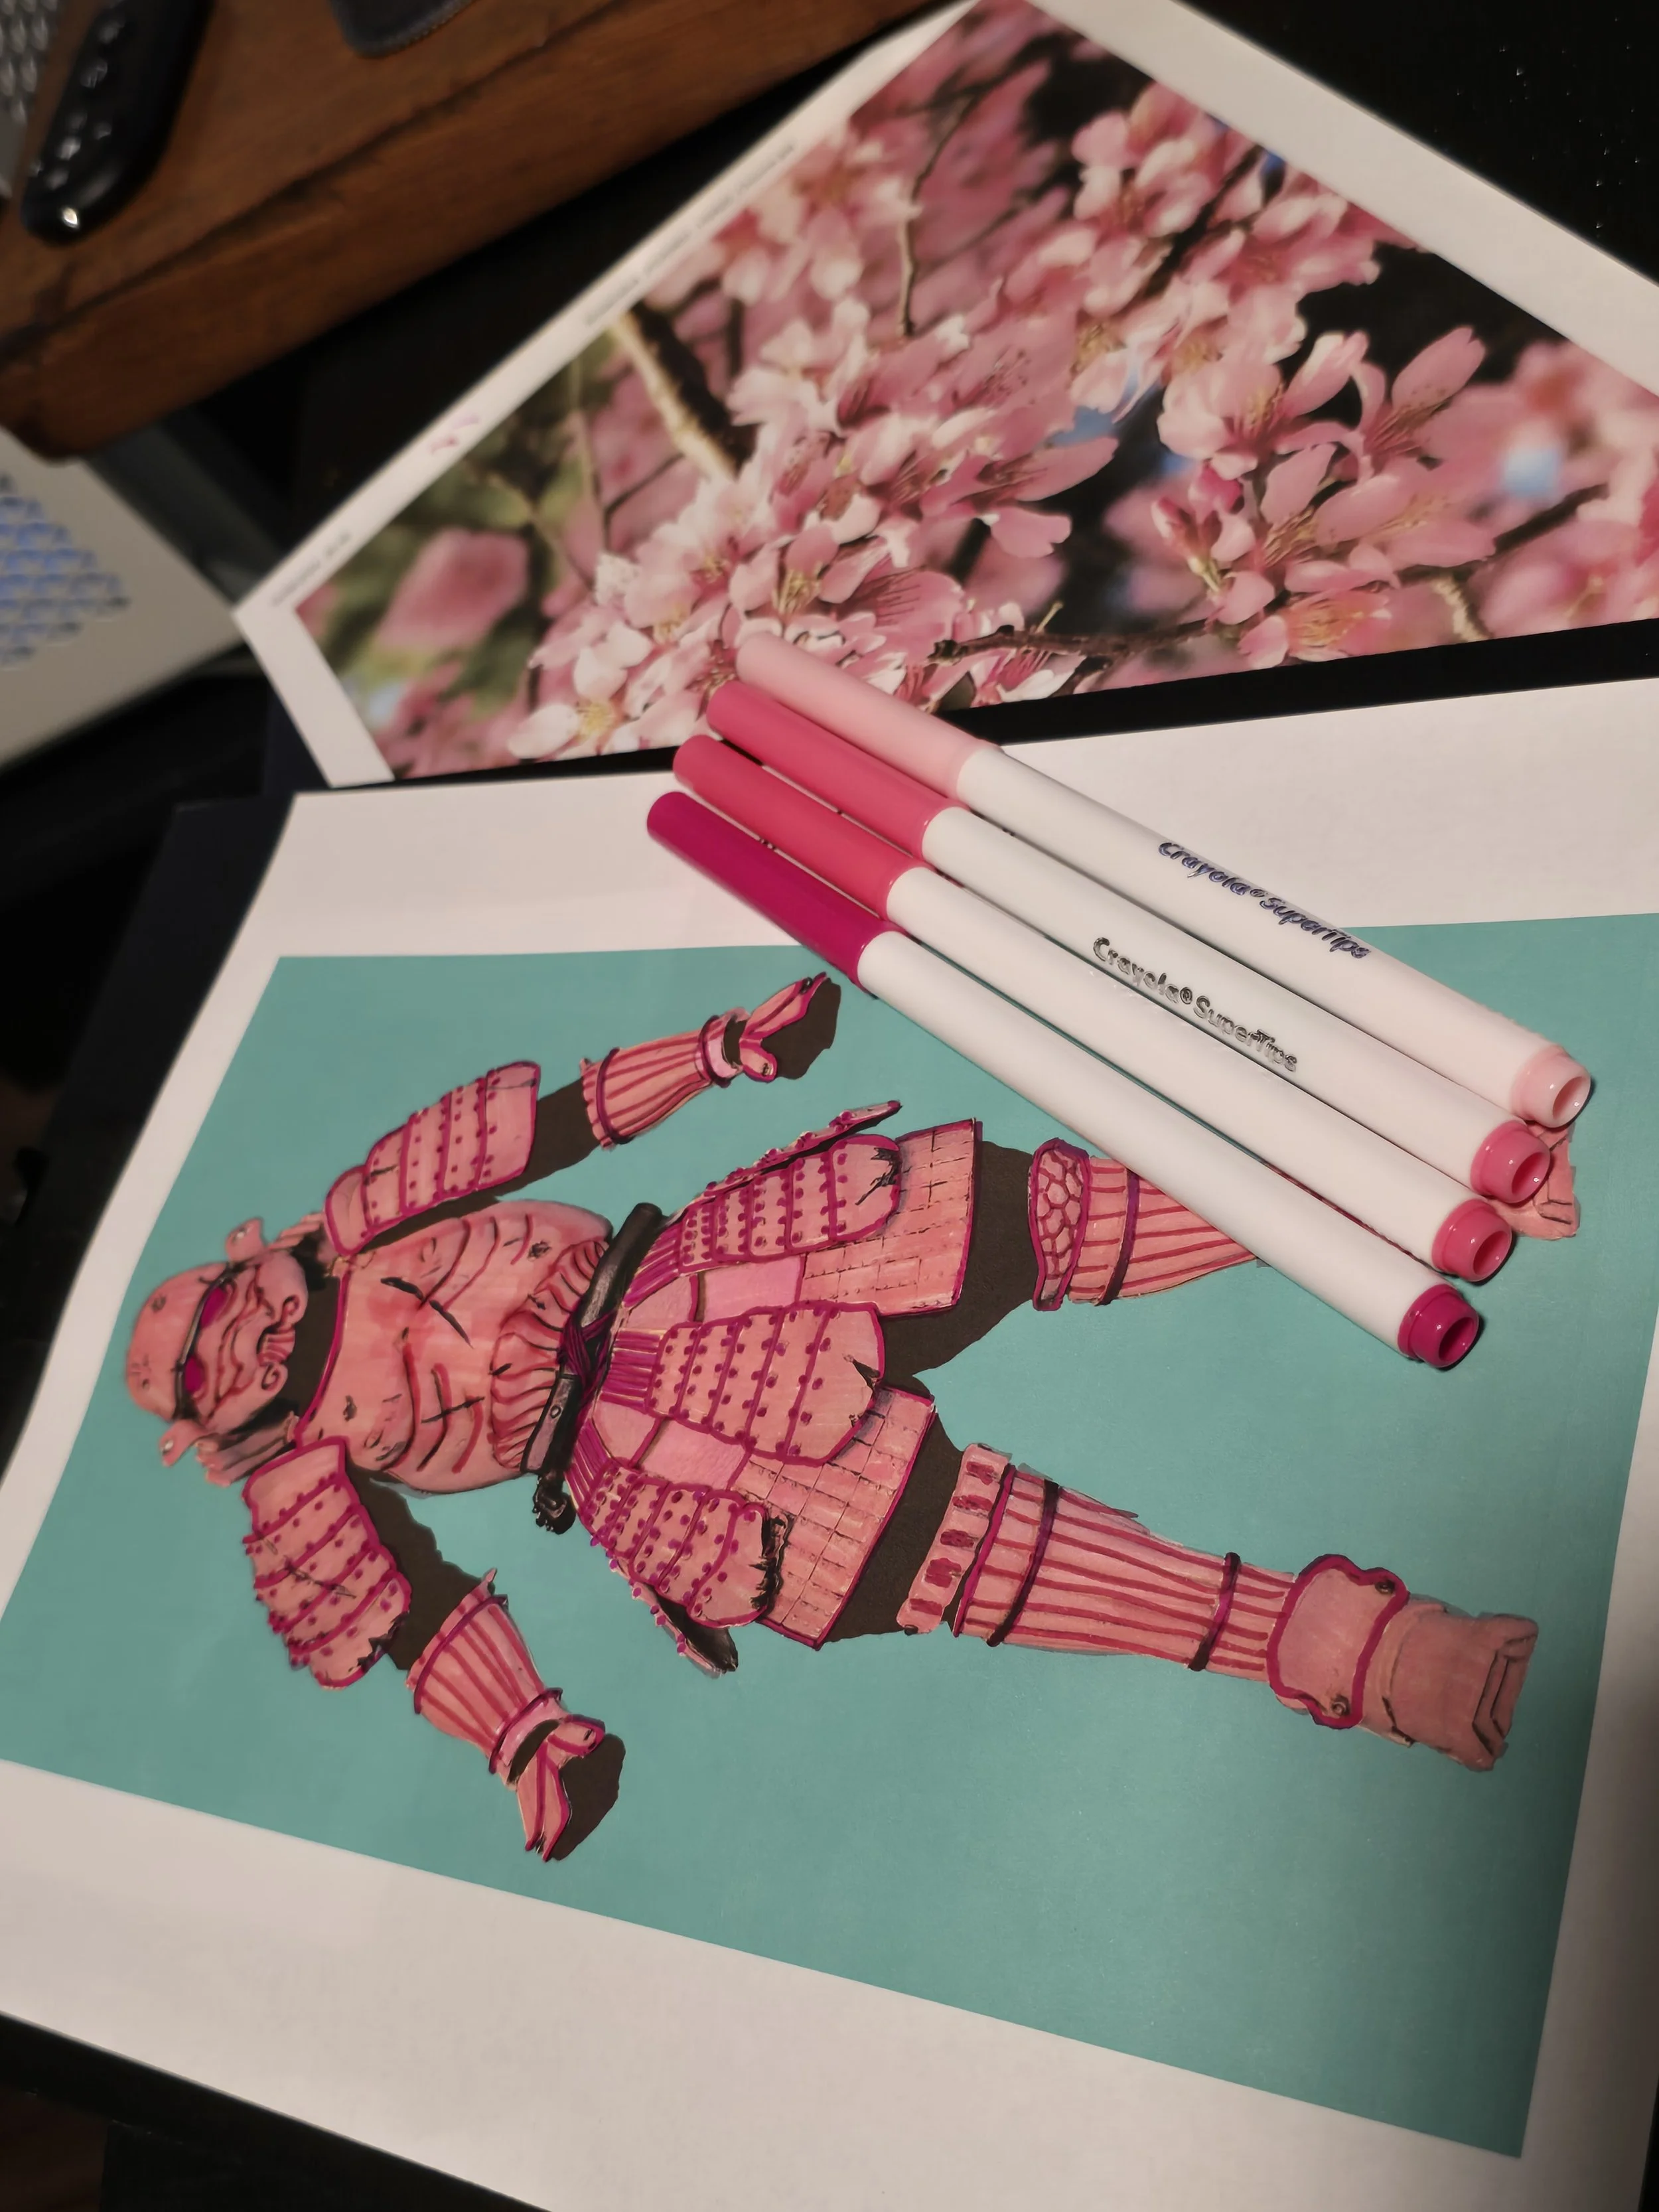
There are three fandoms in my life. The first is Star Wars. The second is Japan. The third is dogs. Technically, it might not be a fandom, but at one time I had twelve dogs, so you could say I collected them. That’s a story for another time. With Star Wars Celebration Japan happening in 2025, there was a coalescence of fandoms happening. I knew I needed to be there. I also knew after walking the streets in my Stormtrooper uniform the previous year in Osaka and Tokyo that I had to do something different. I needed something that mixed Star Wars with Japanese culture. But what could possibly, yes, of course, you already know. A Samurai Stormtrooper was the center of the vision, but I wanted to make it a little bit extra. I didn’t want to do the basic white armor version. I wanted there to be some other meaning to it. I would be visiting a few weeks prior to Celebration during Cherry Blossom season, so I thought there was no better way to commemorate experiencing the Sakura than by going all-in on the pink and magenta hues to become the Sakura Samurai Stormtrooper! I printed out some pictures of the figure and started scribbling colors for a basic idea. Then, I gathered materials and a palette to make it happen.
Part 2: Soft Goods
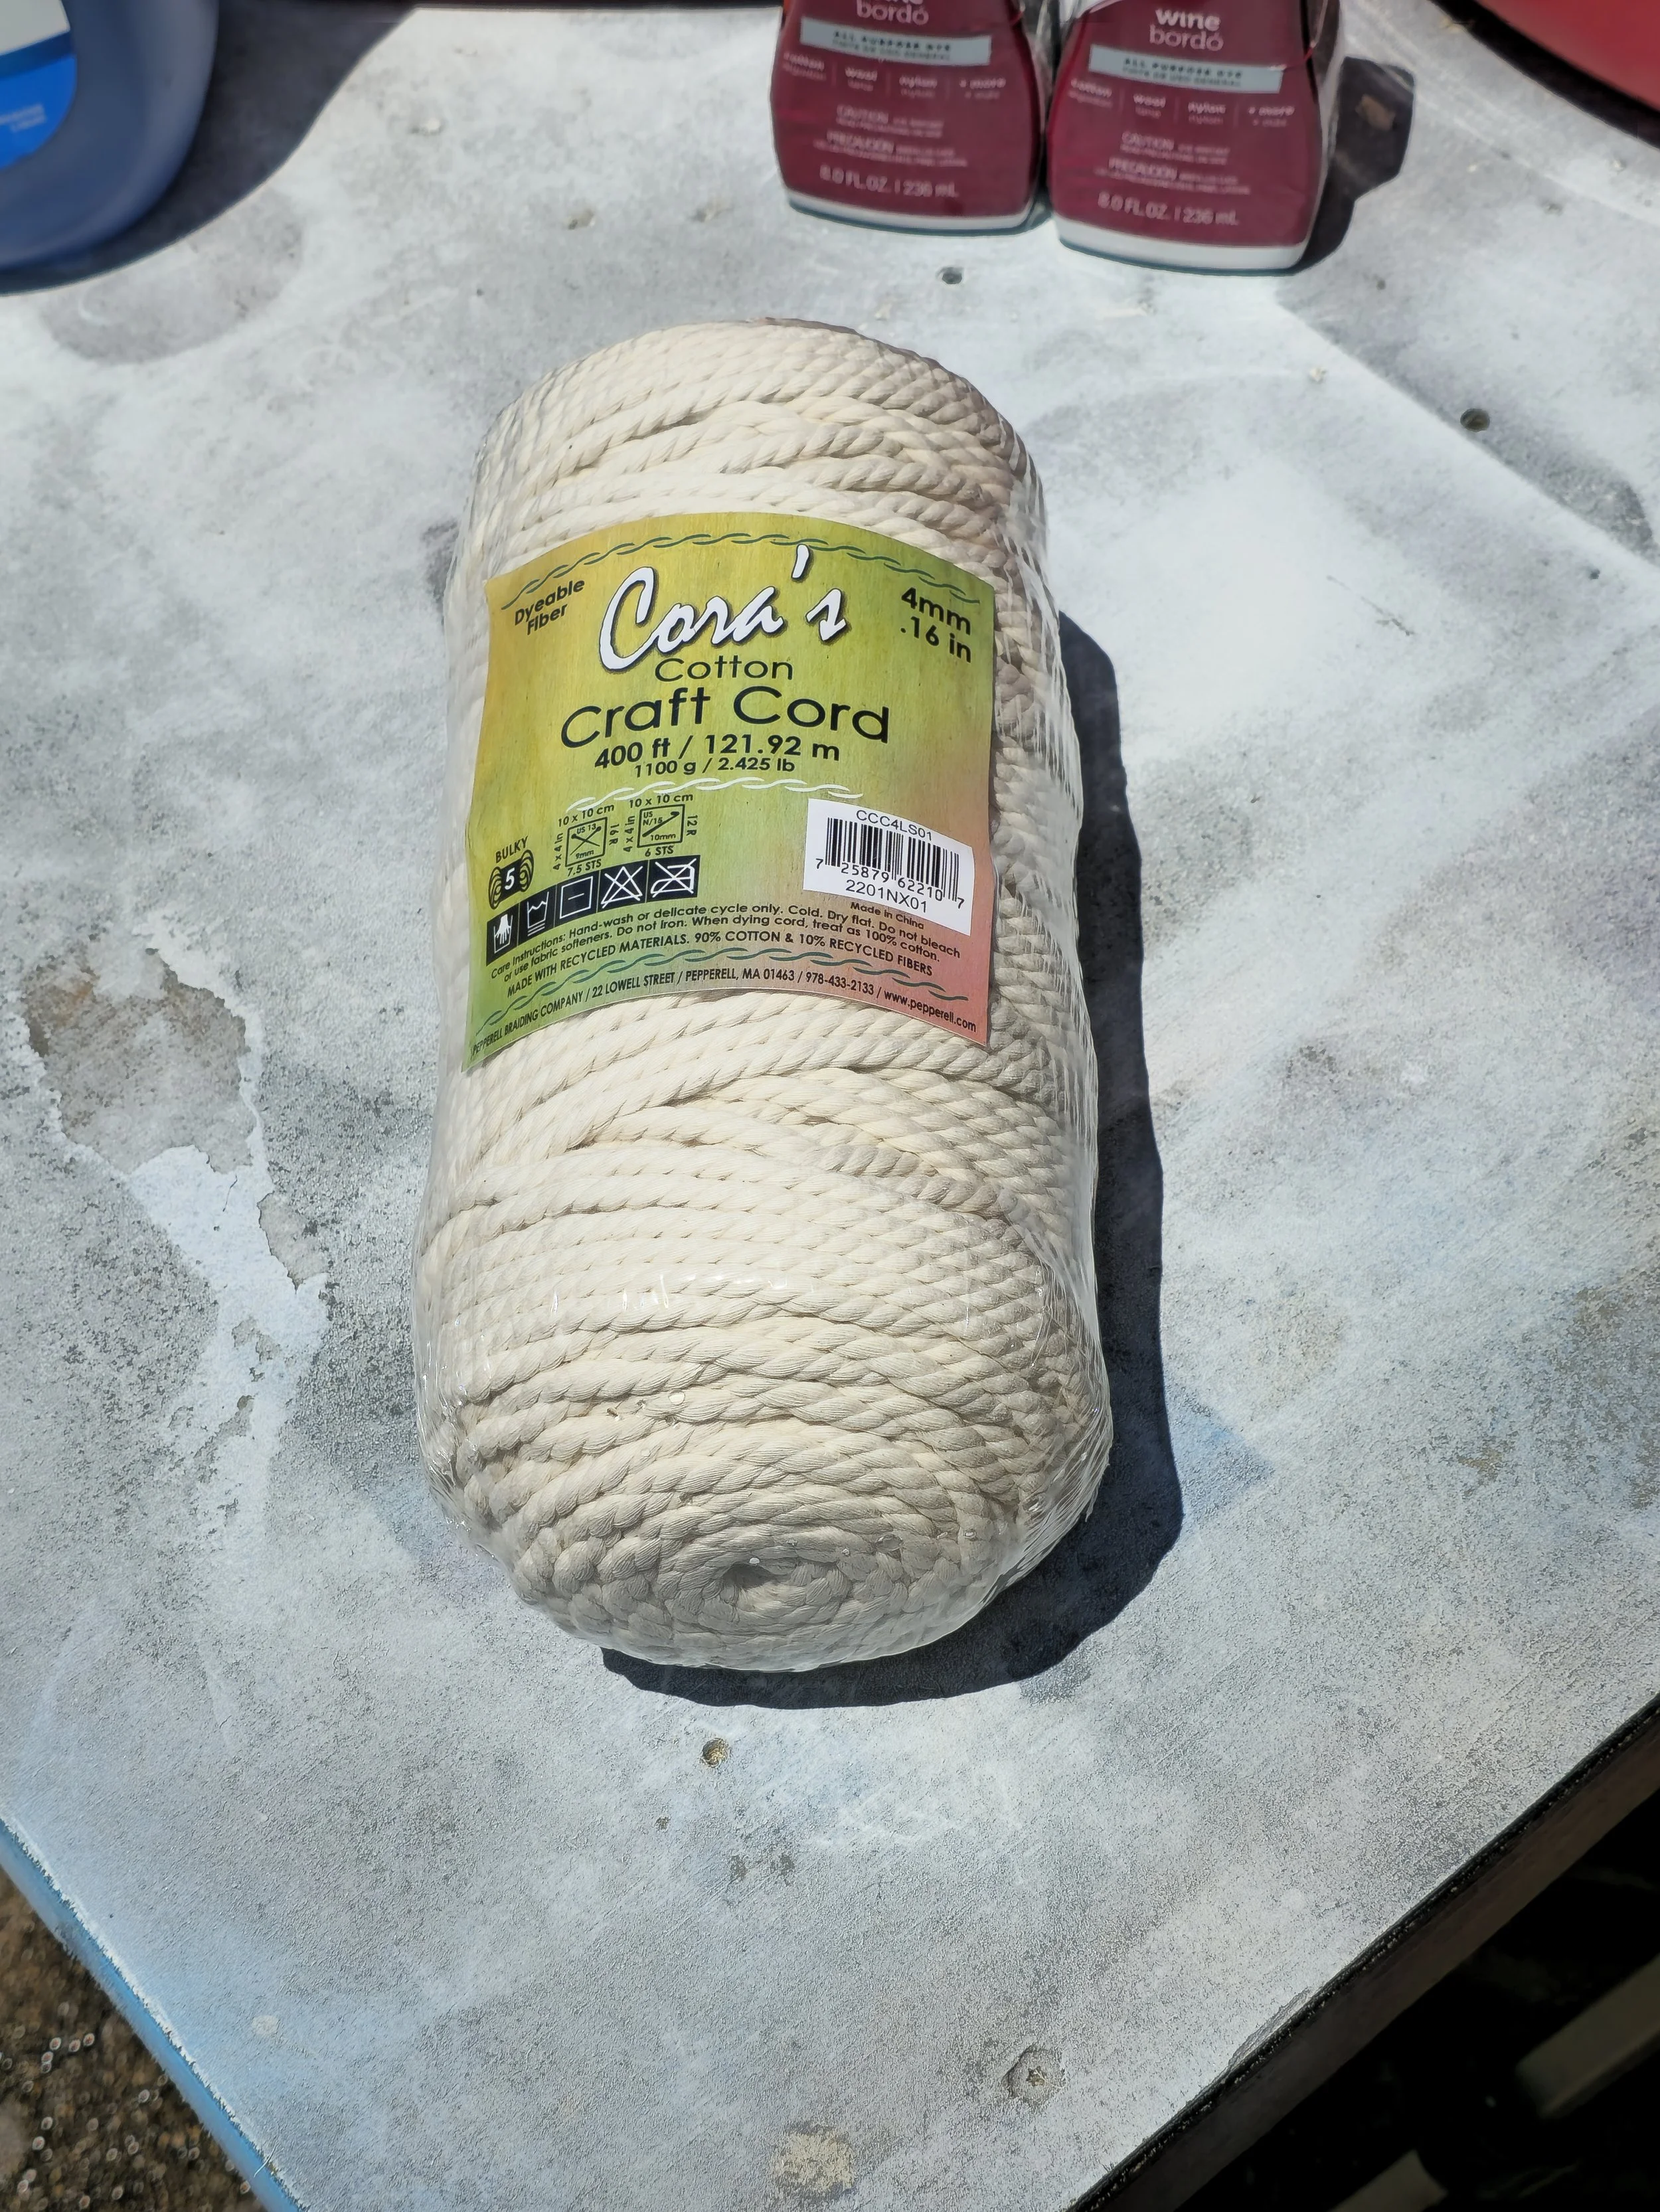
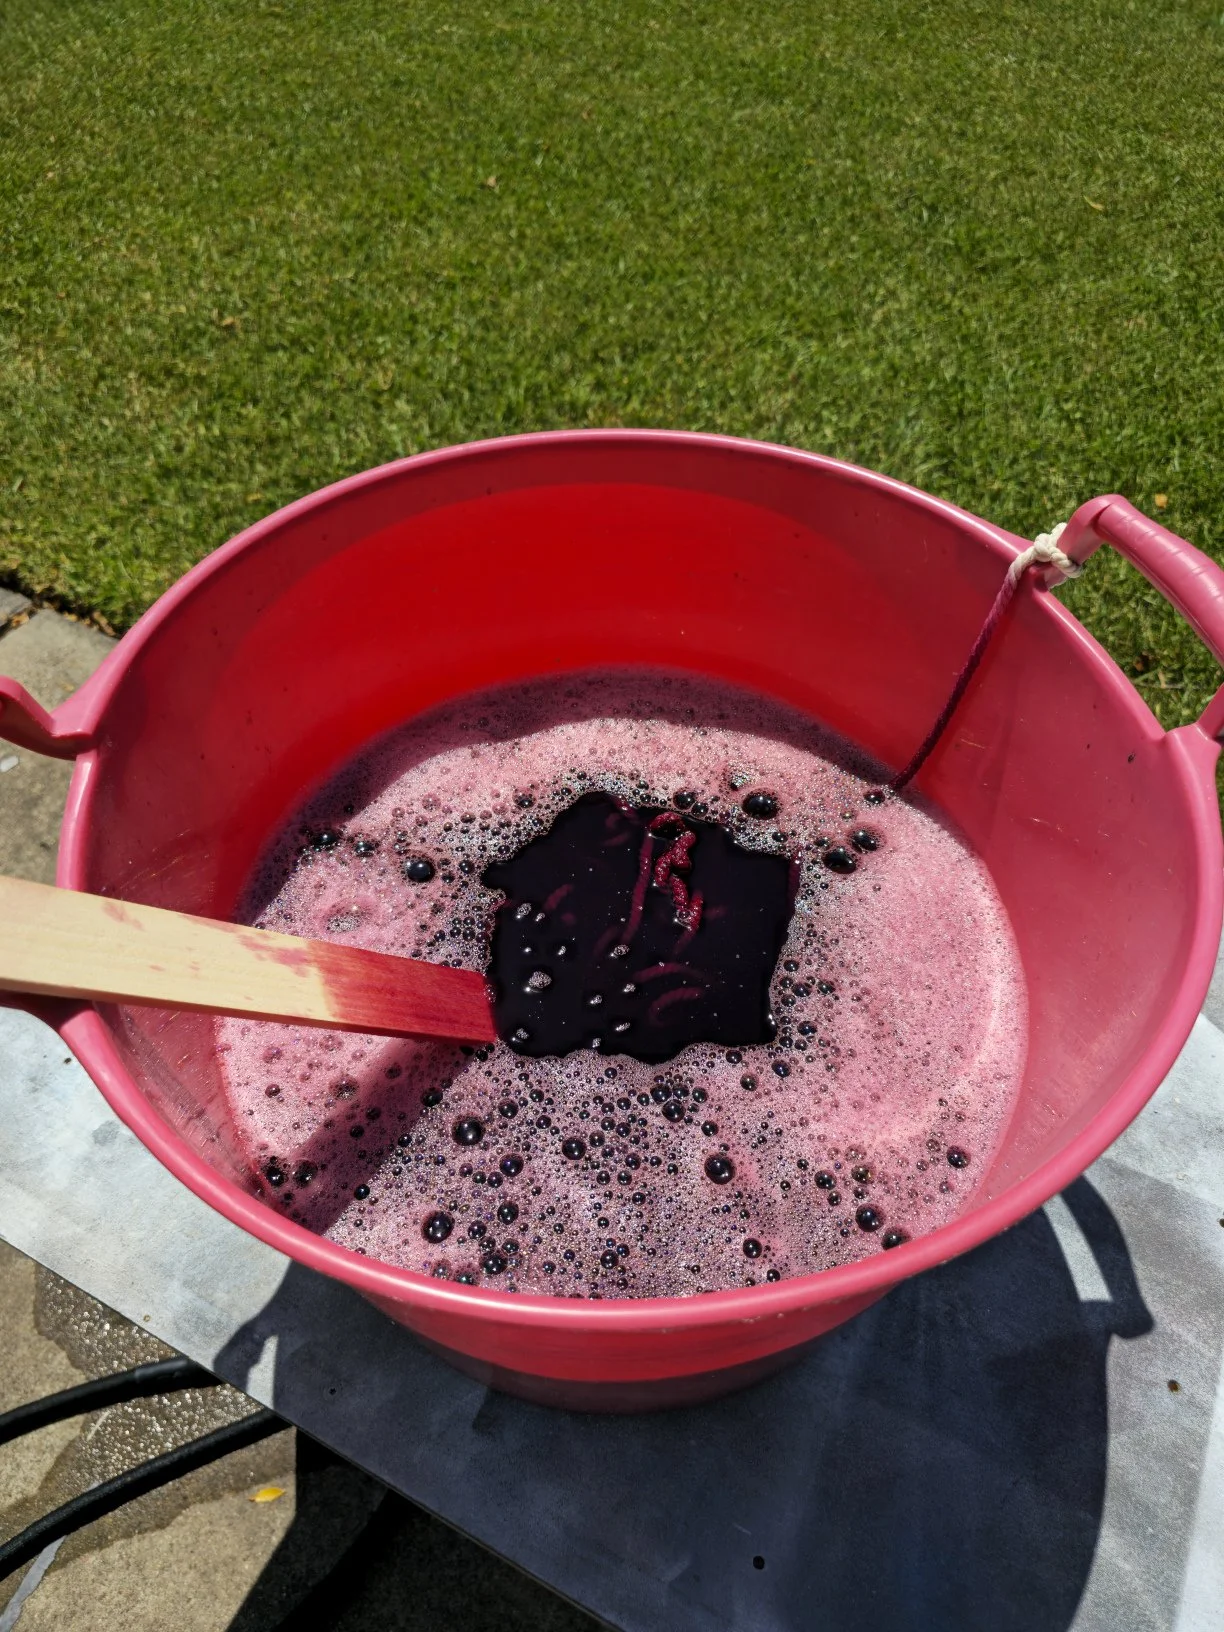
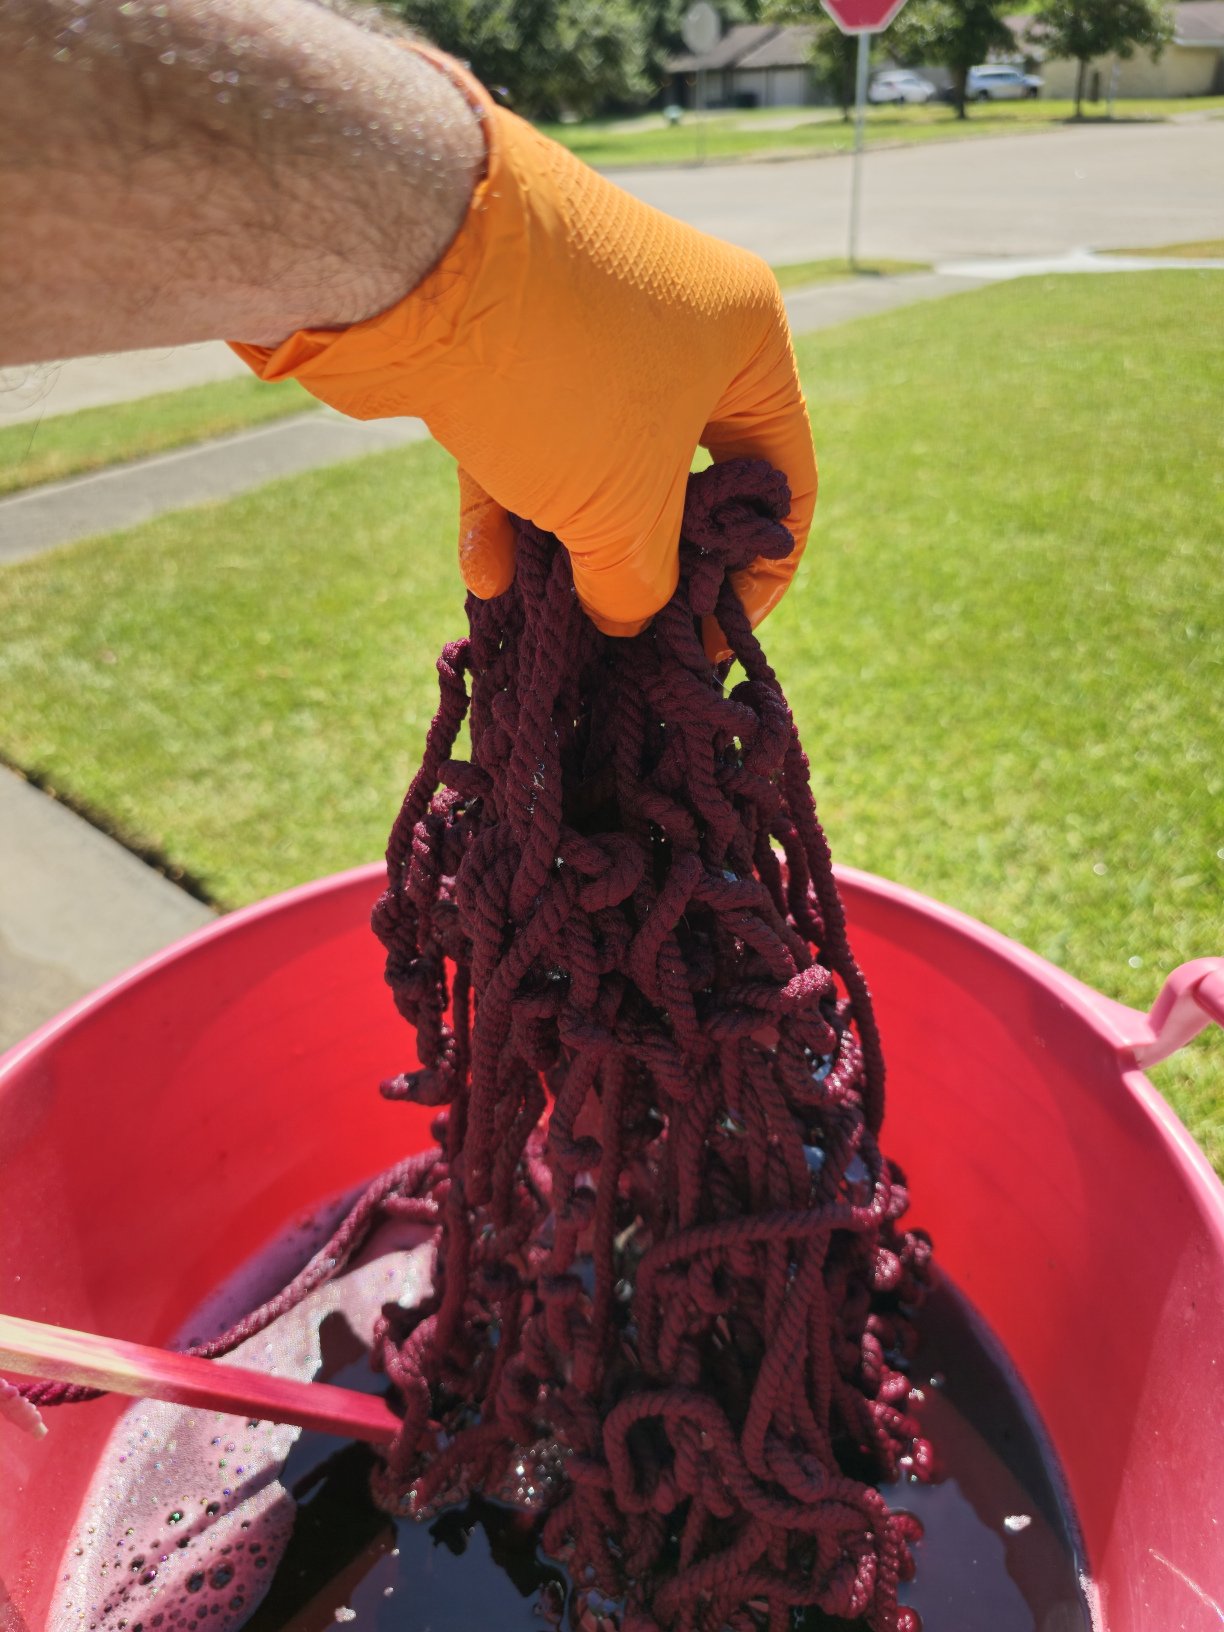
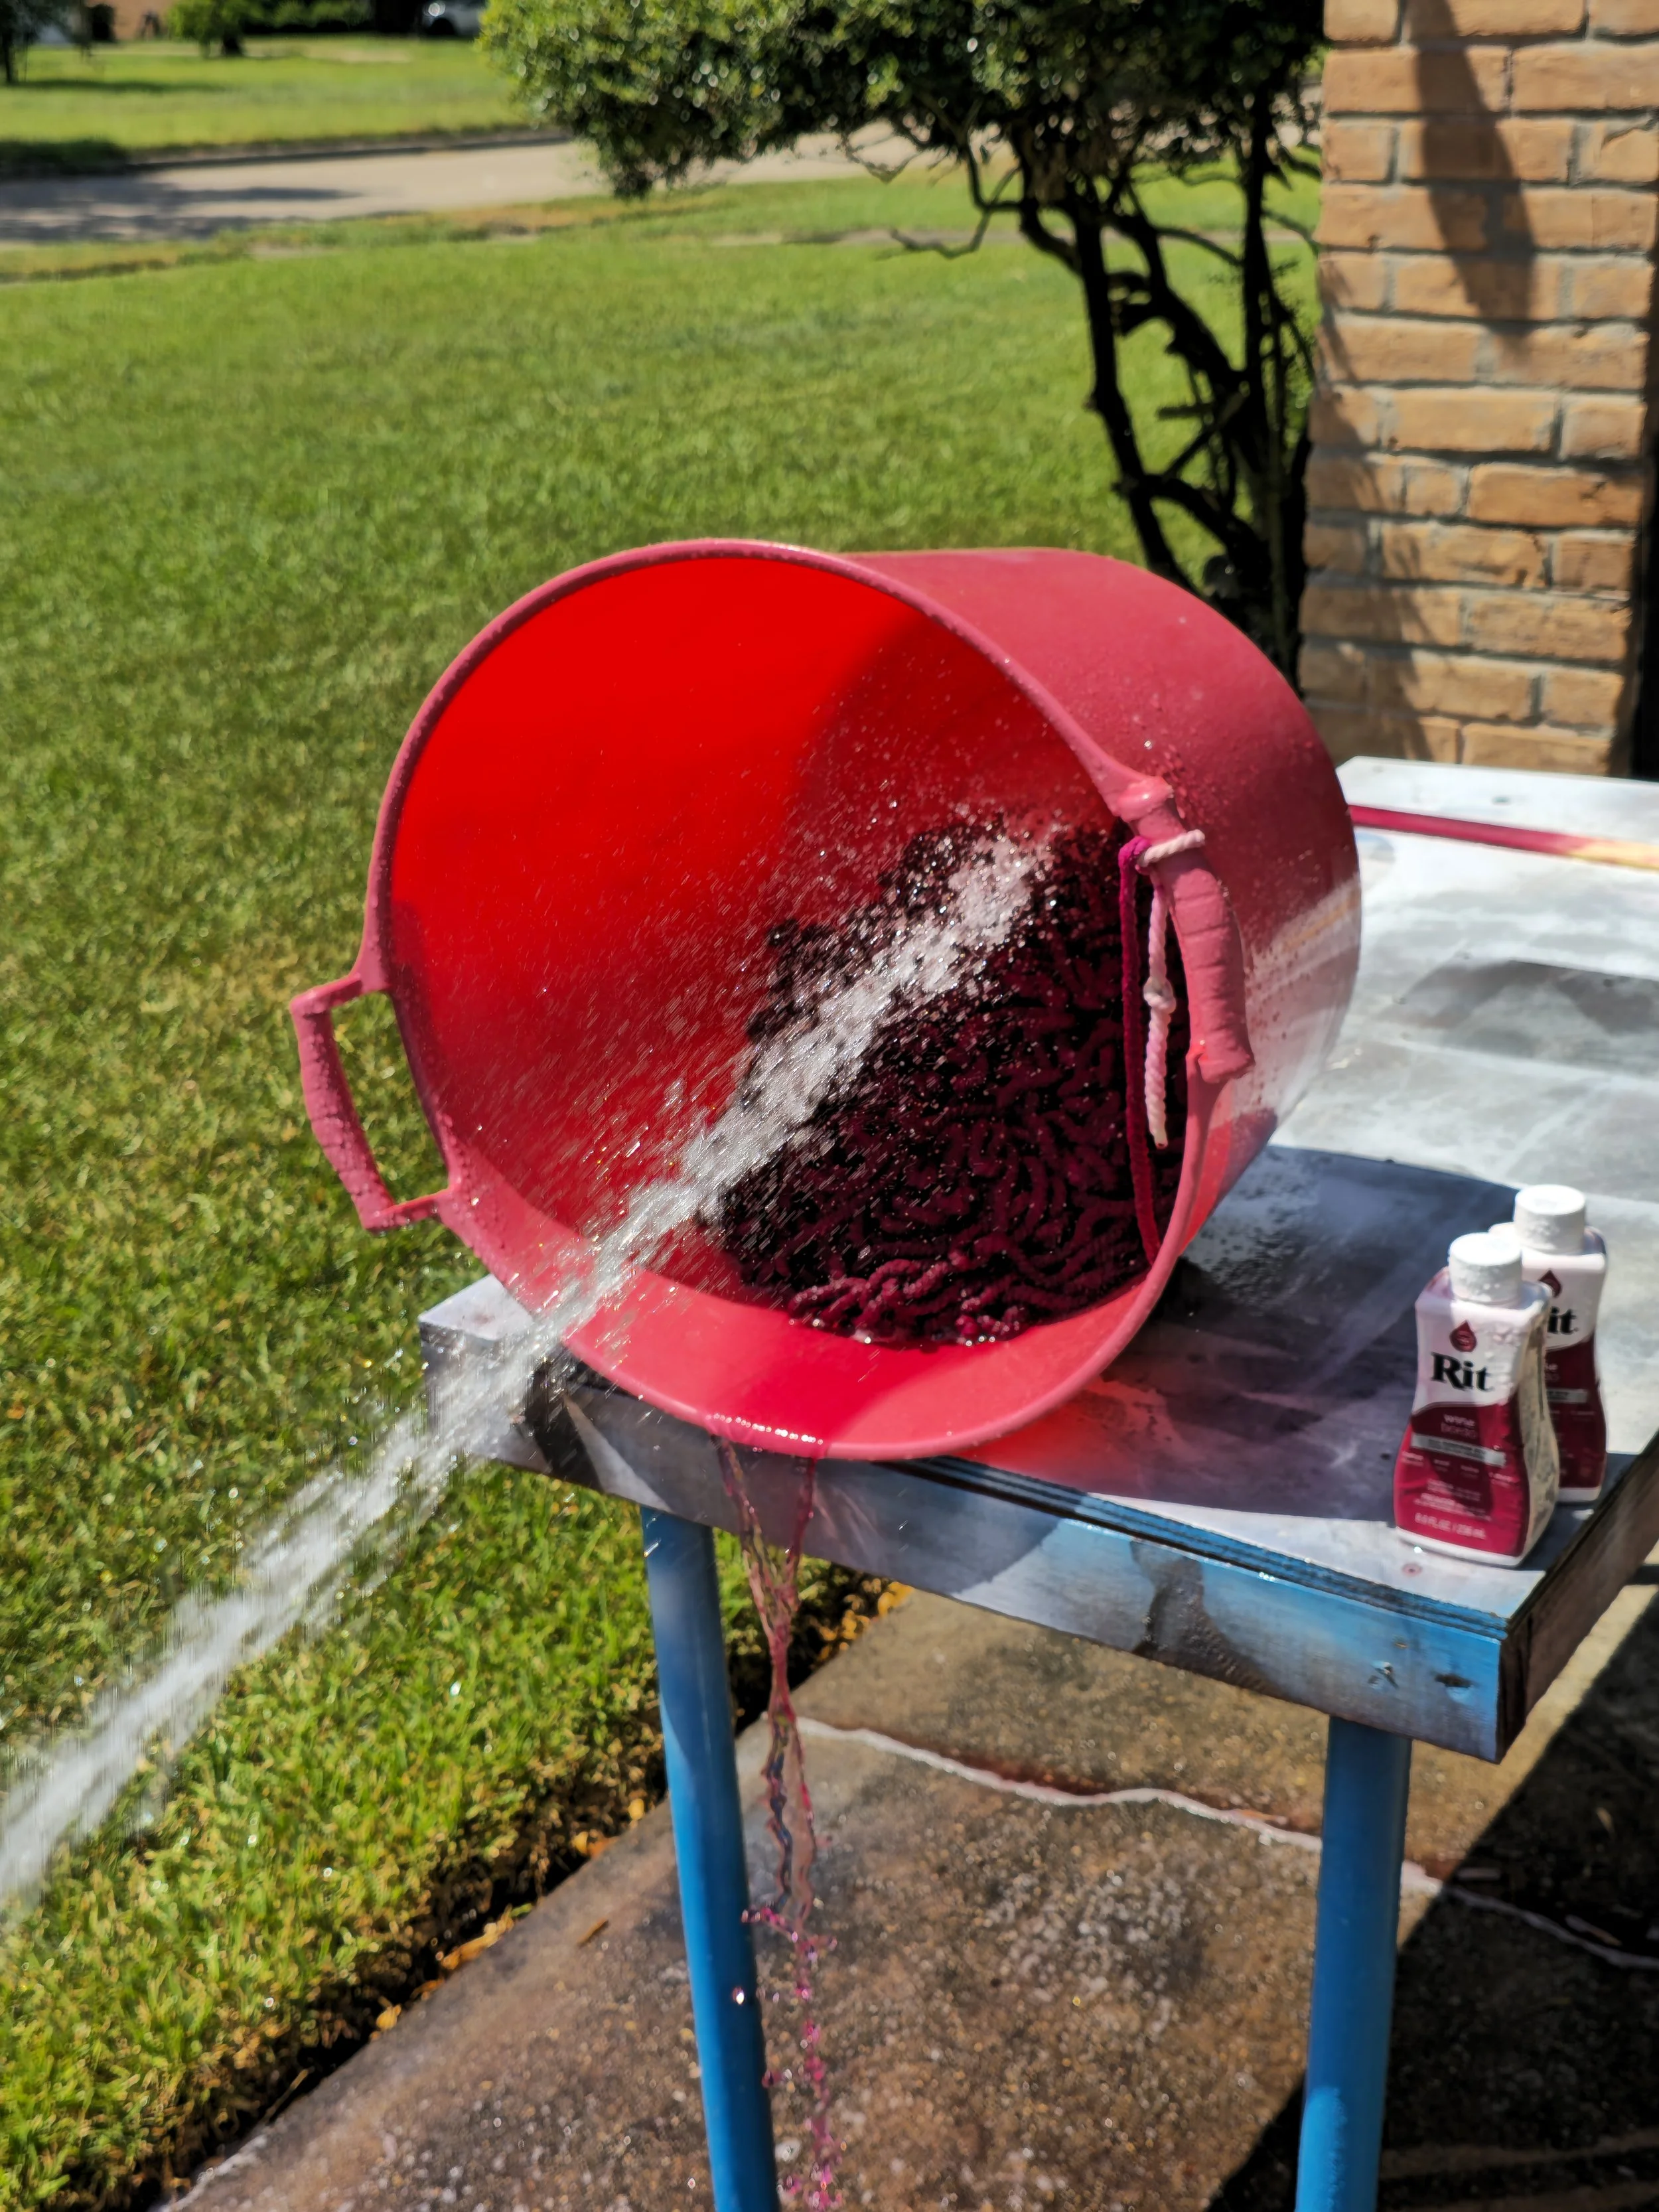
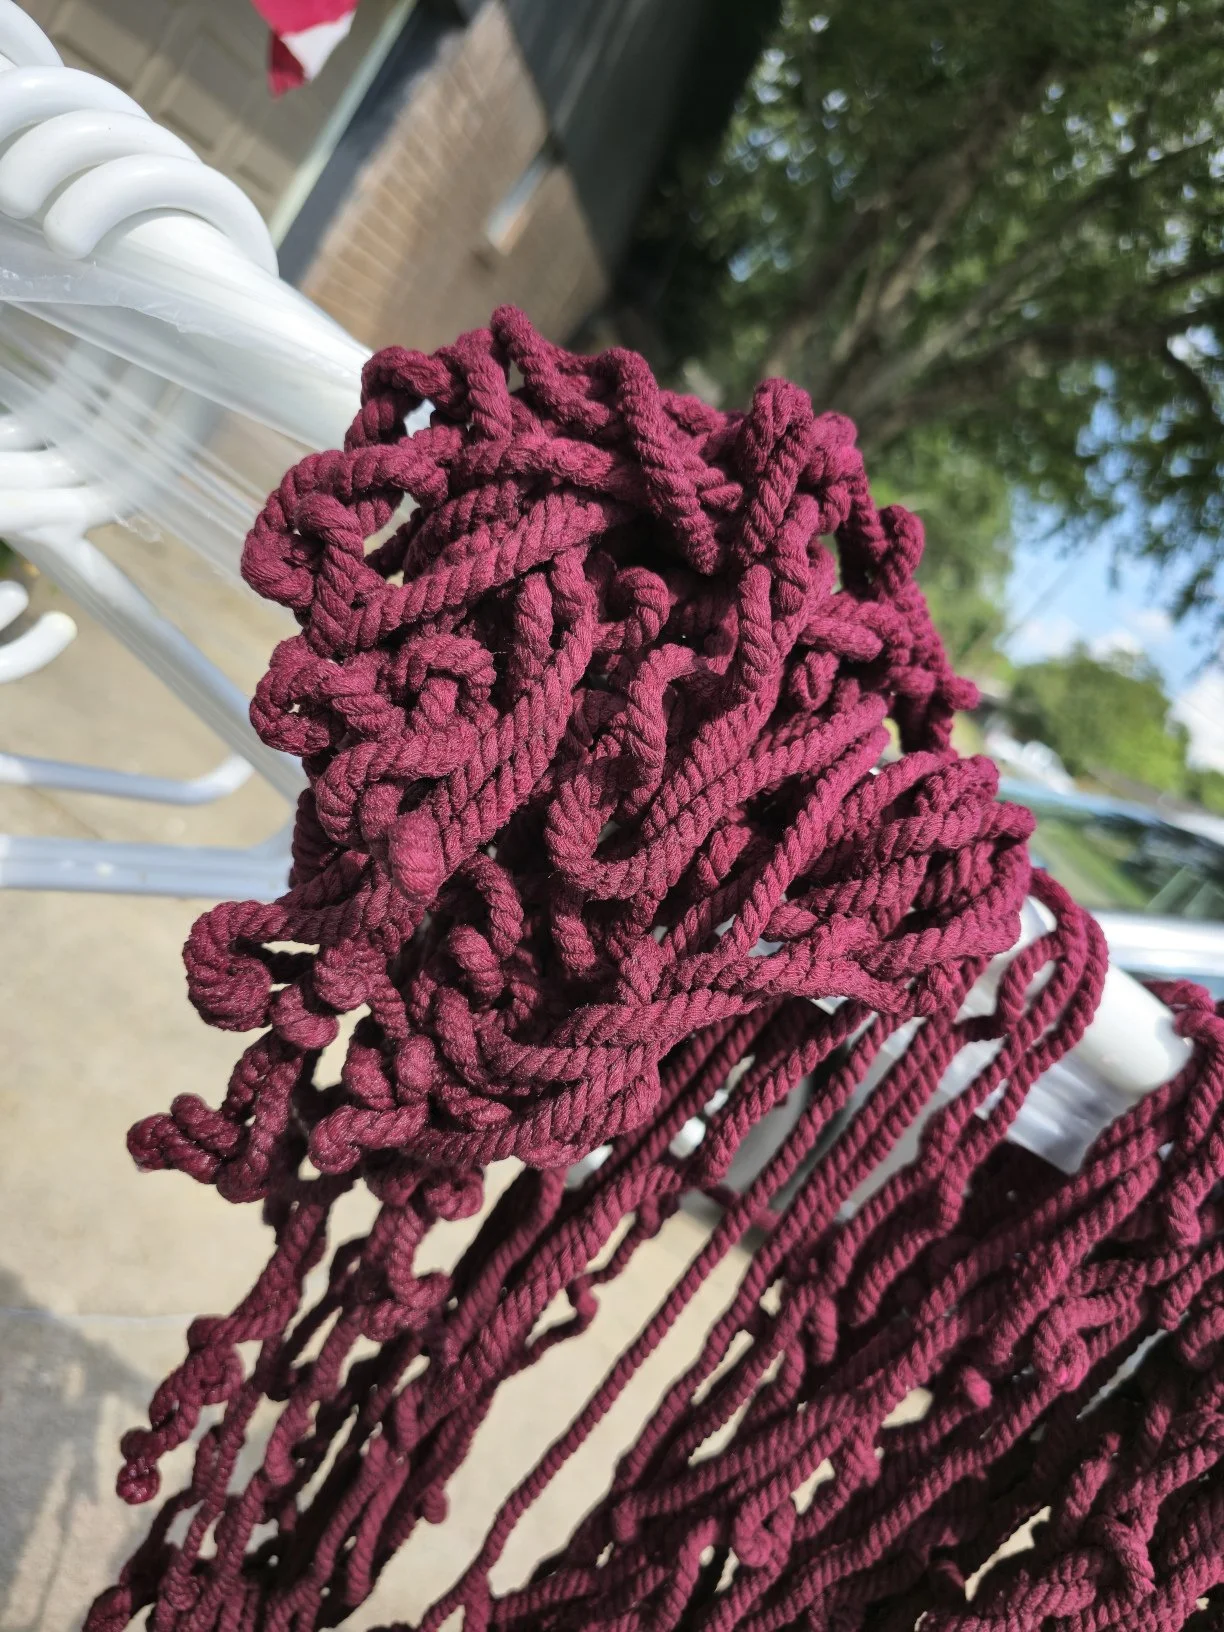
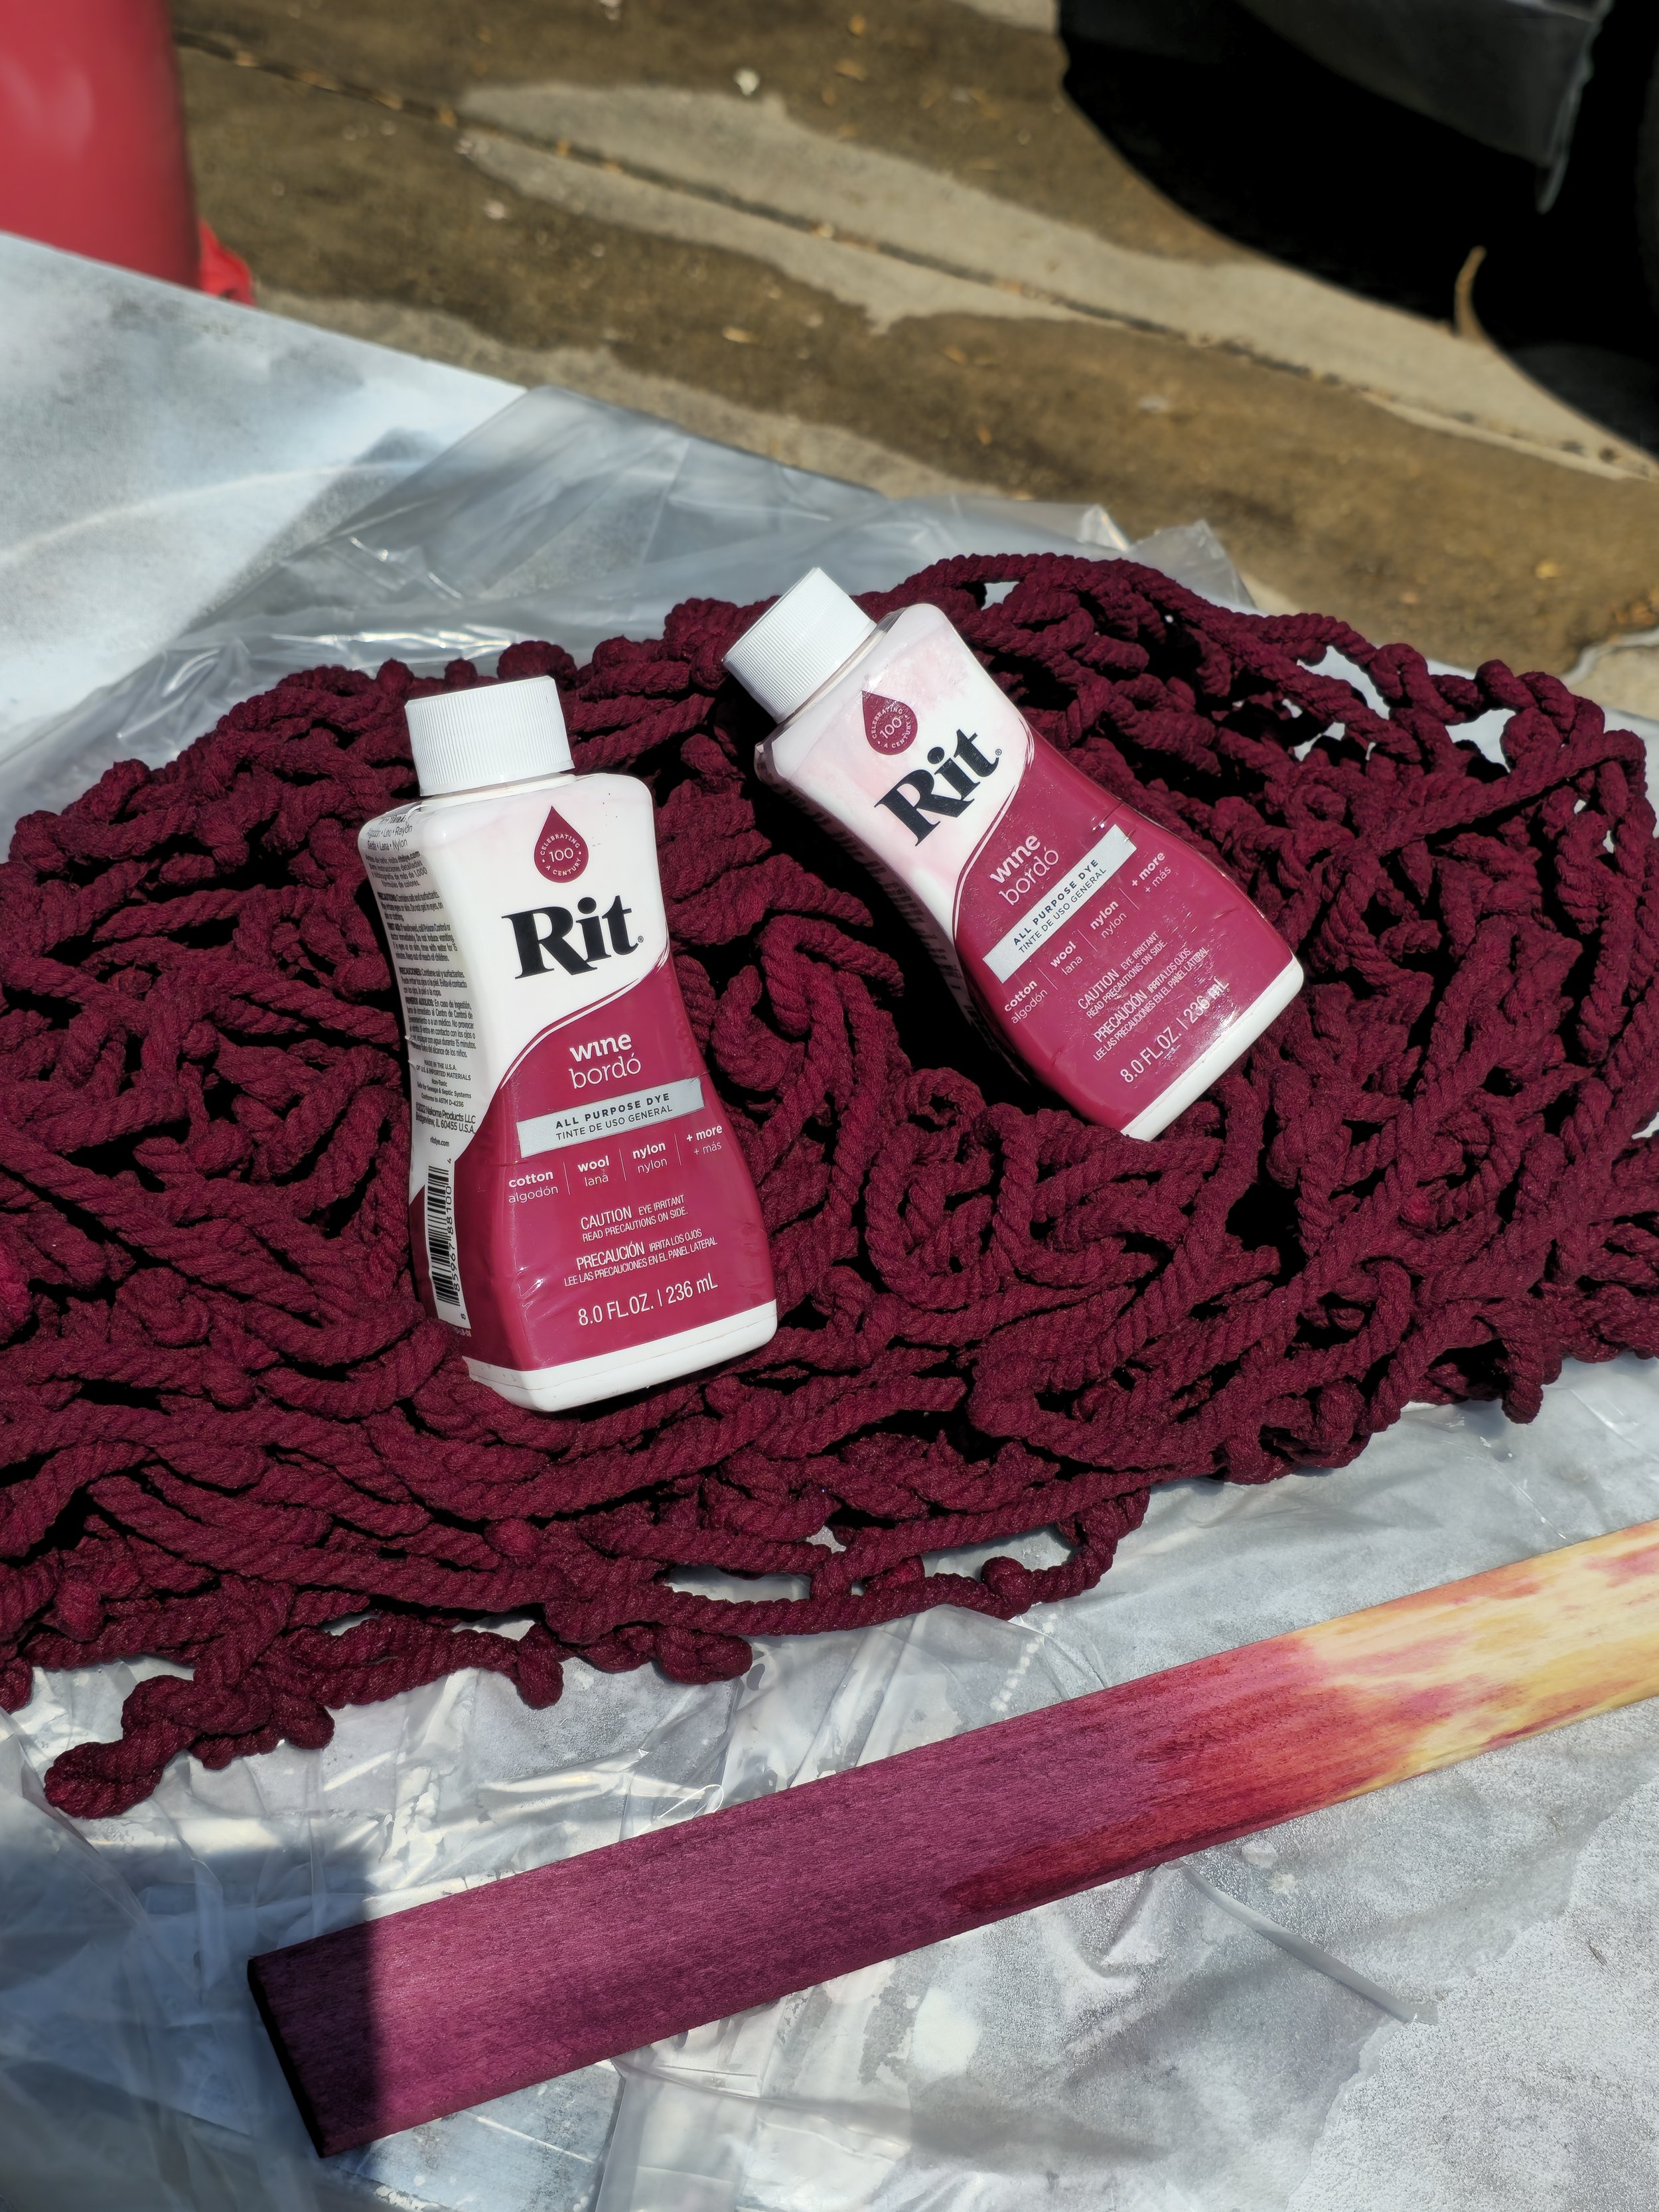
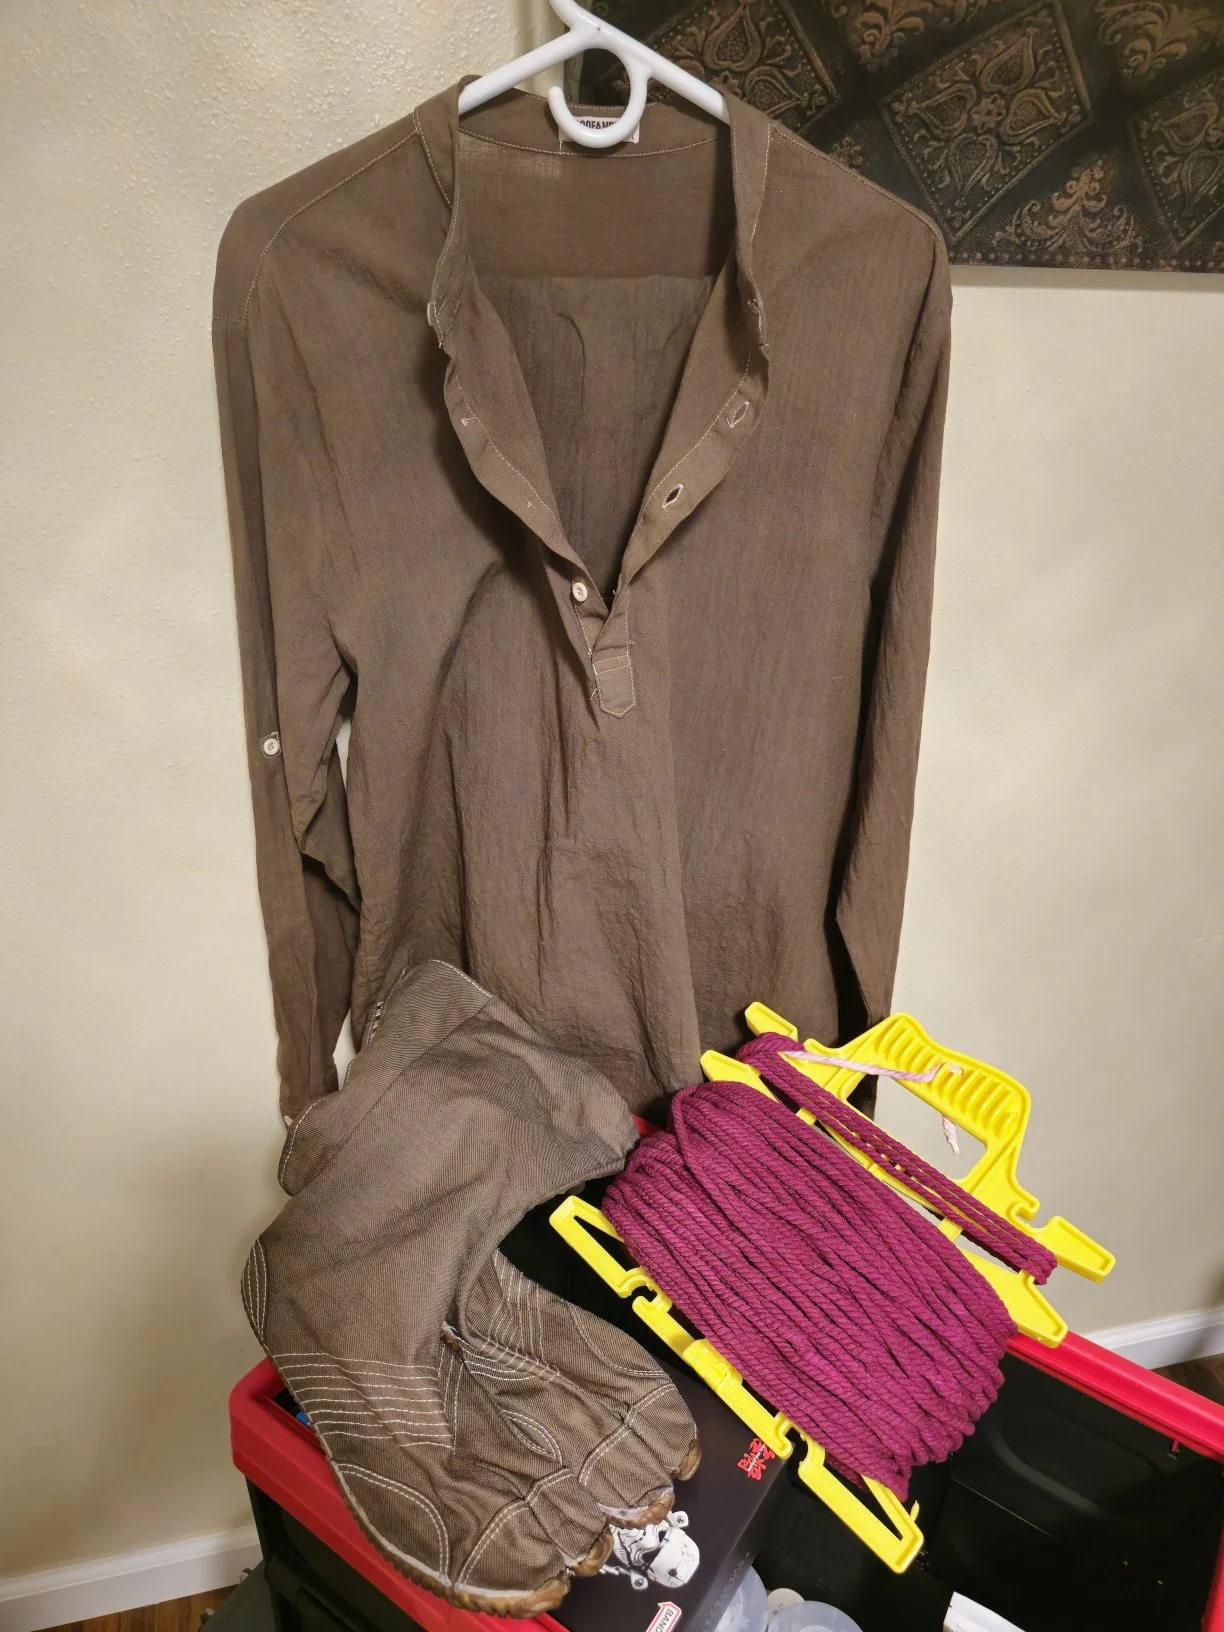
With a vision in place, I started gathering the soft goods. I needed rope to attach much of the armor, an undersuit and shoes. The first obstacle was the rope. I couldn’t find it in a color close to what I needed. There was red or pink, but nothing close to being a maroon-burgundy-ish color. That meant I needed to dye it myself. I watched a few videos, took everything outside to the driveway and maybe an hour later I had what I needed. The result was worth the looks I got from people driving by as they followed a stream of what looked like blood flowing from my house to the gutter. I didn’t care. I just smiled seeing the maroon rope drying in front of me.
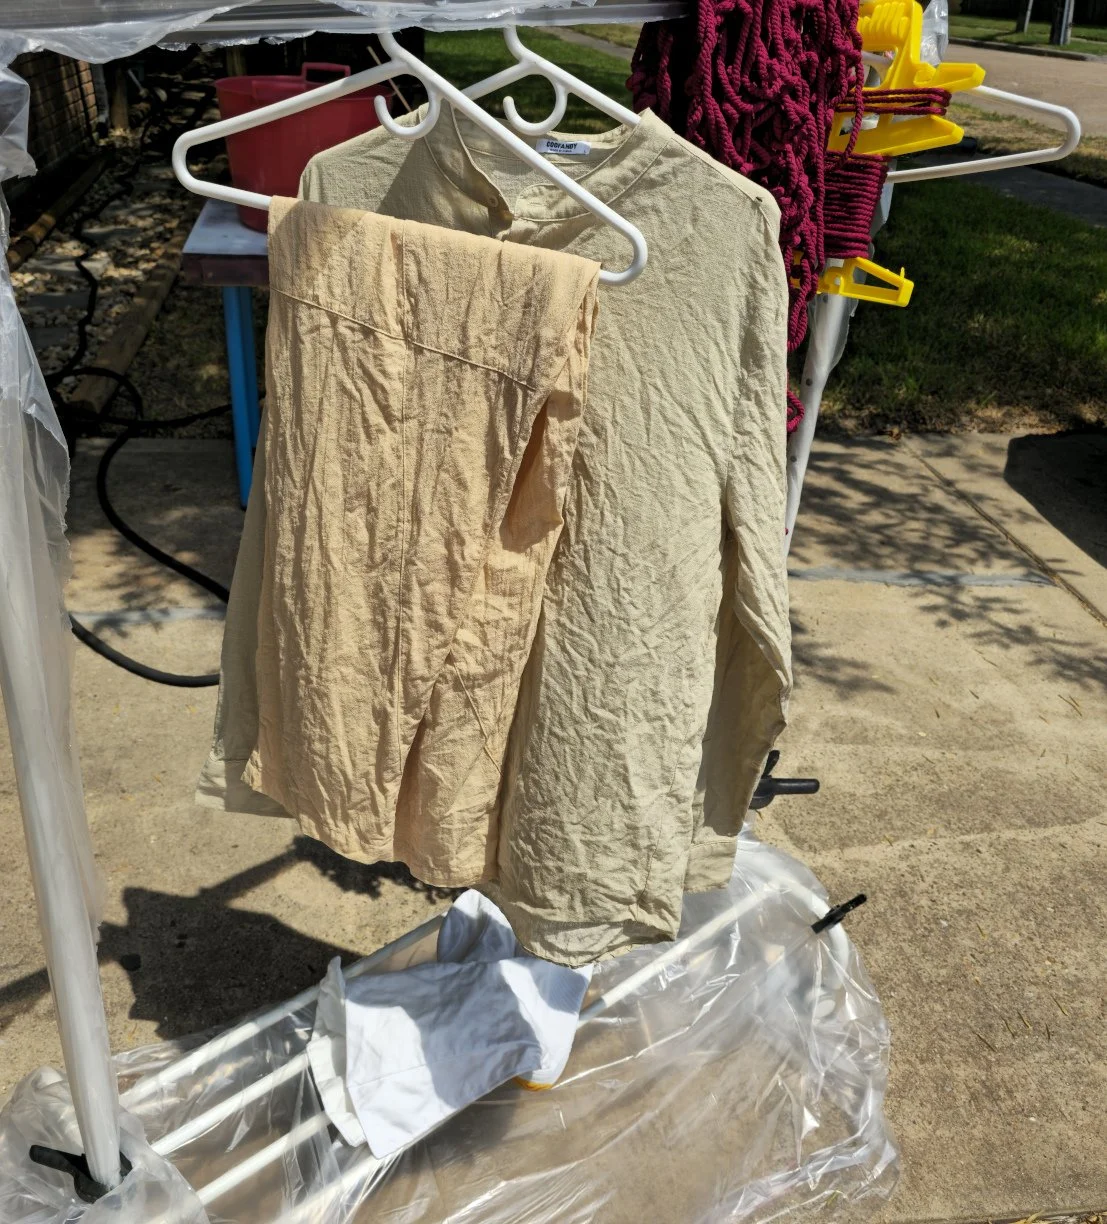
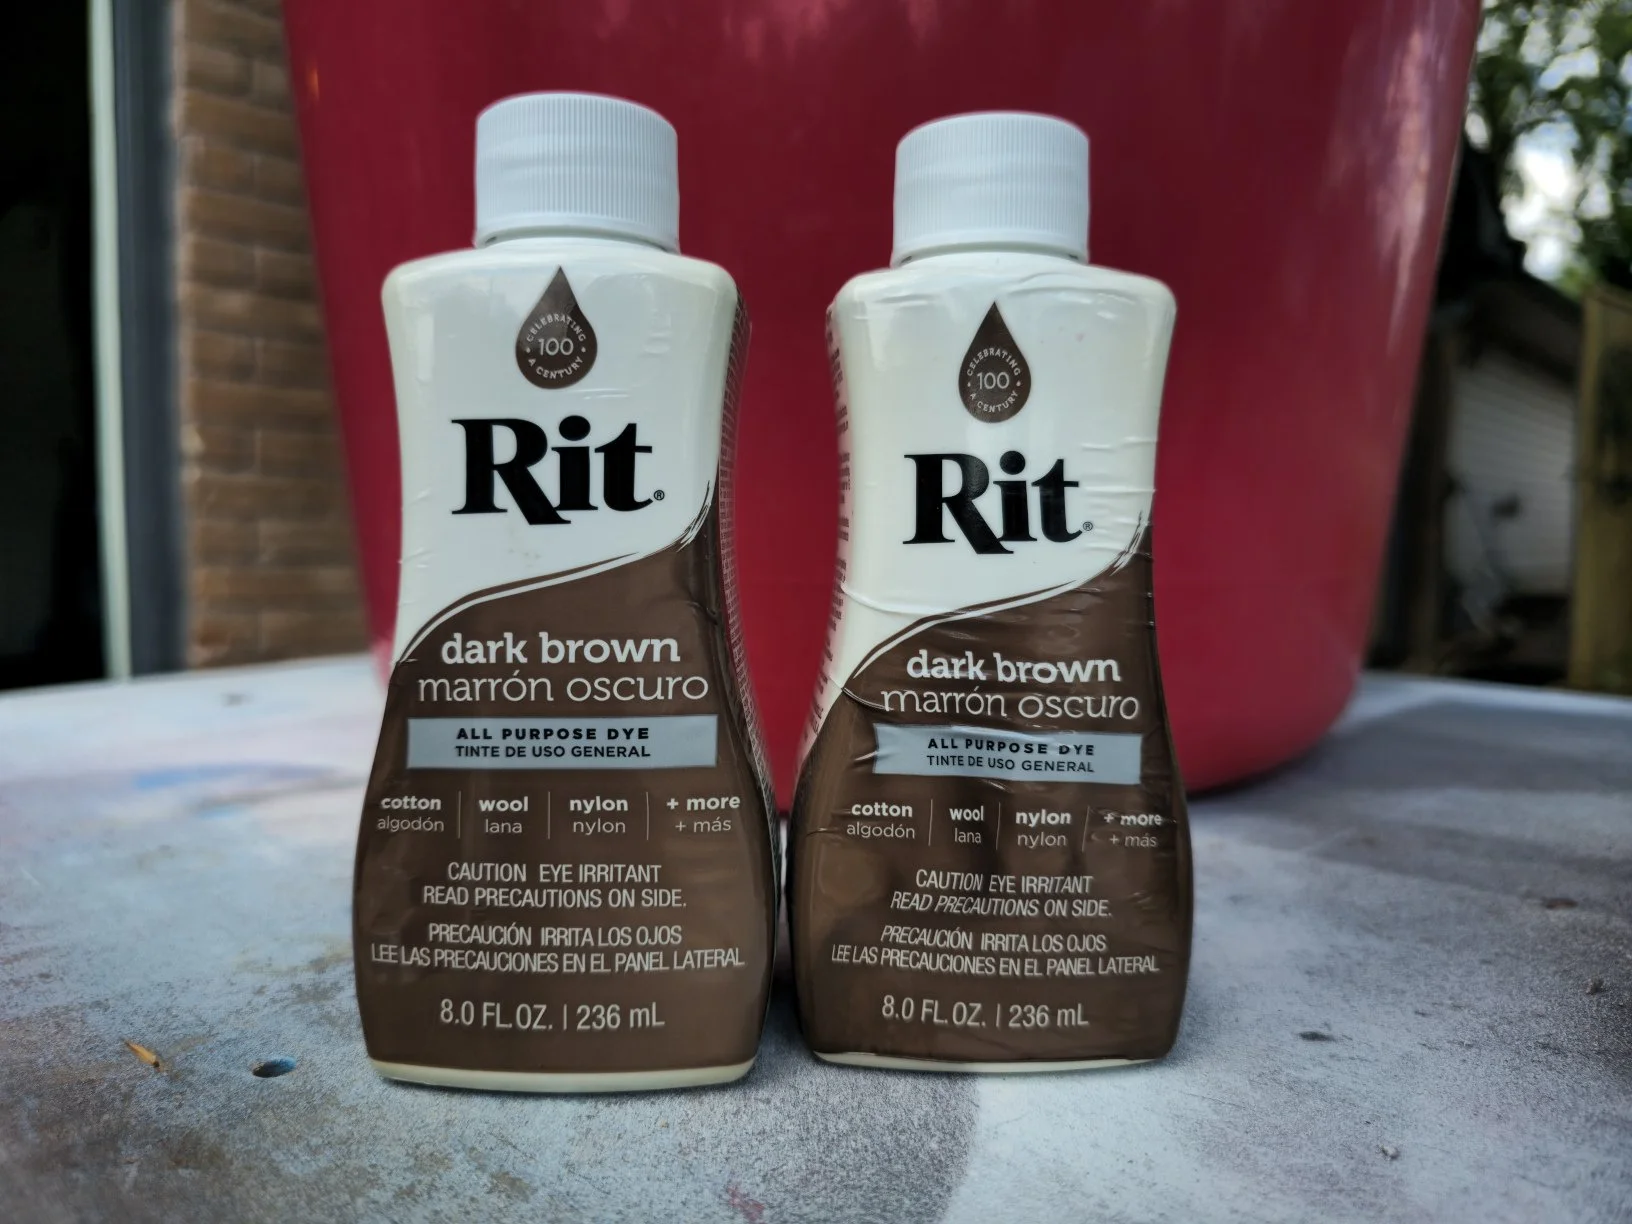
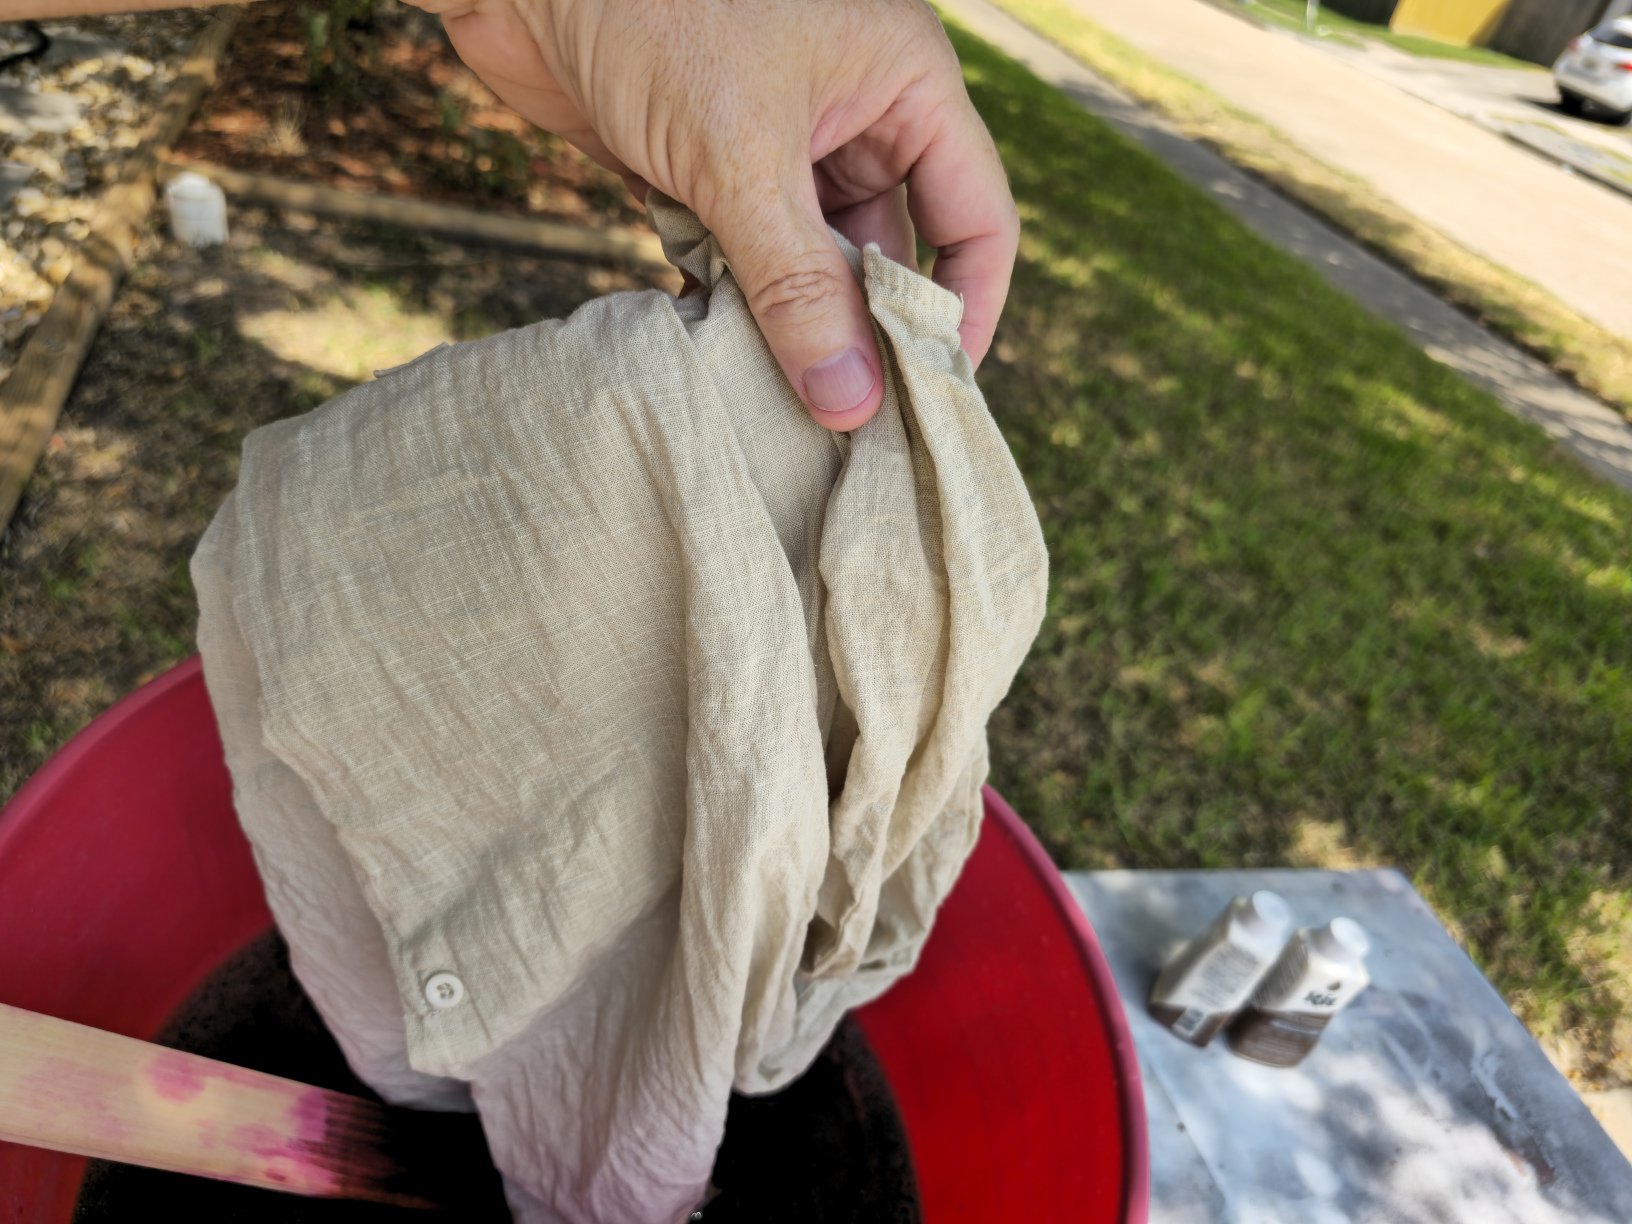
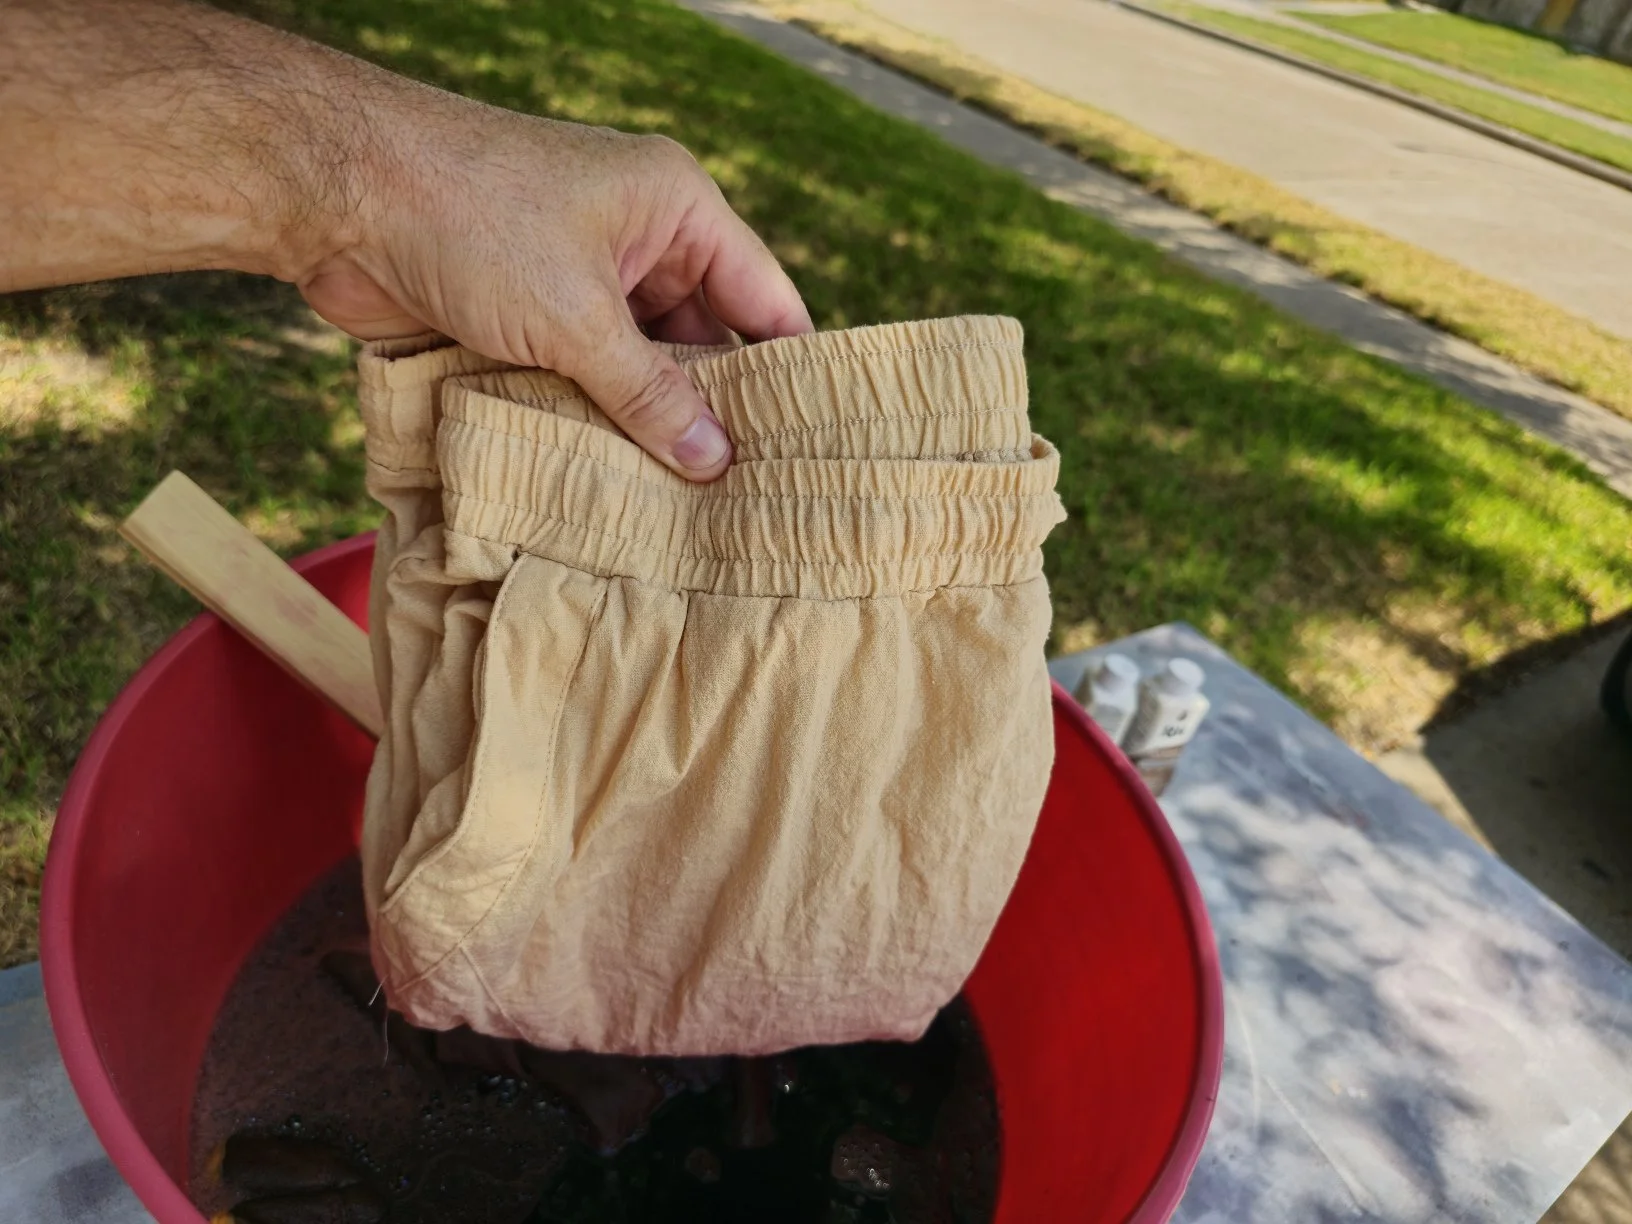
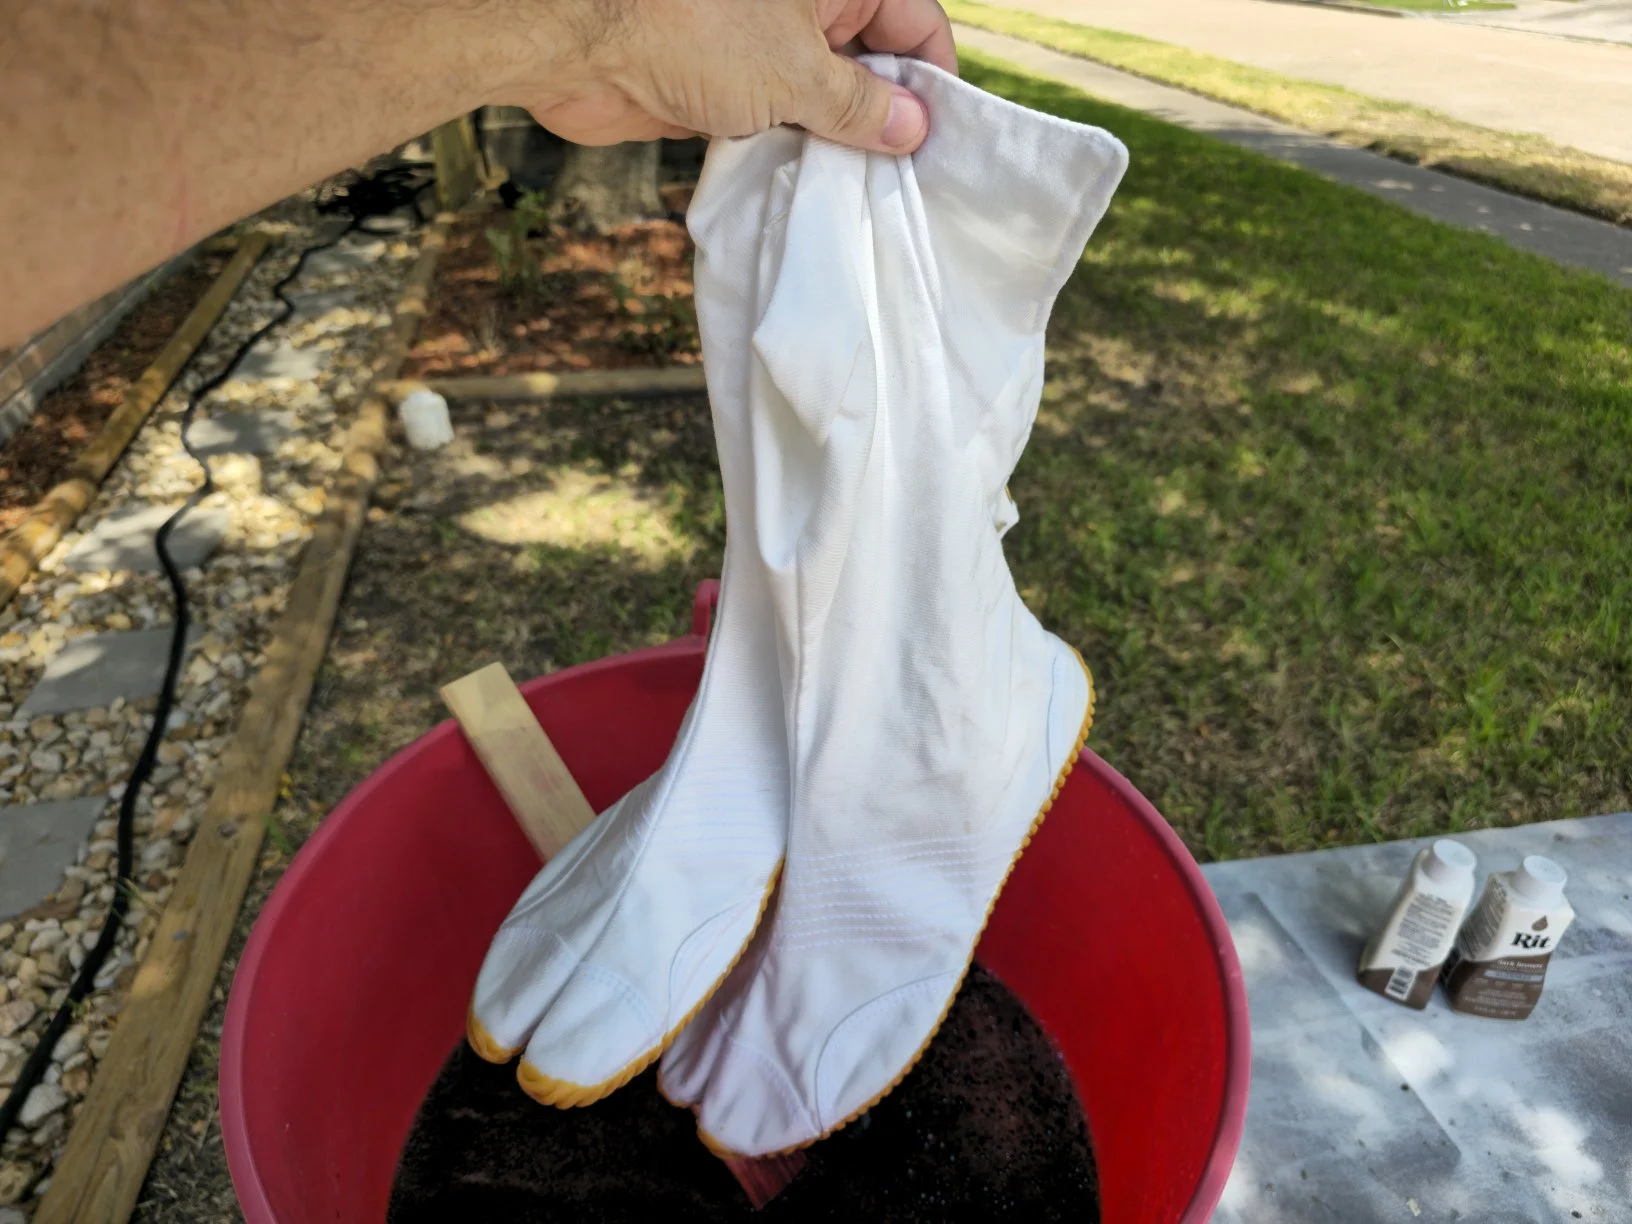
I felt confident now that one dye job was completed and moved onto the more expensive pieces needing color. I mean, a $5 bundle of rope isn’t going to be much of a loss if it didn’t work, but $115 in clothing was another story. I needed the linen shirt and pants to be a uniform brown along with the tabi boots. Before you say, “Why would you choose brown? Don’t Stormtroopers wear a black undersuit?” Well, yes, they do, but this isn’t canon and I wanted all the colors used to be grounded in that cherry blossom aesthetic. I could have purchased the clothing in black, but thought brown gave it a more Earthy feel like a branch. Ultimately, it turned out well, so pleased in putting in the extra effort!
Part 3: Do
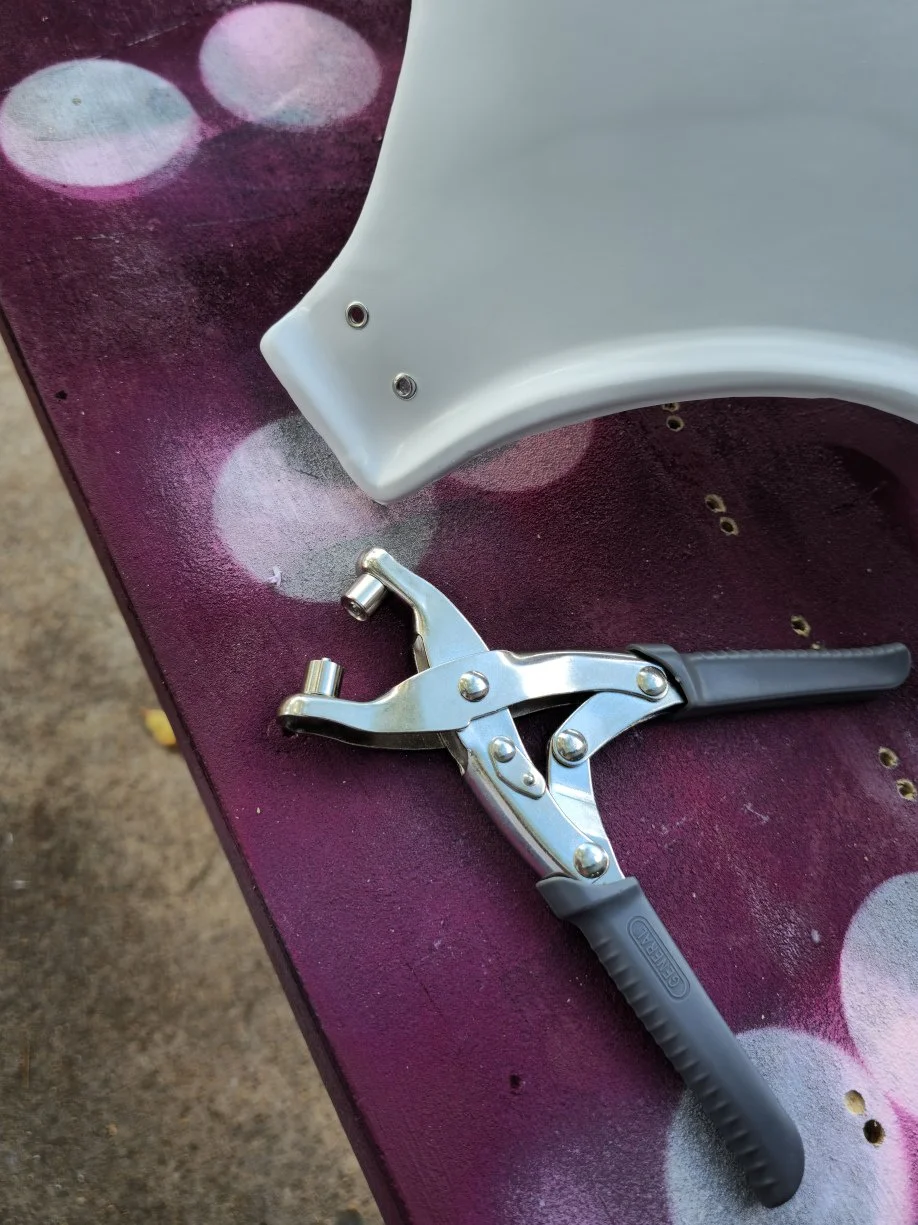
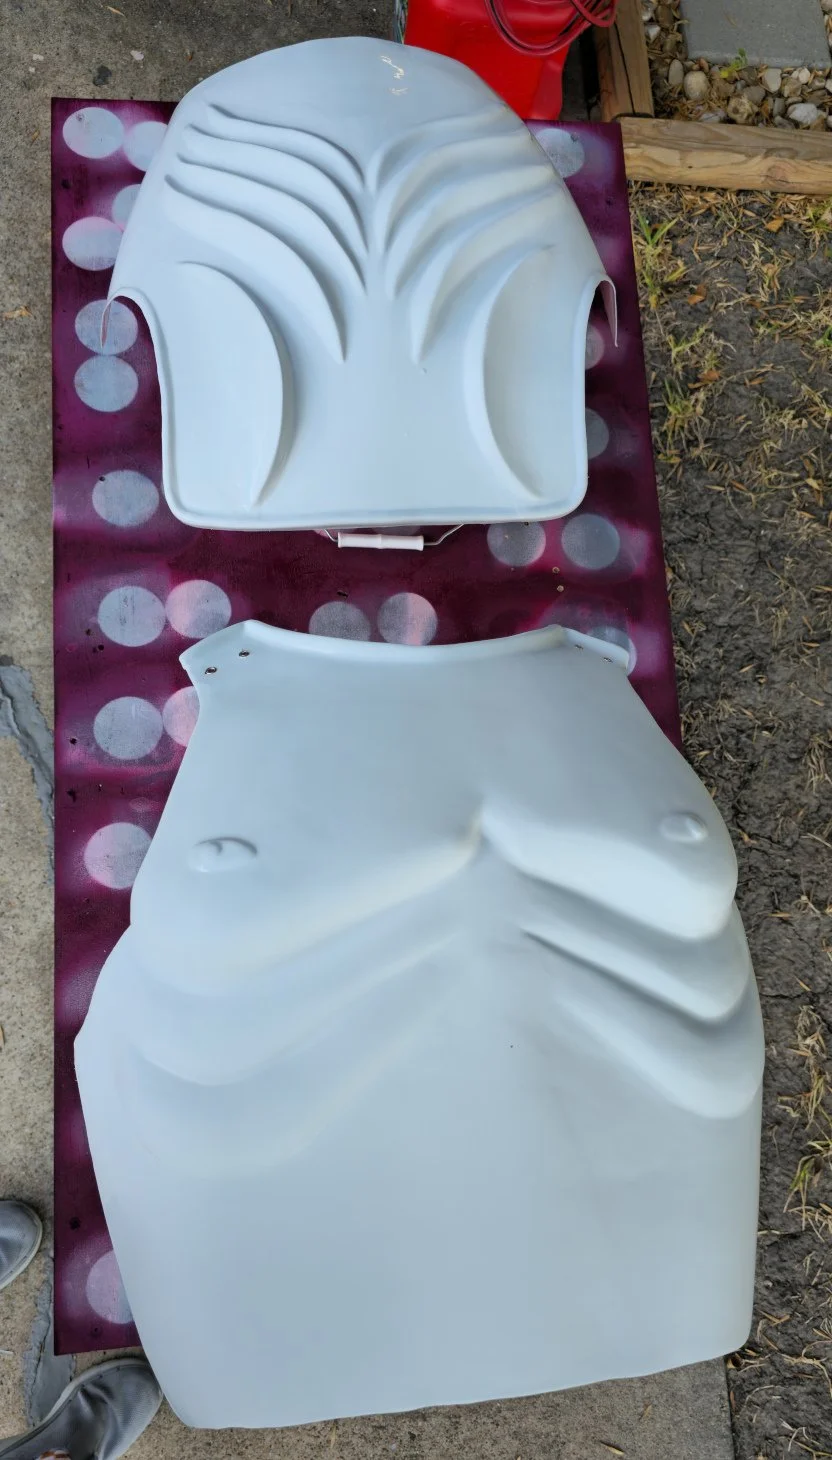
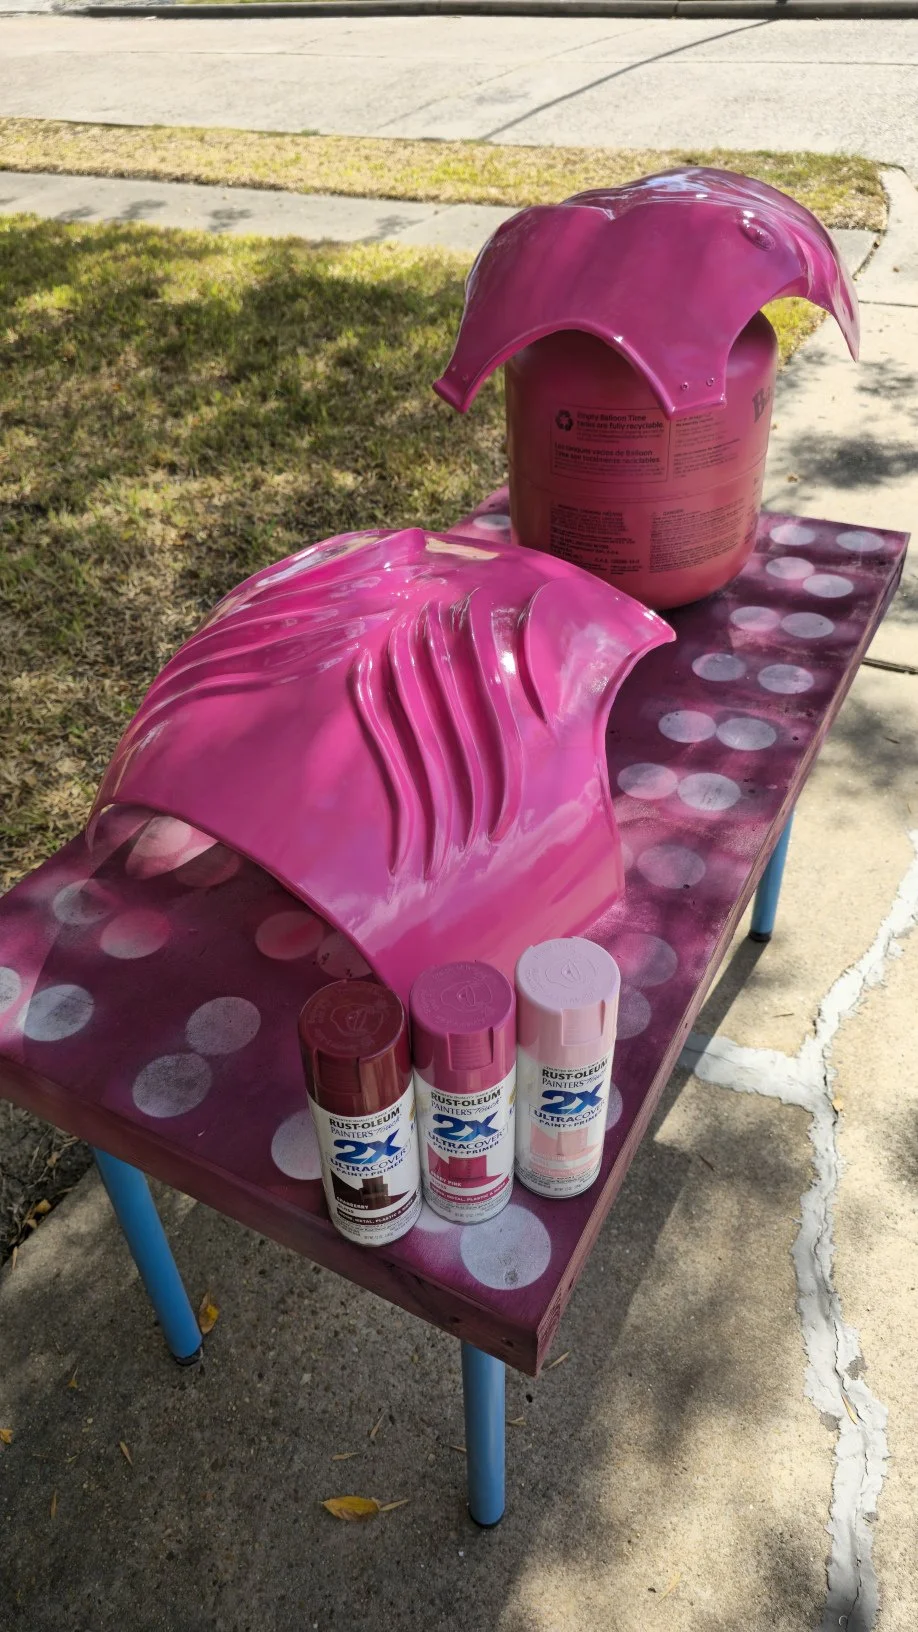
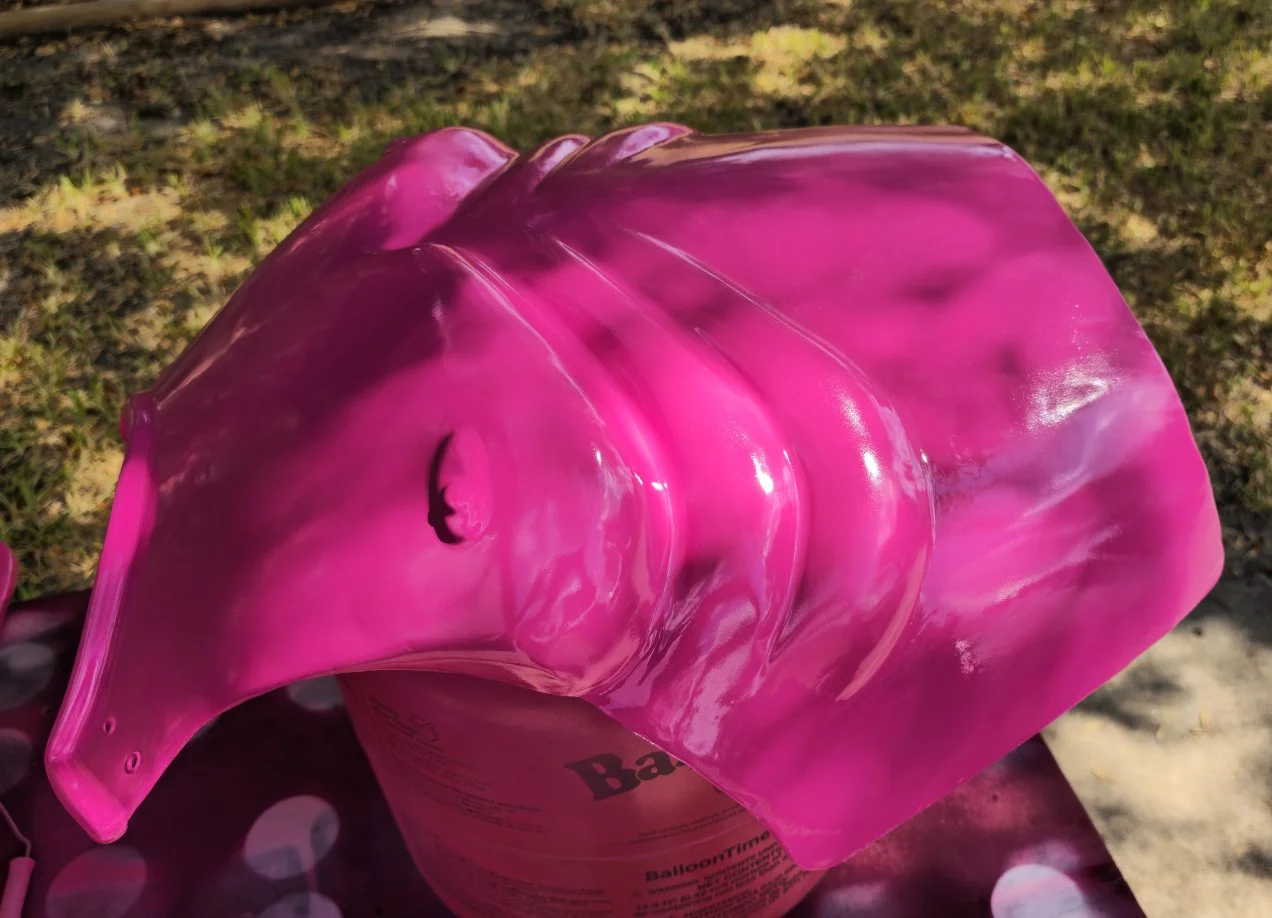
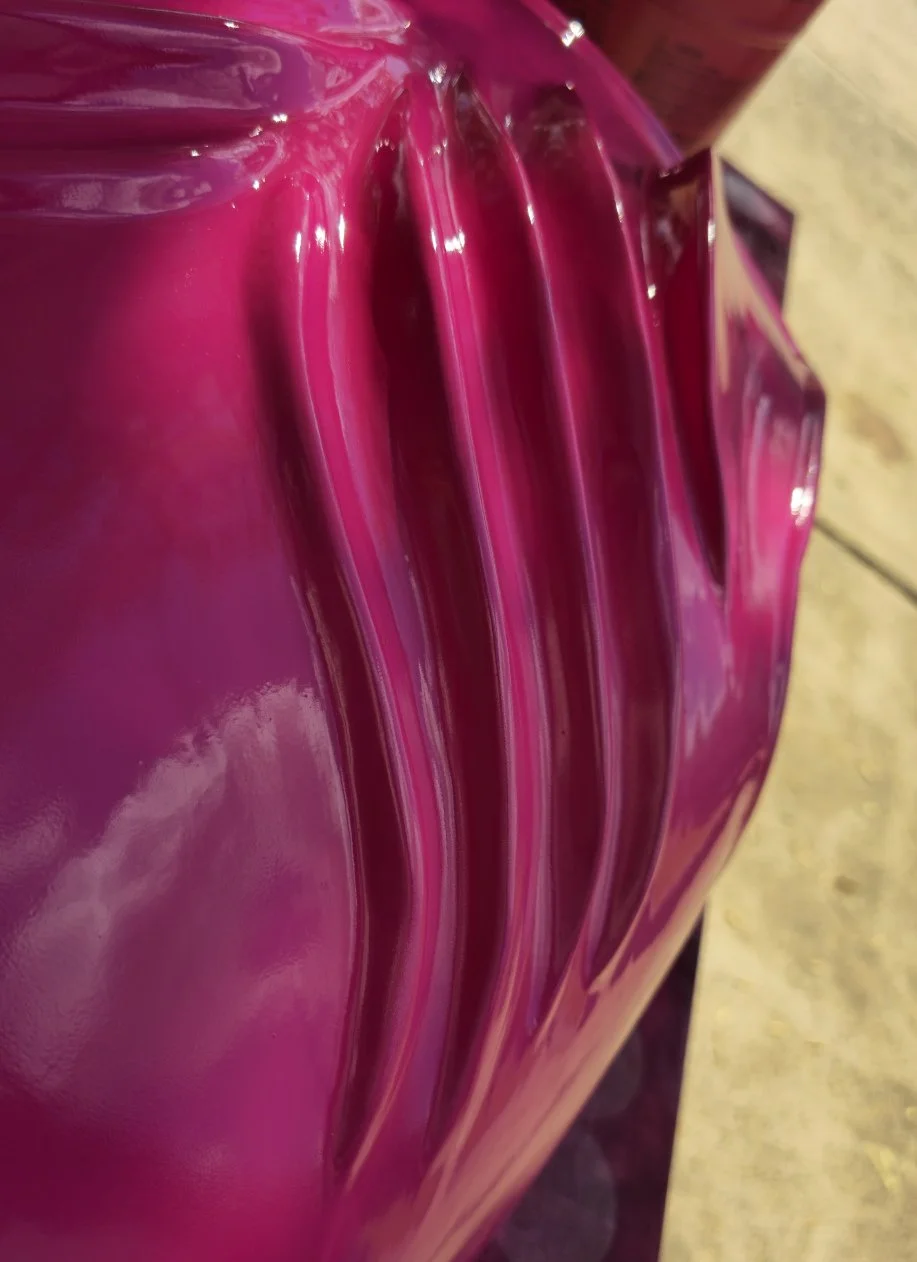
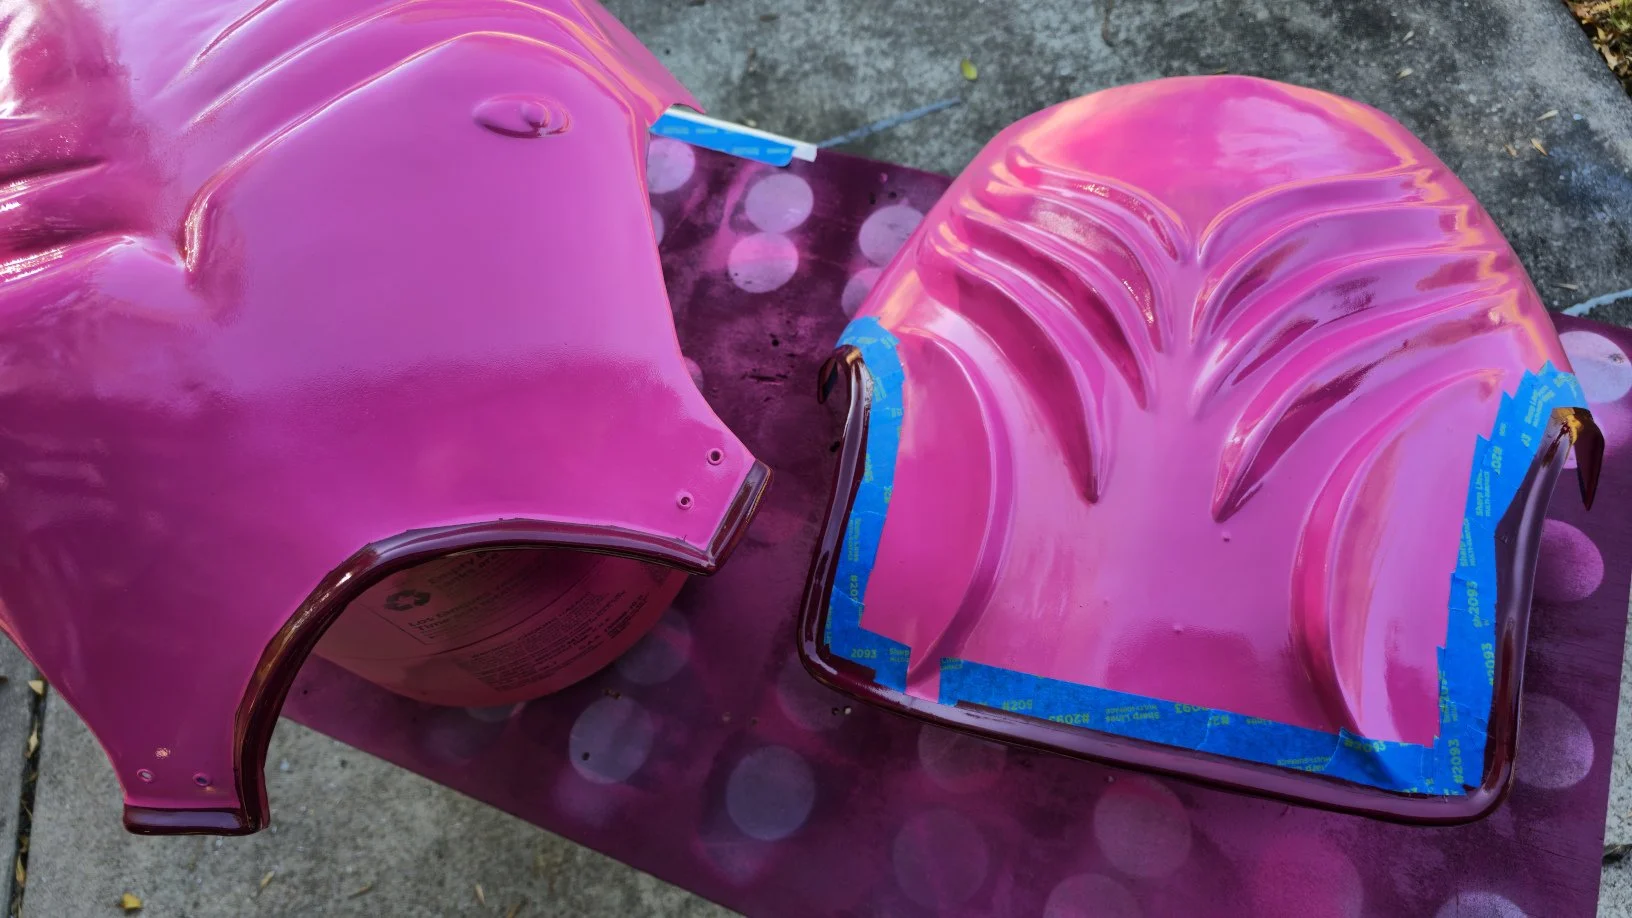
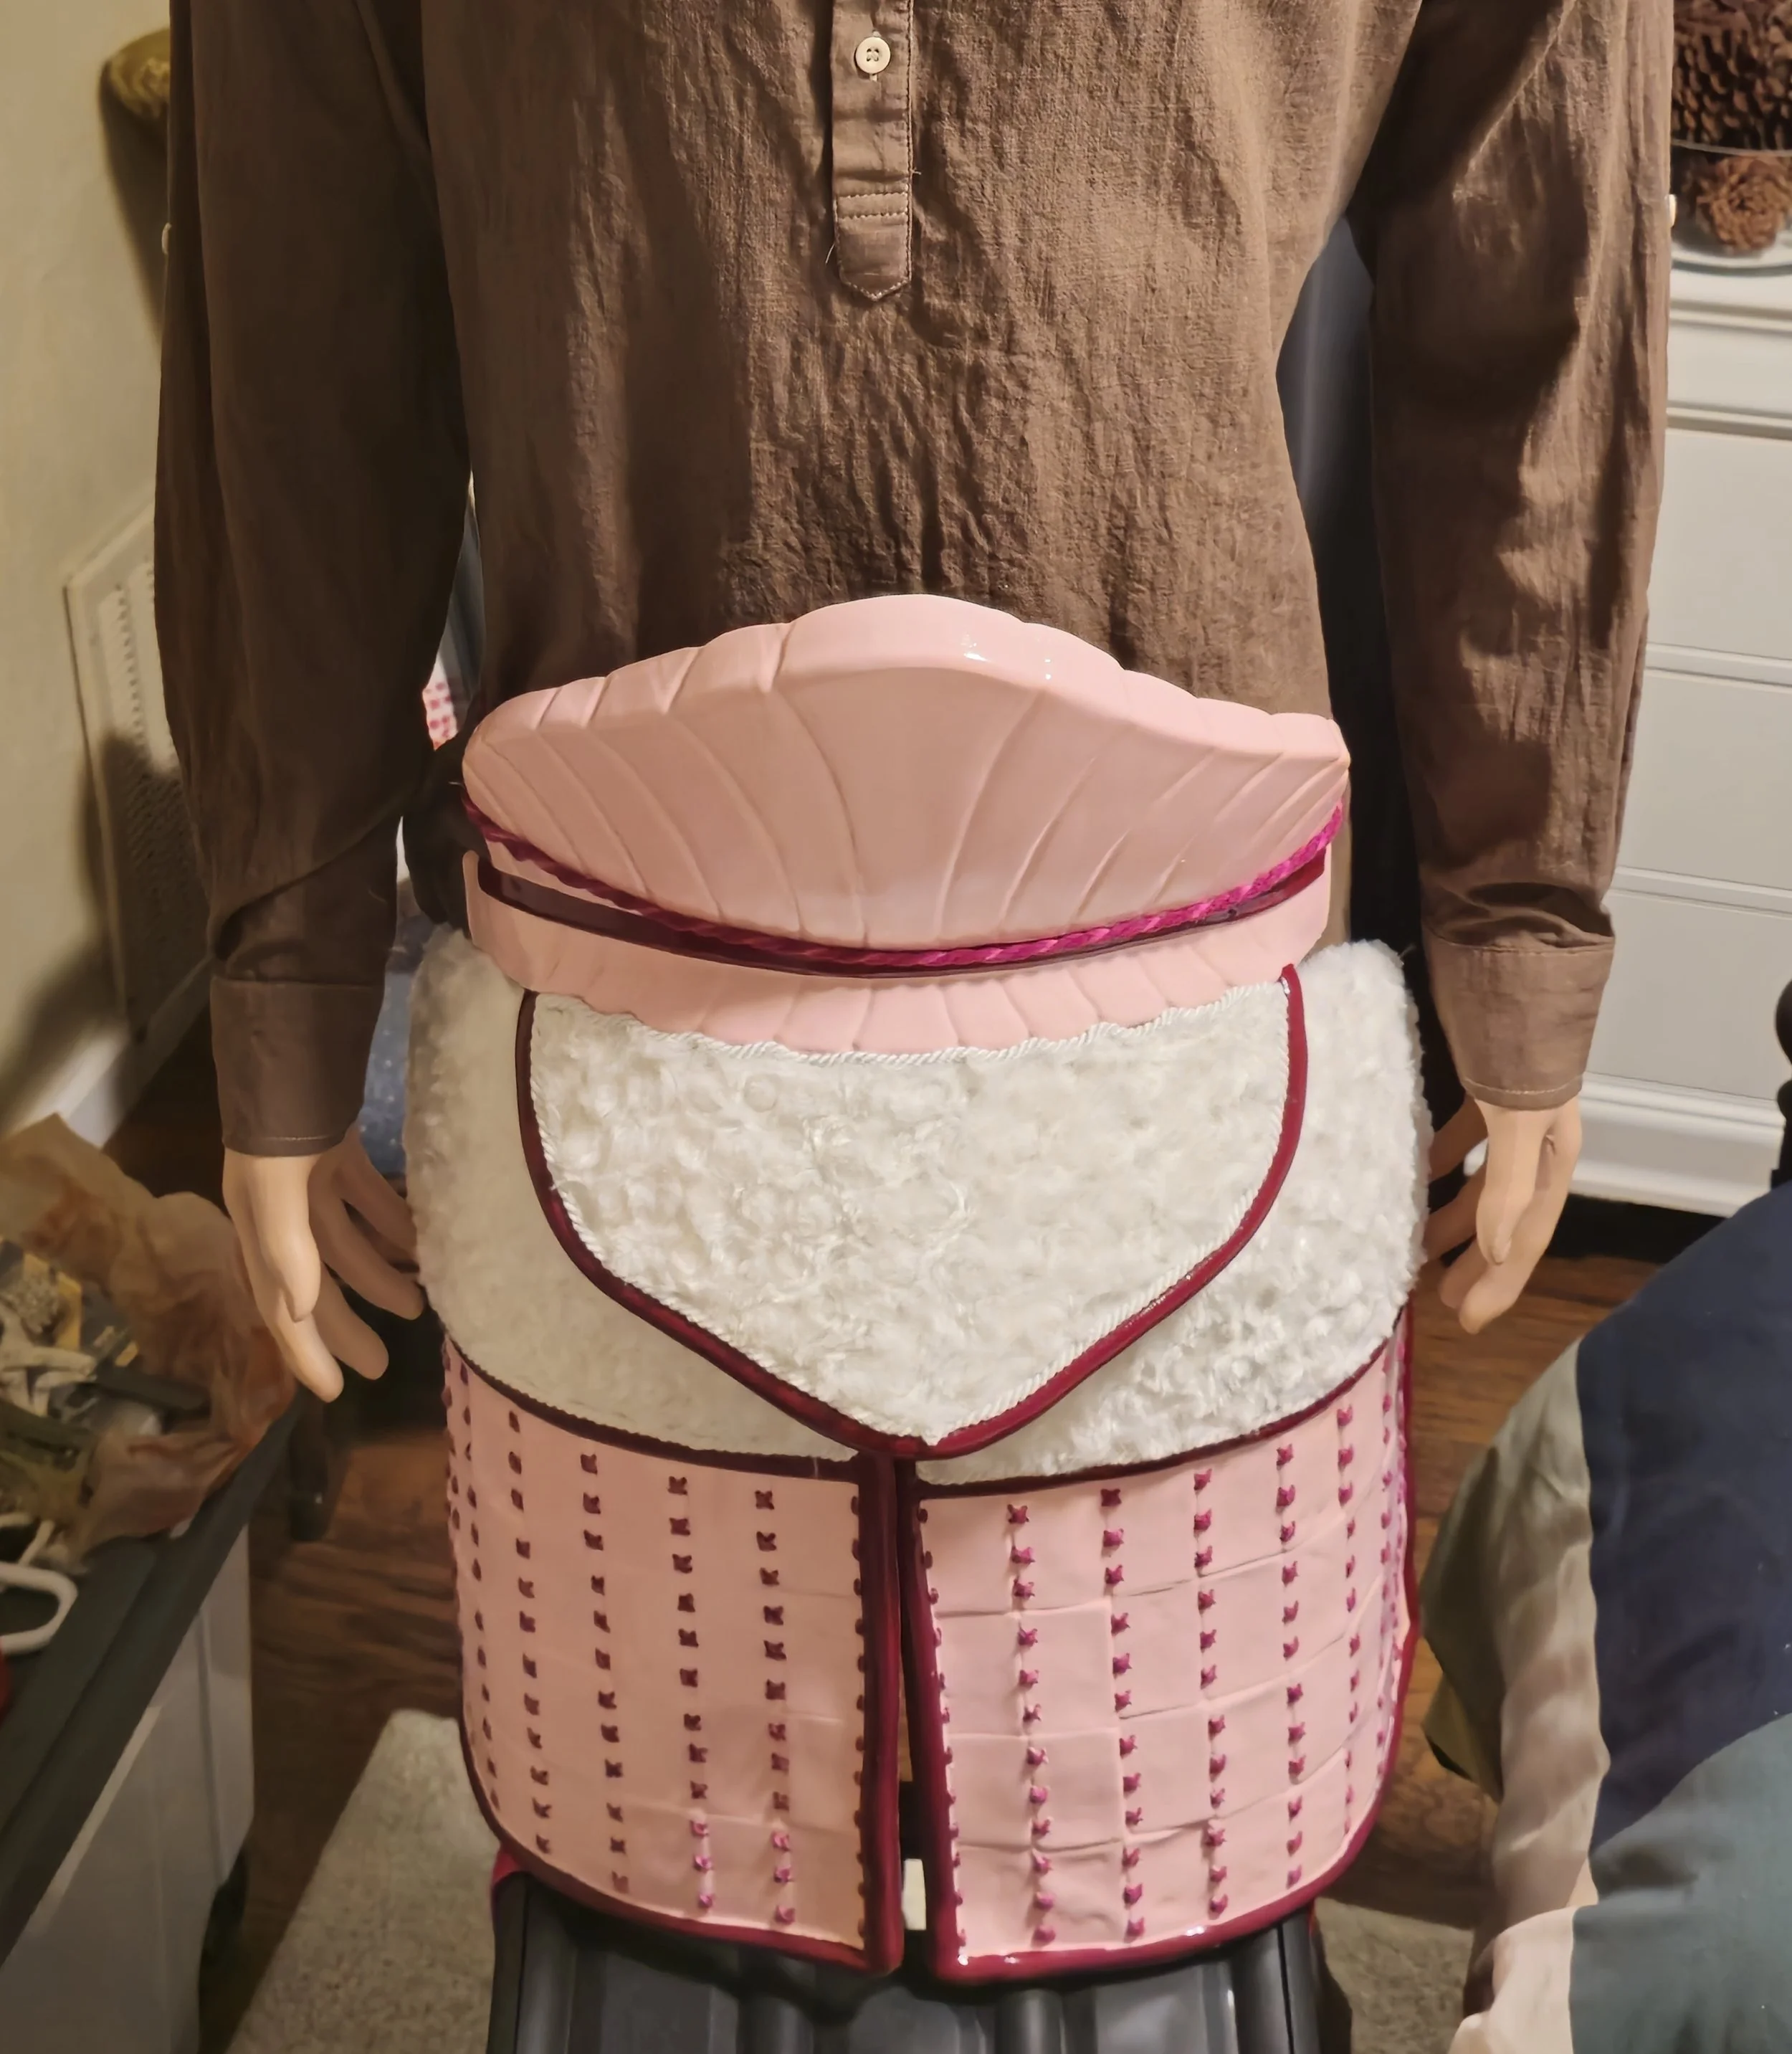
The Do which is the chest armor, would be the easiest of the pieces because it primarily consists of a front and back piece. That said, did I mention that the armor itself came with no instructions? Well, it didn’t, so I kept examining the limited pictures from the listing and the Bandai figure for guidance. I drilled a hole through the armor and added some grommets to smooth out the sharpness of the edges for when the rope would be attached. I went with a magenta color which reminded me of the inner portion of the blossom. Then, I wanted a darker color for the accents. I went with a cranberry color to match the rope. I wanted to give it a more masculine feel for the chest which is why I went with bolder and darker colors. The rest of the armor would be pinker and whiter which would make the magenta pop!
Part 4: Waist & Haidate
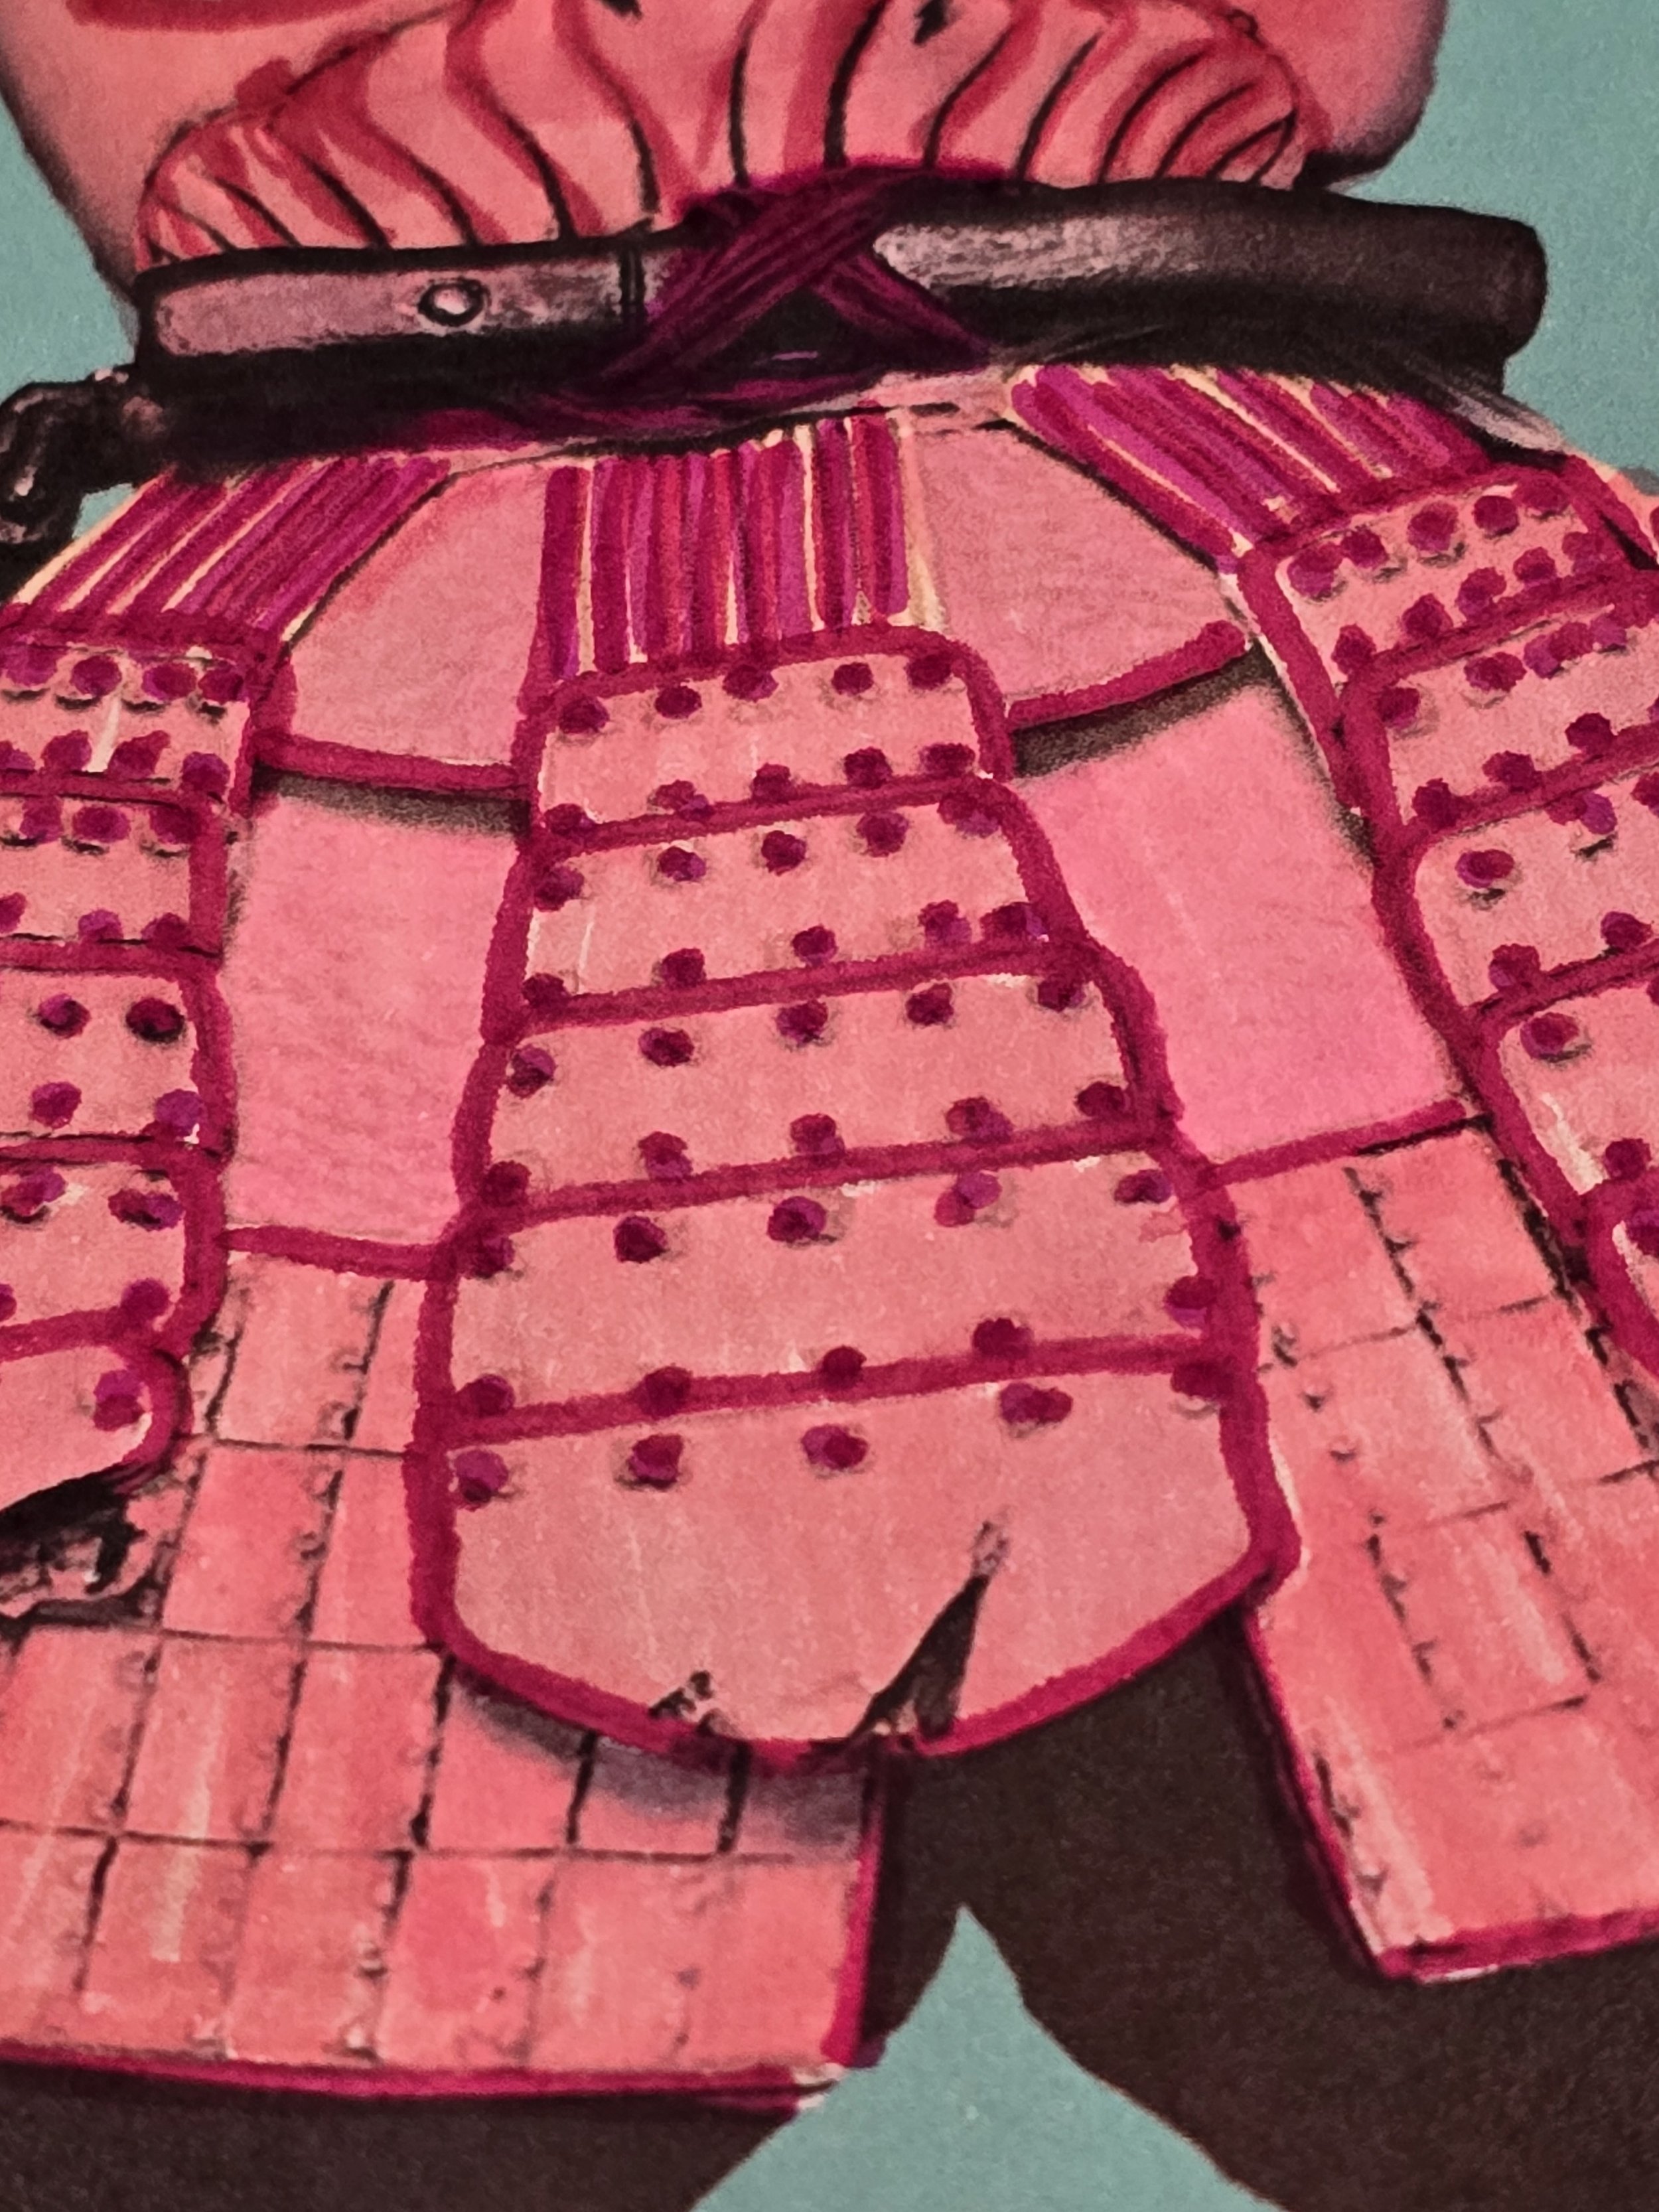
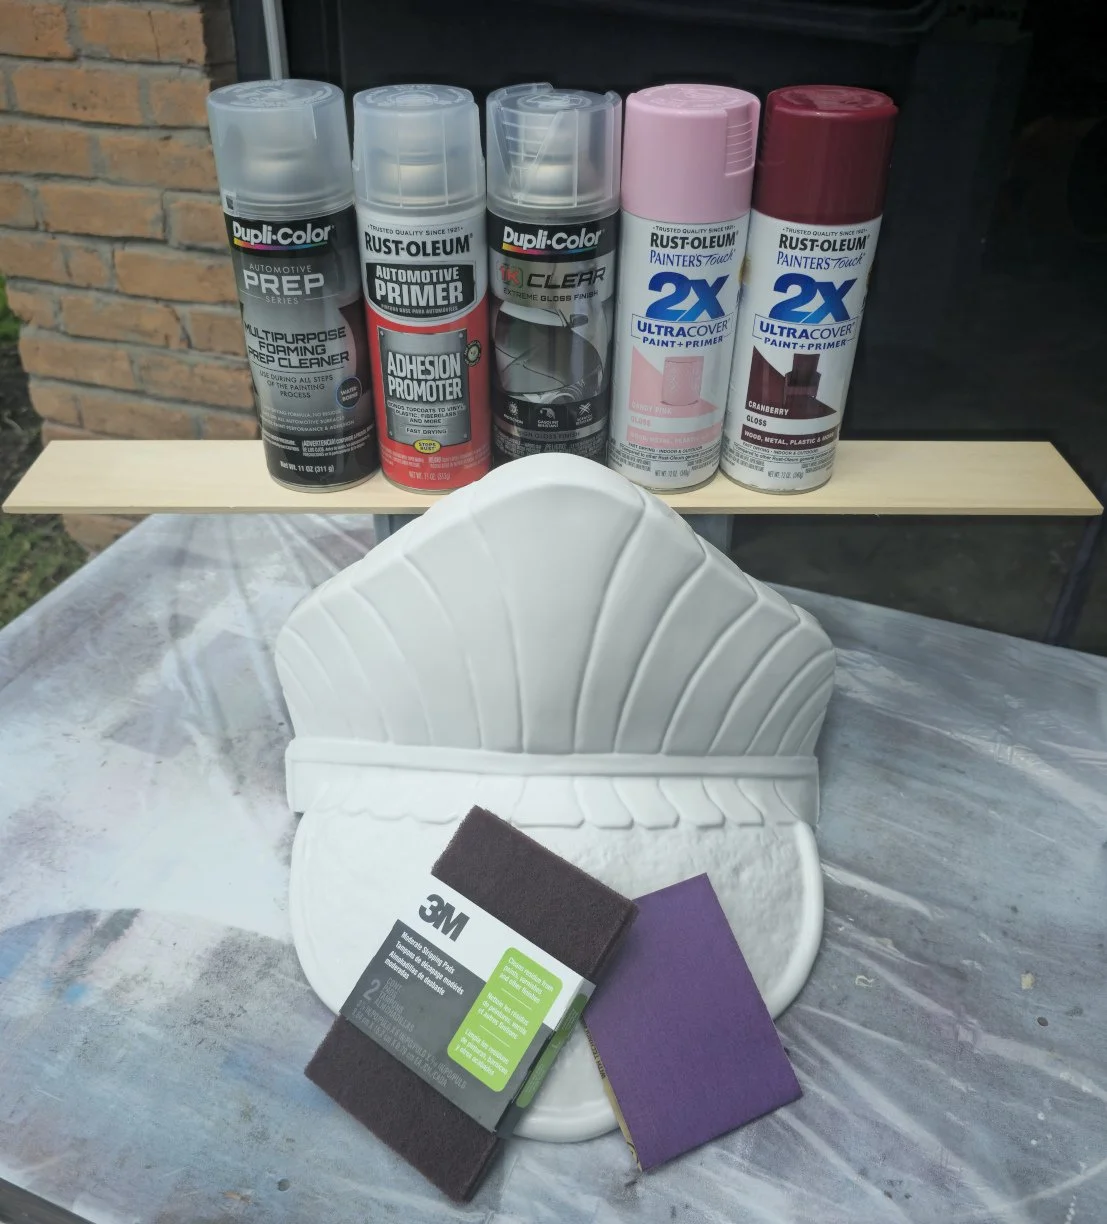
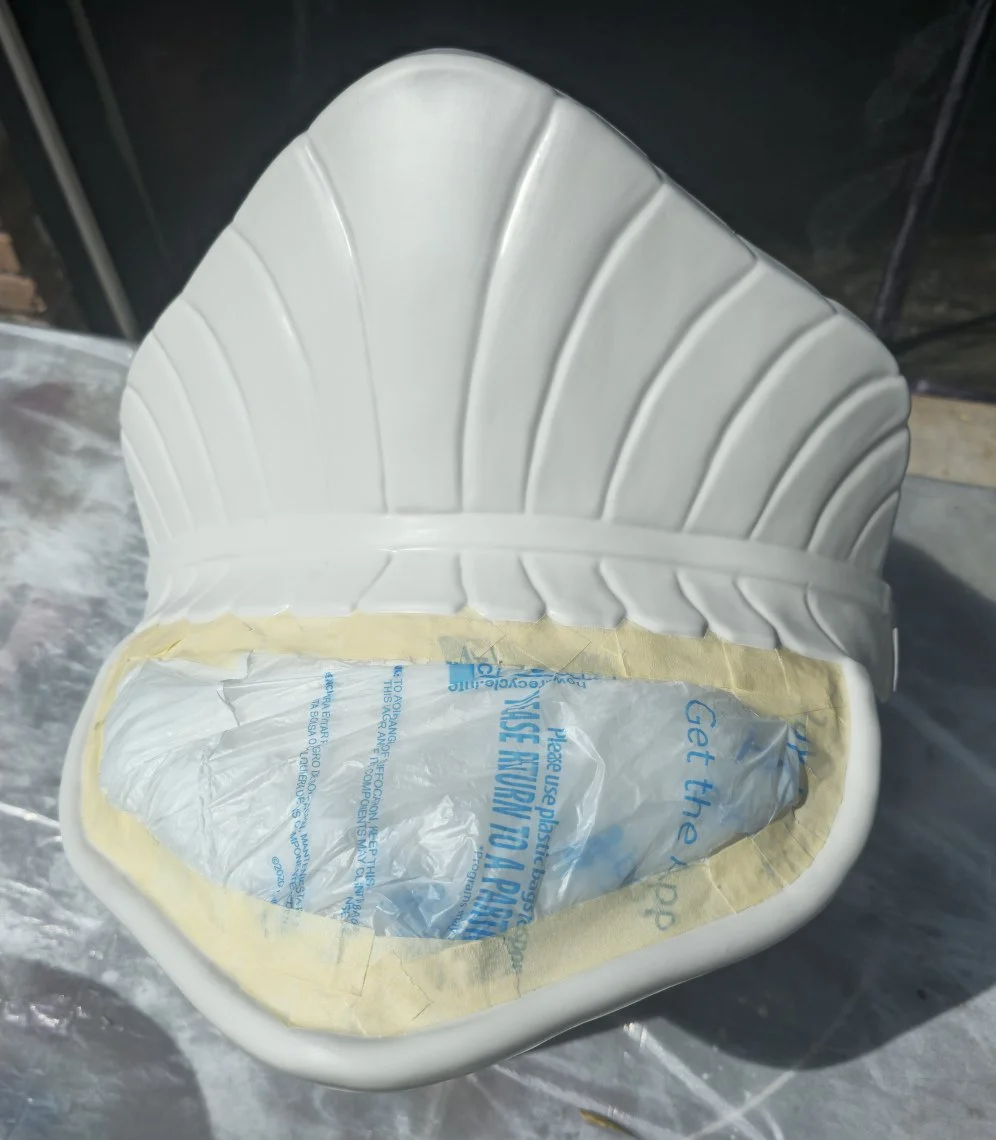
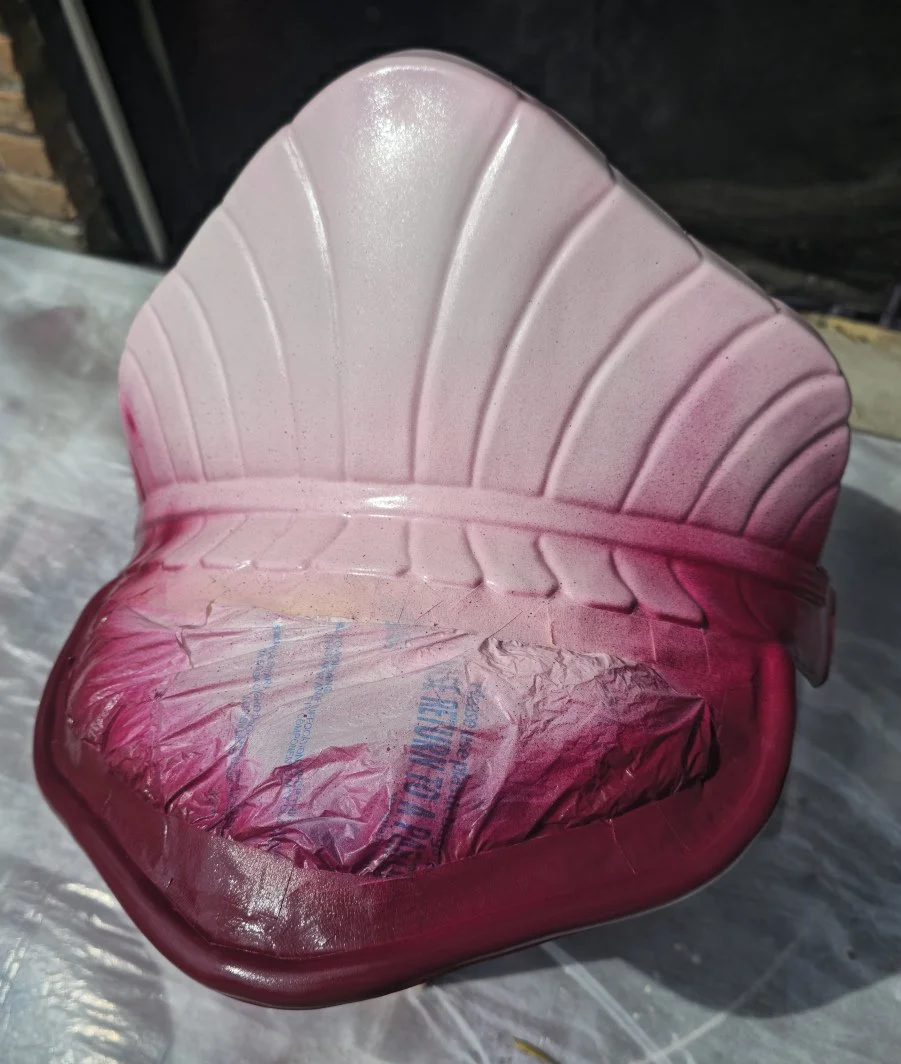
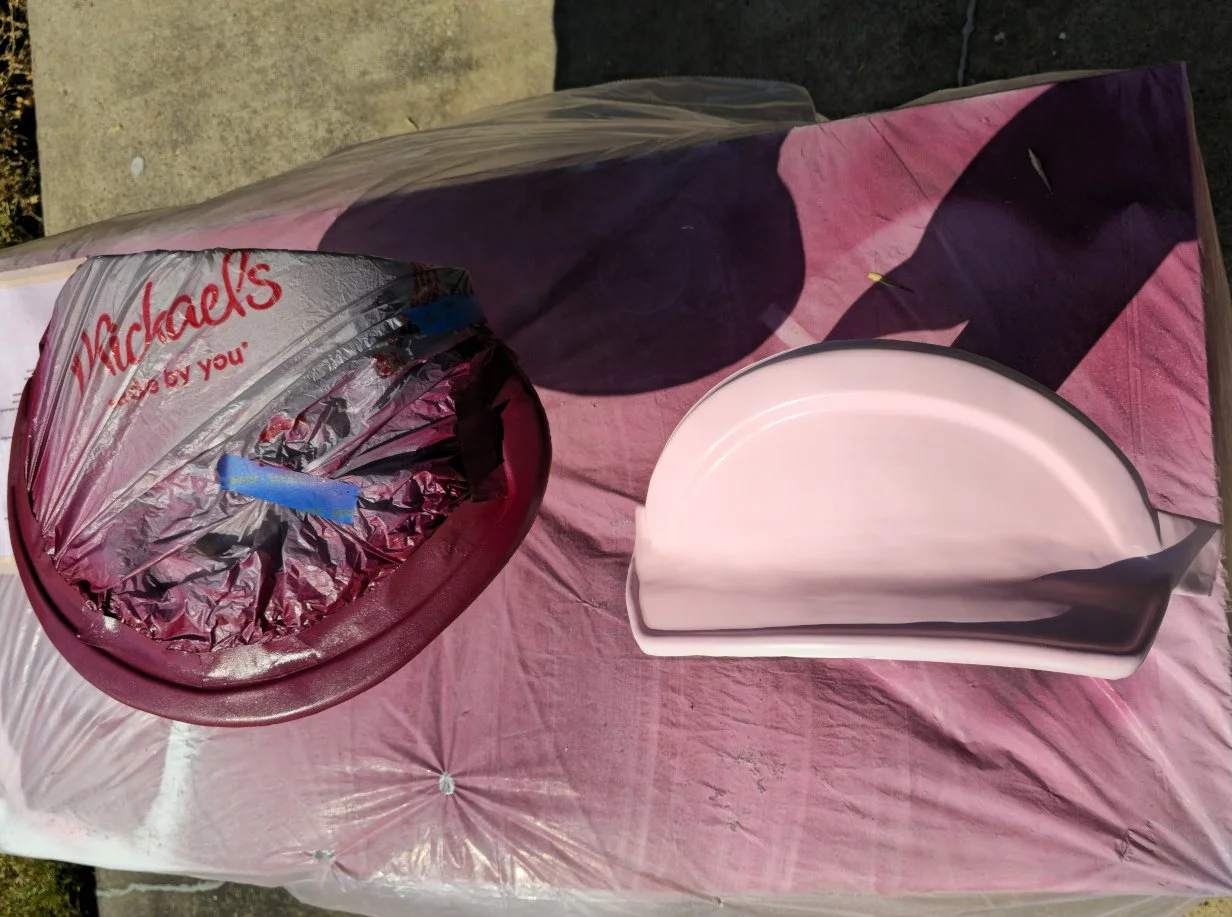
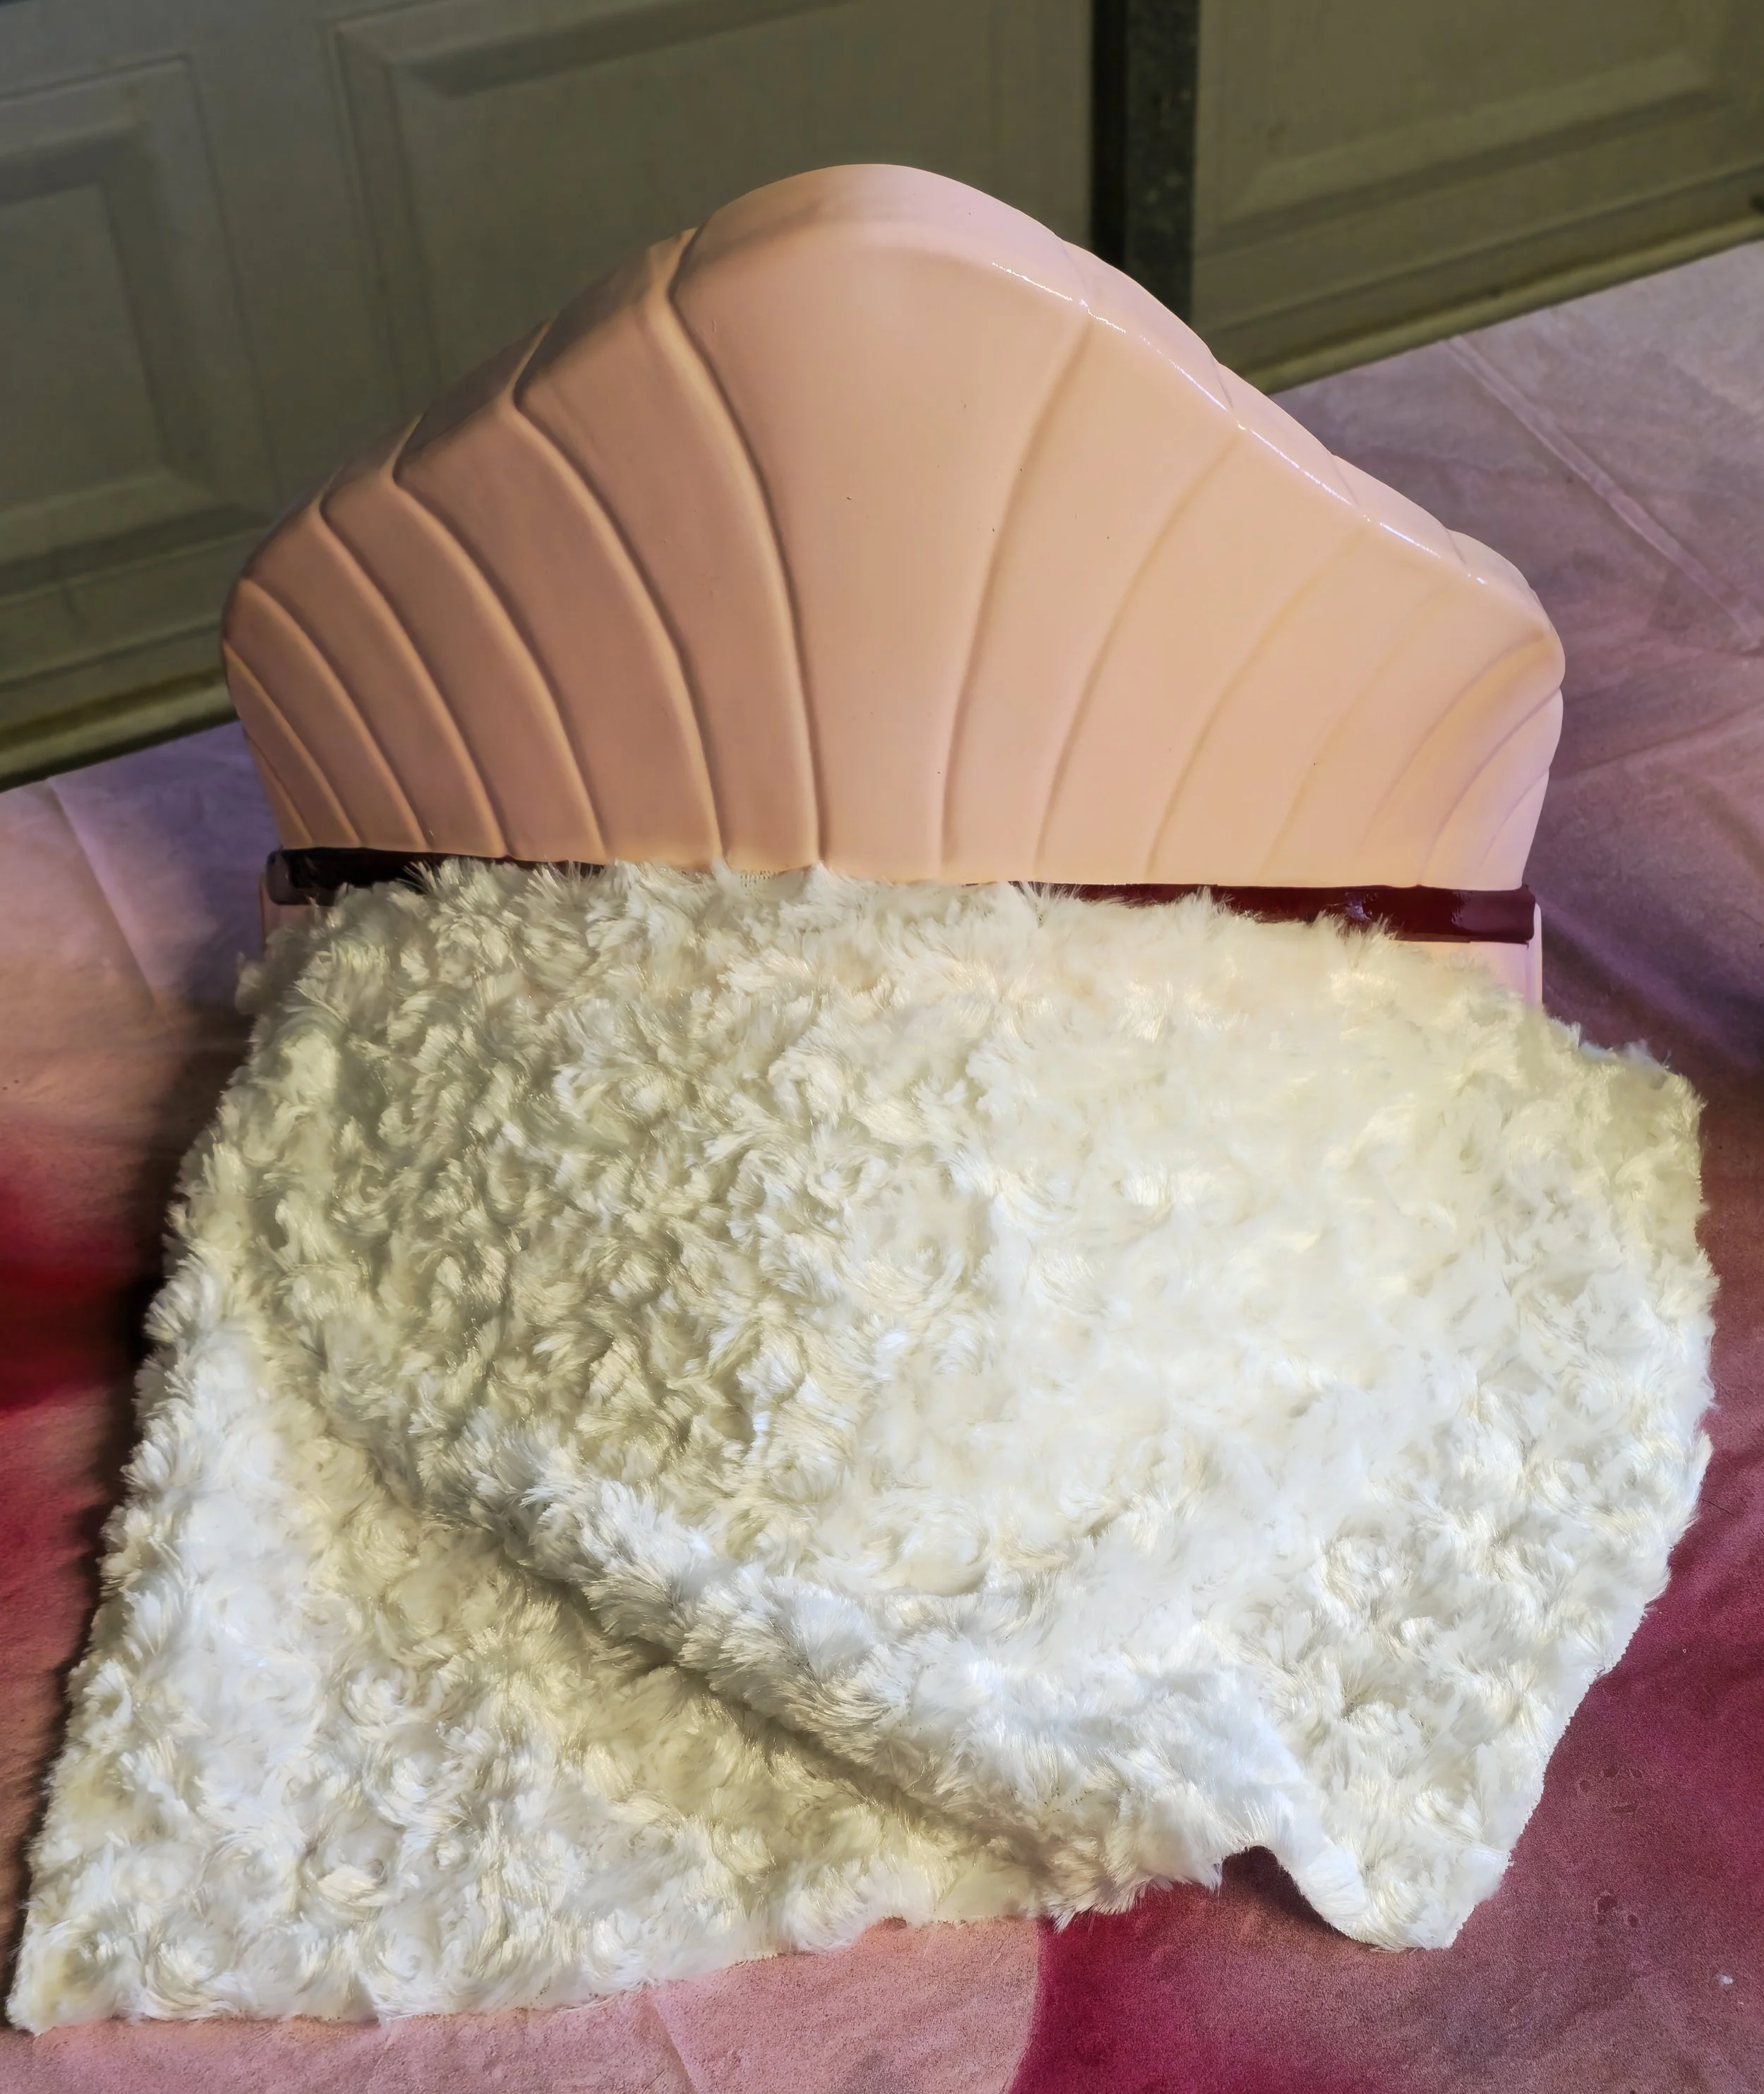
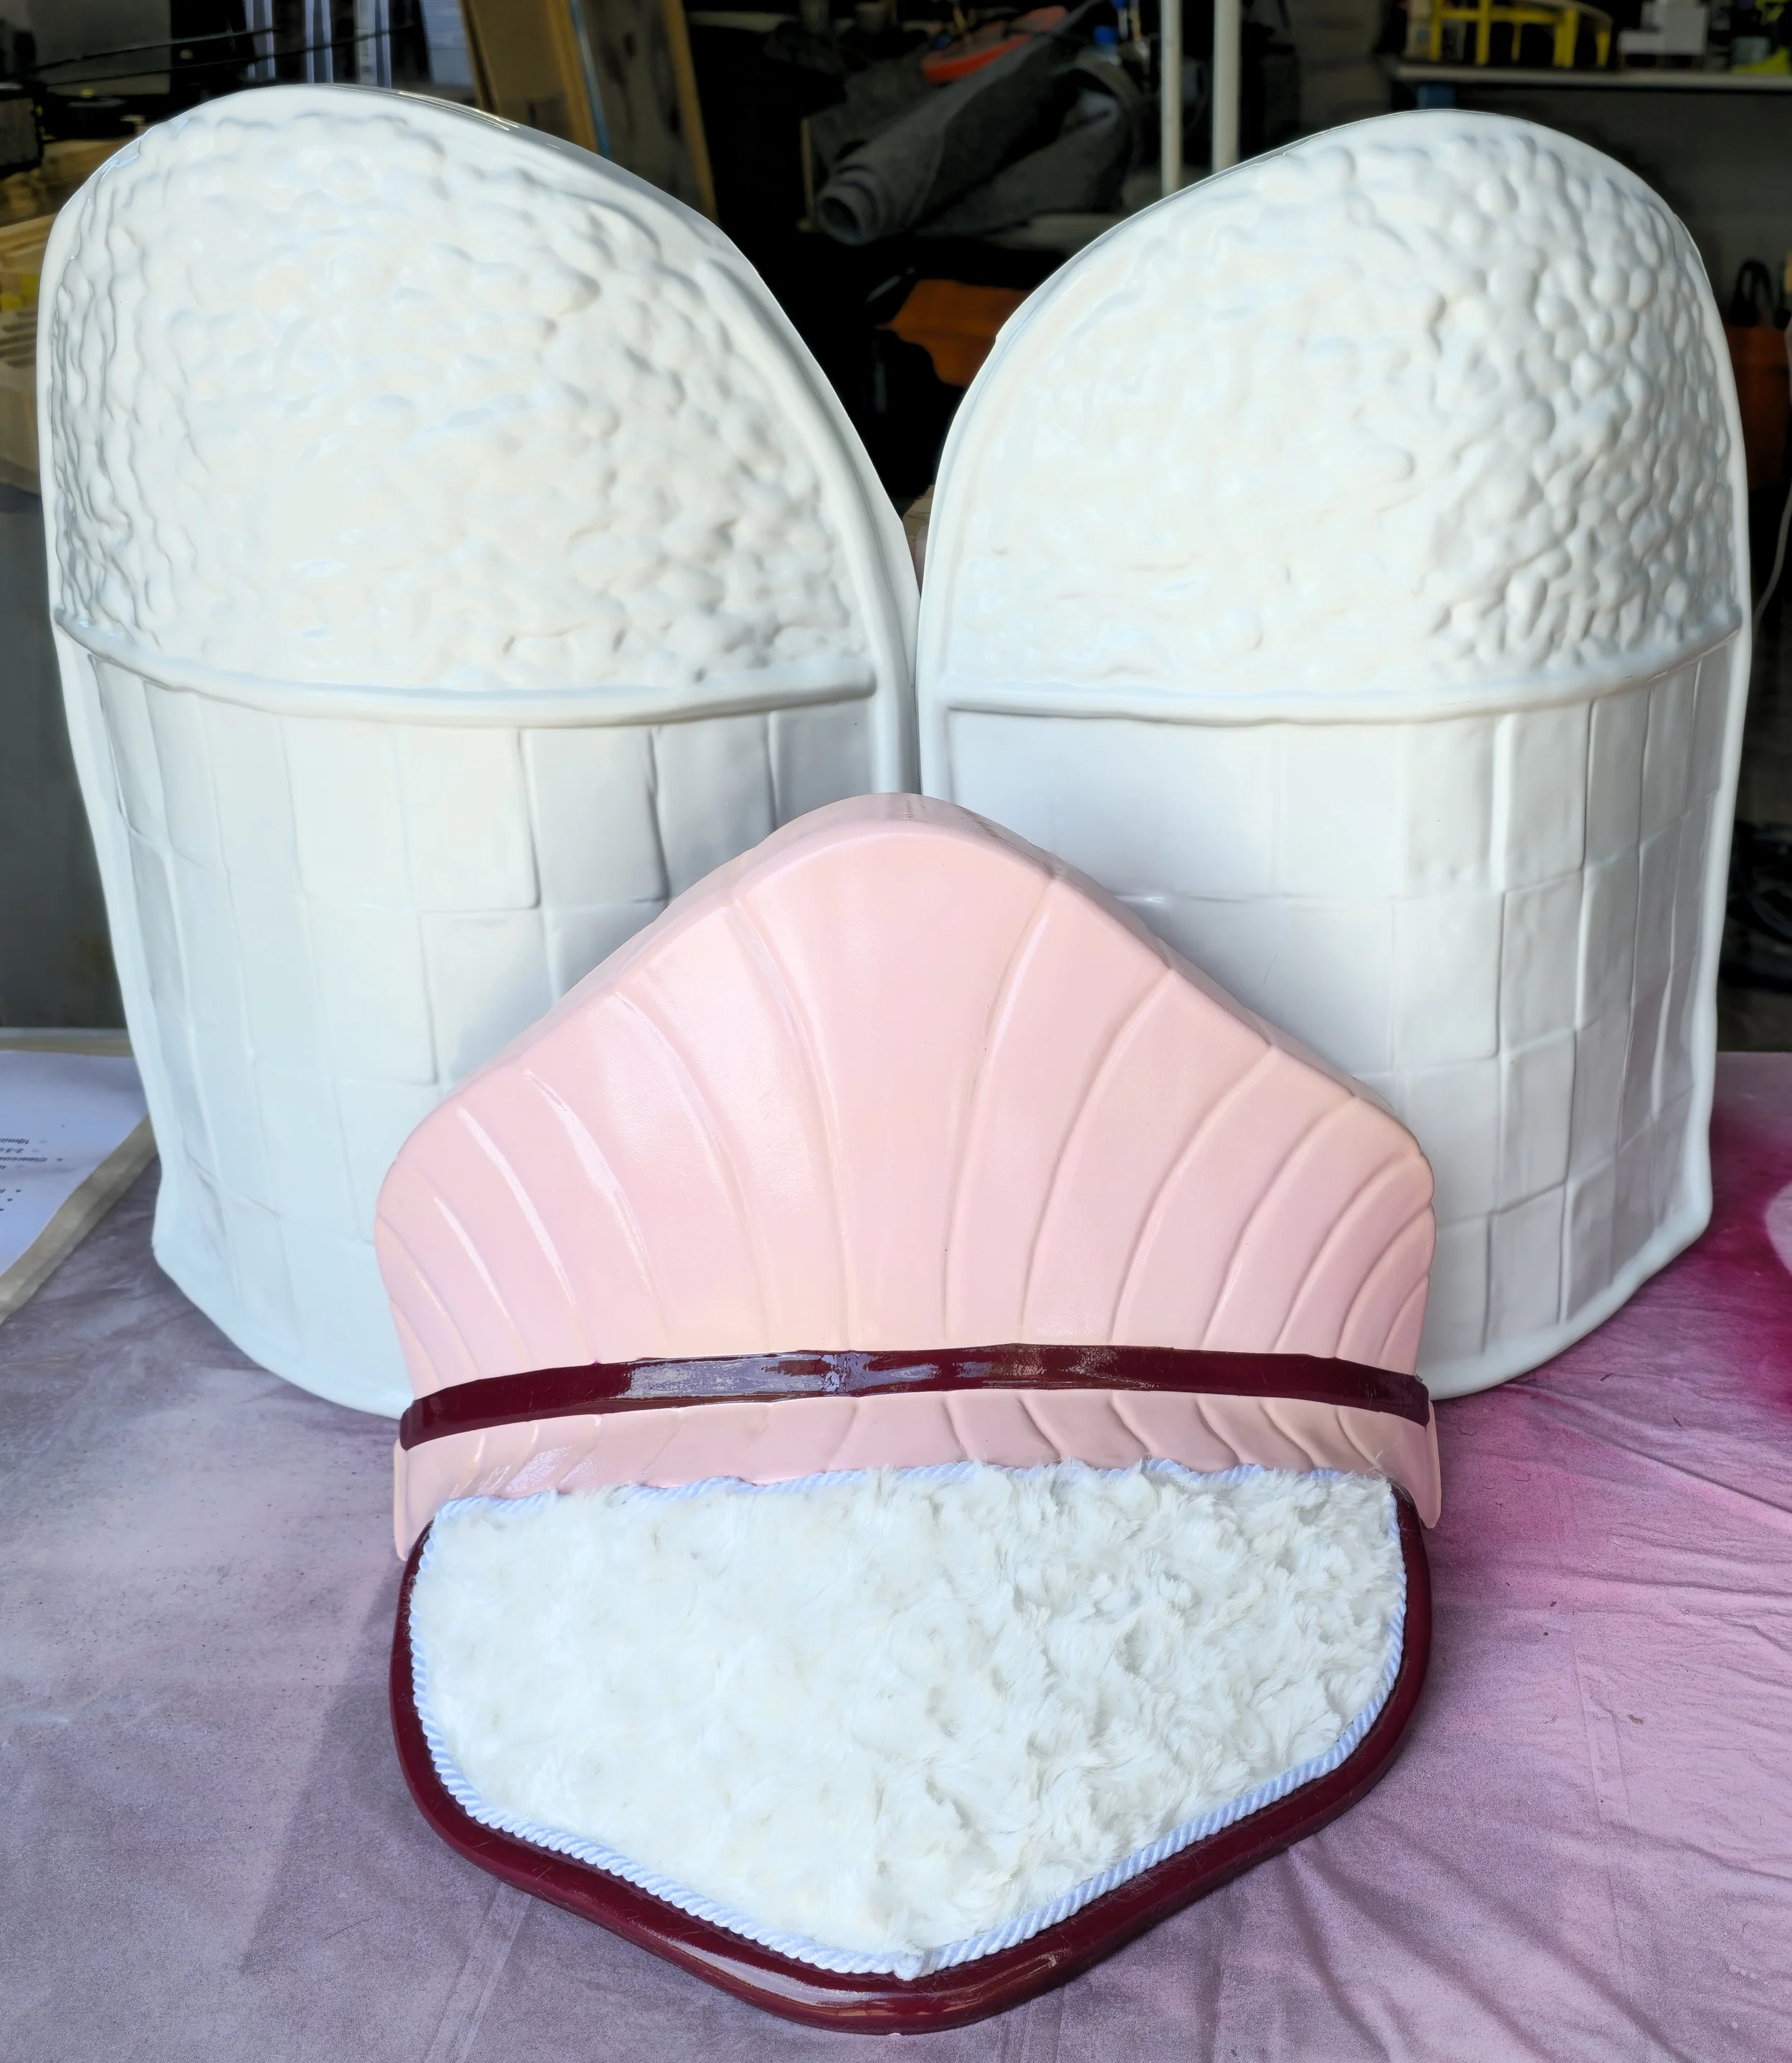
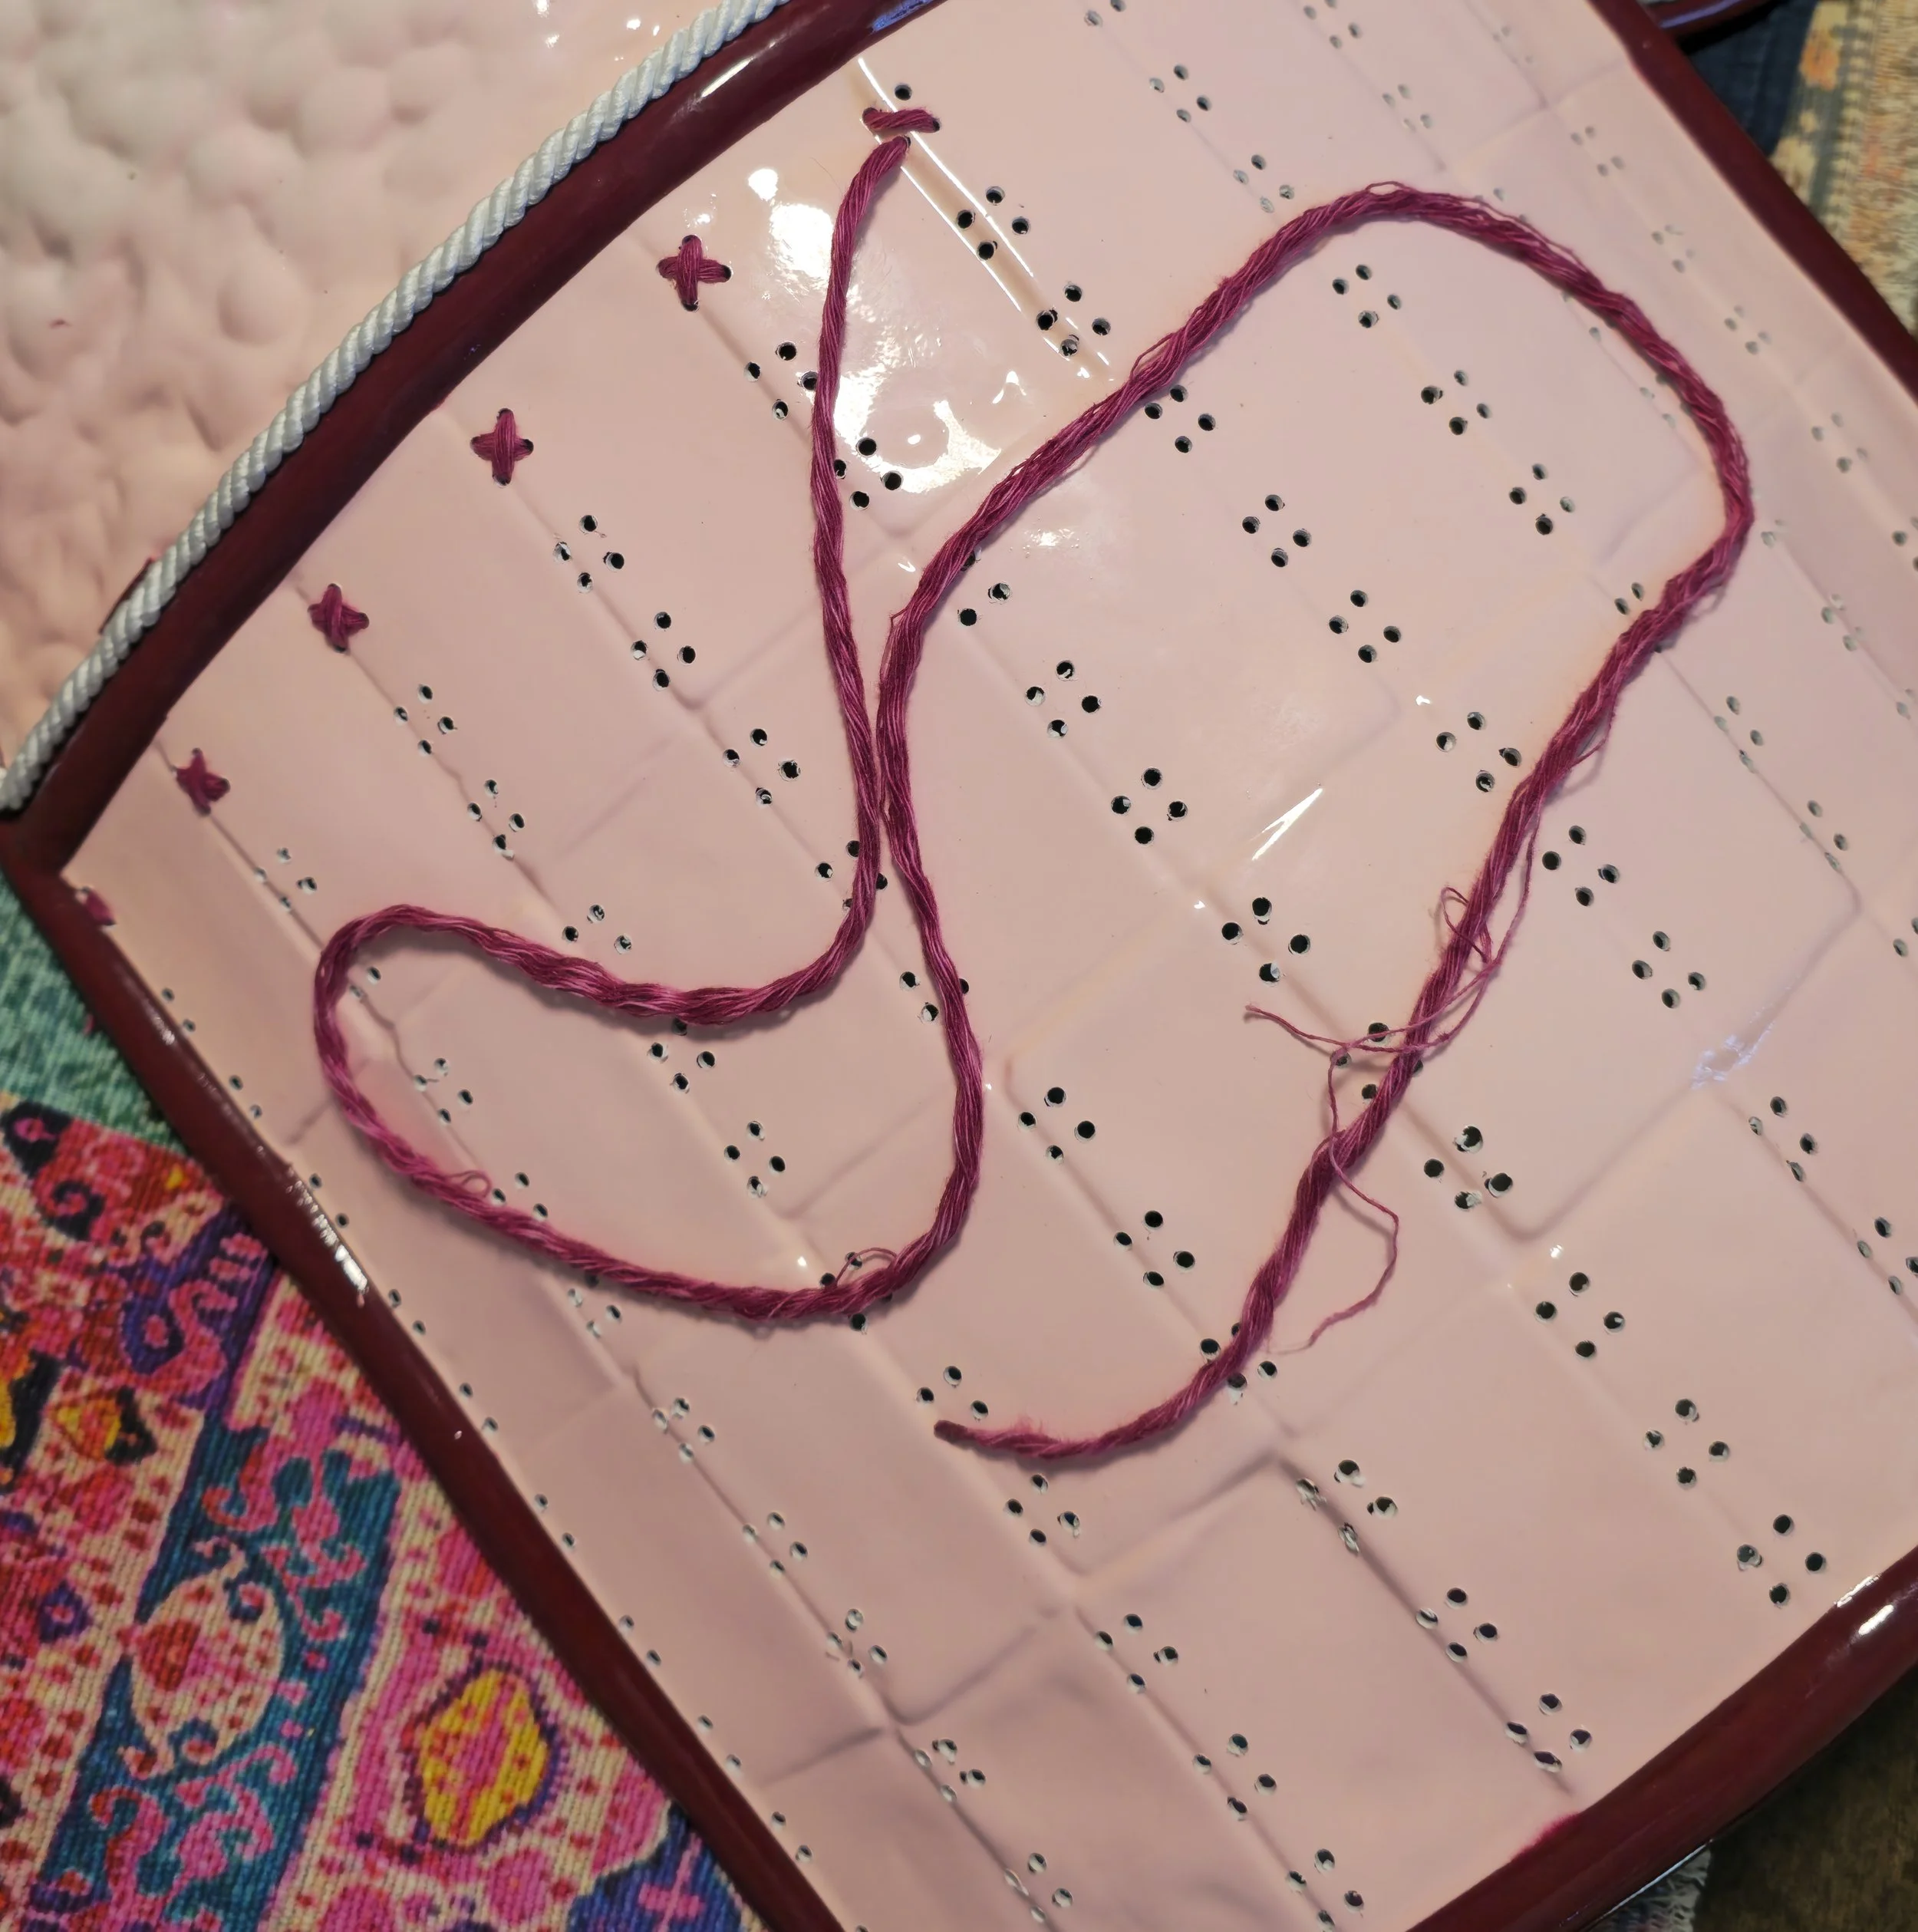
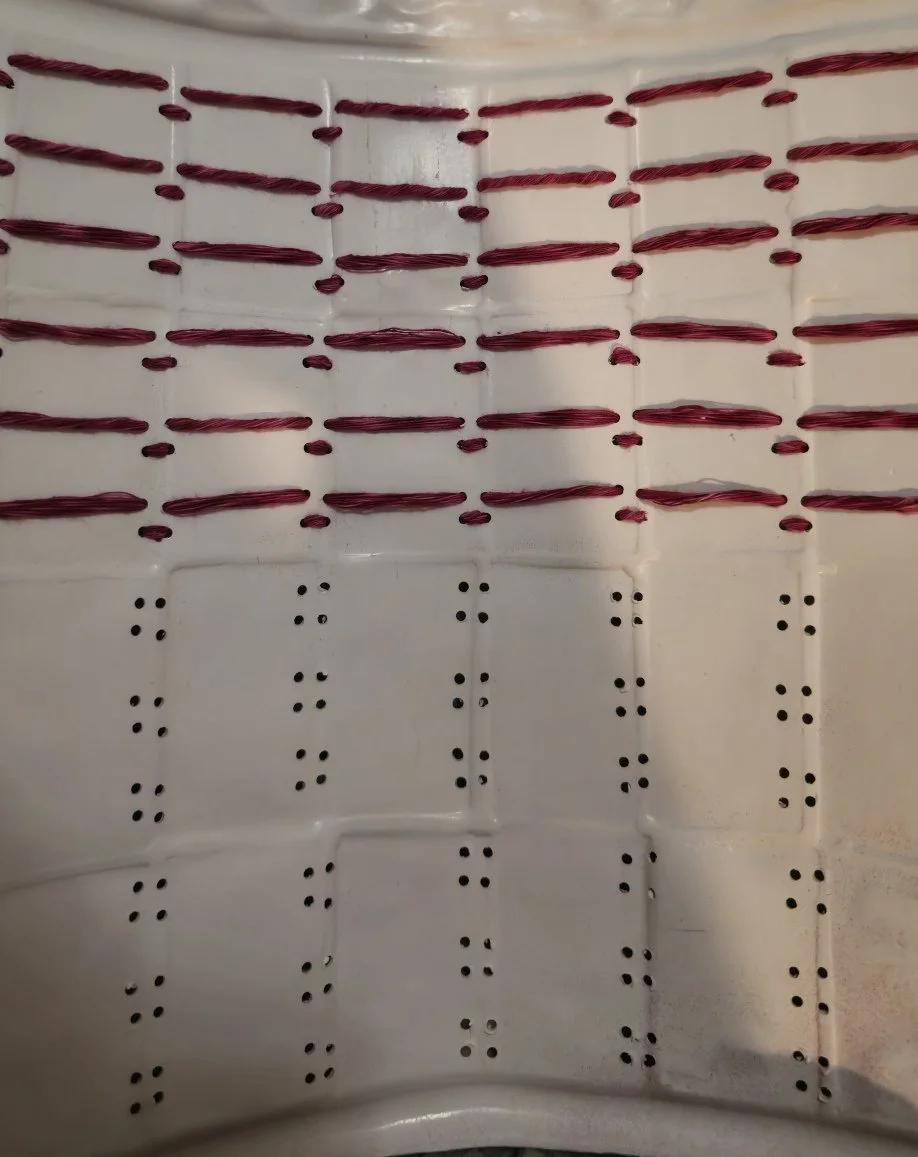
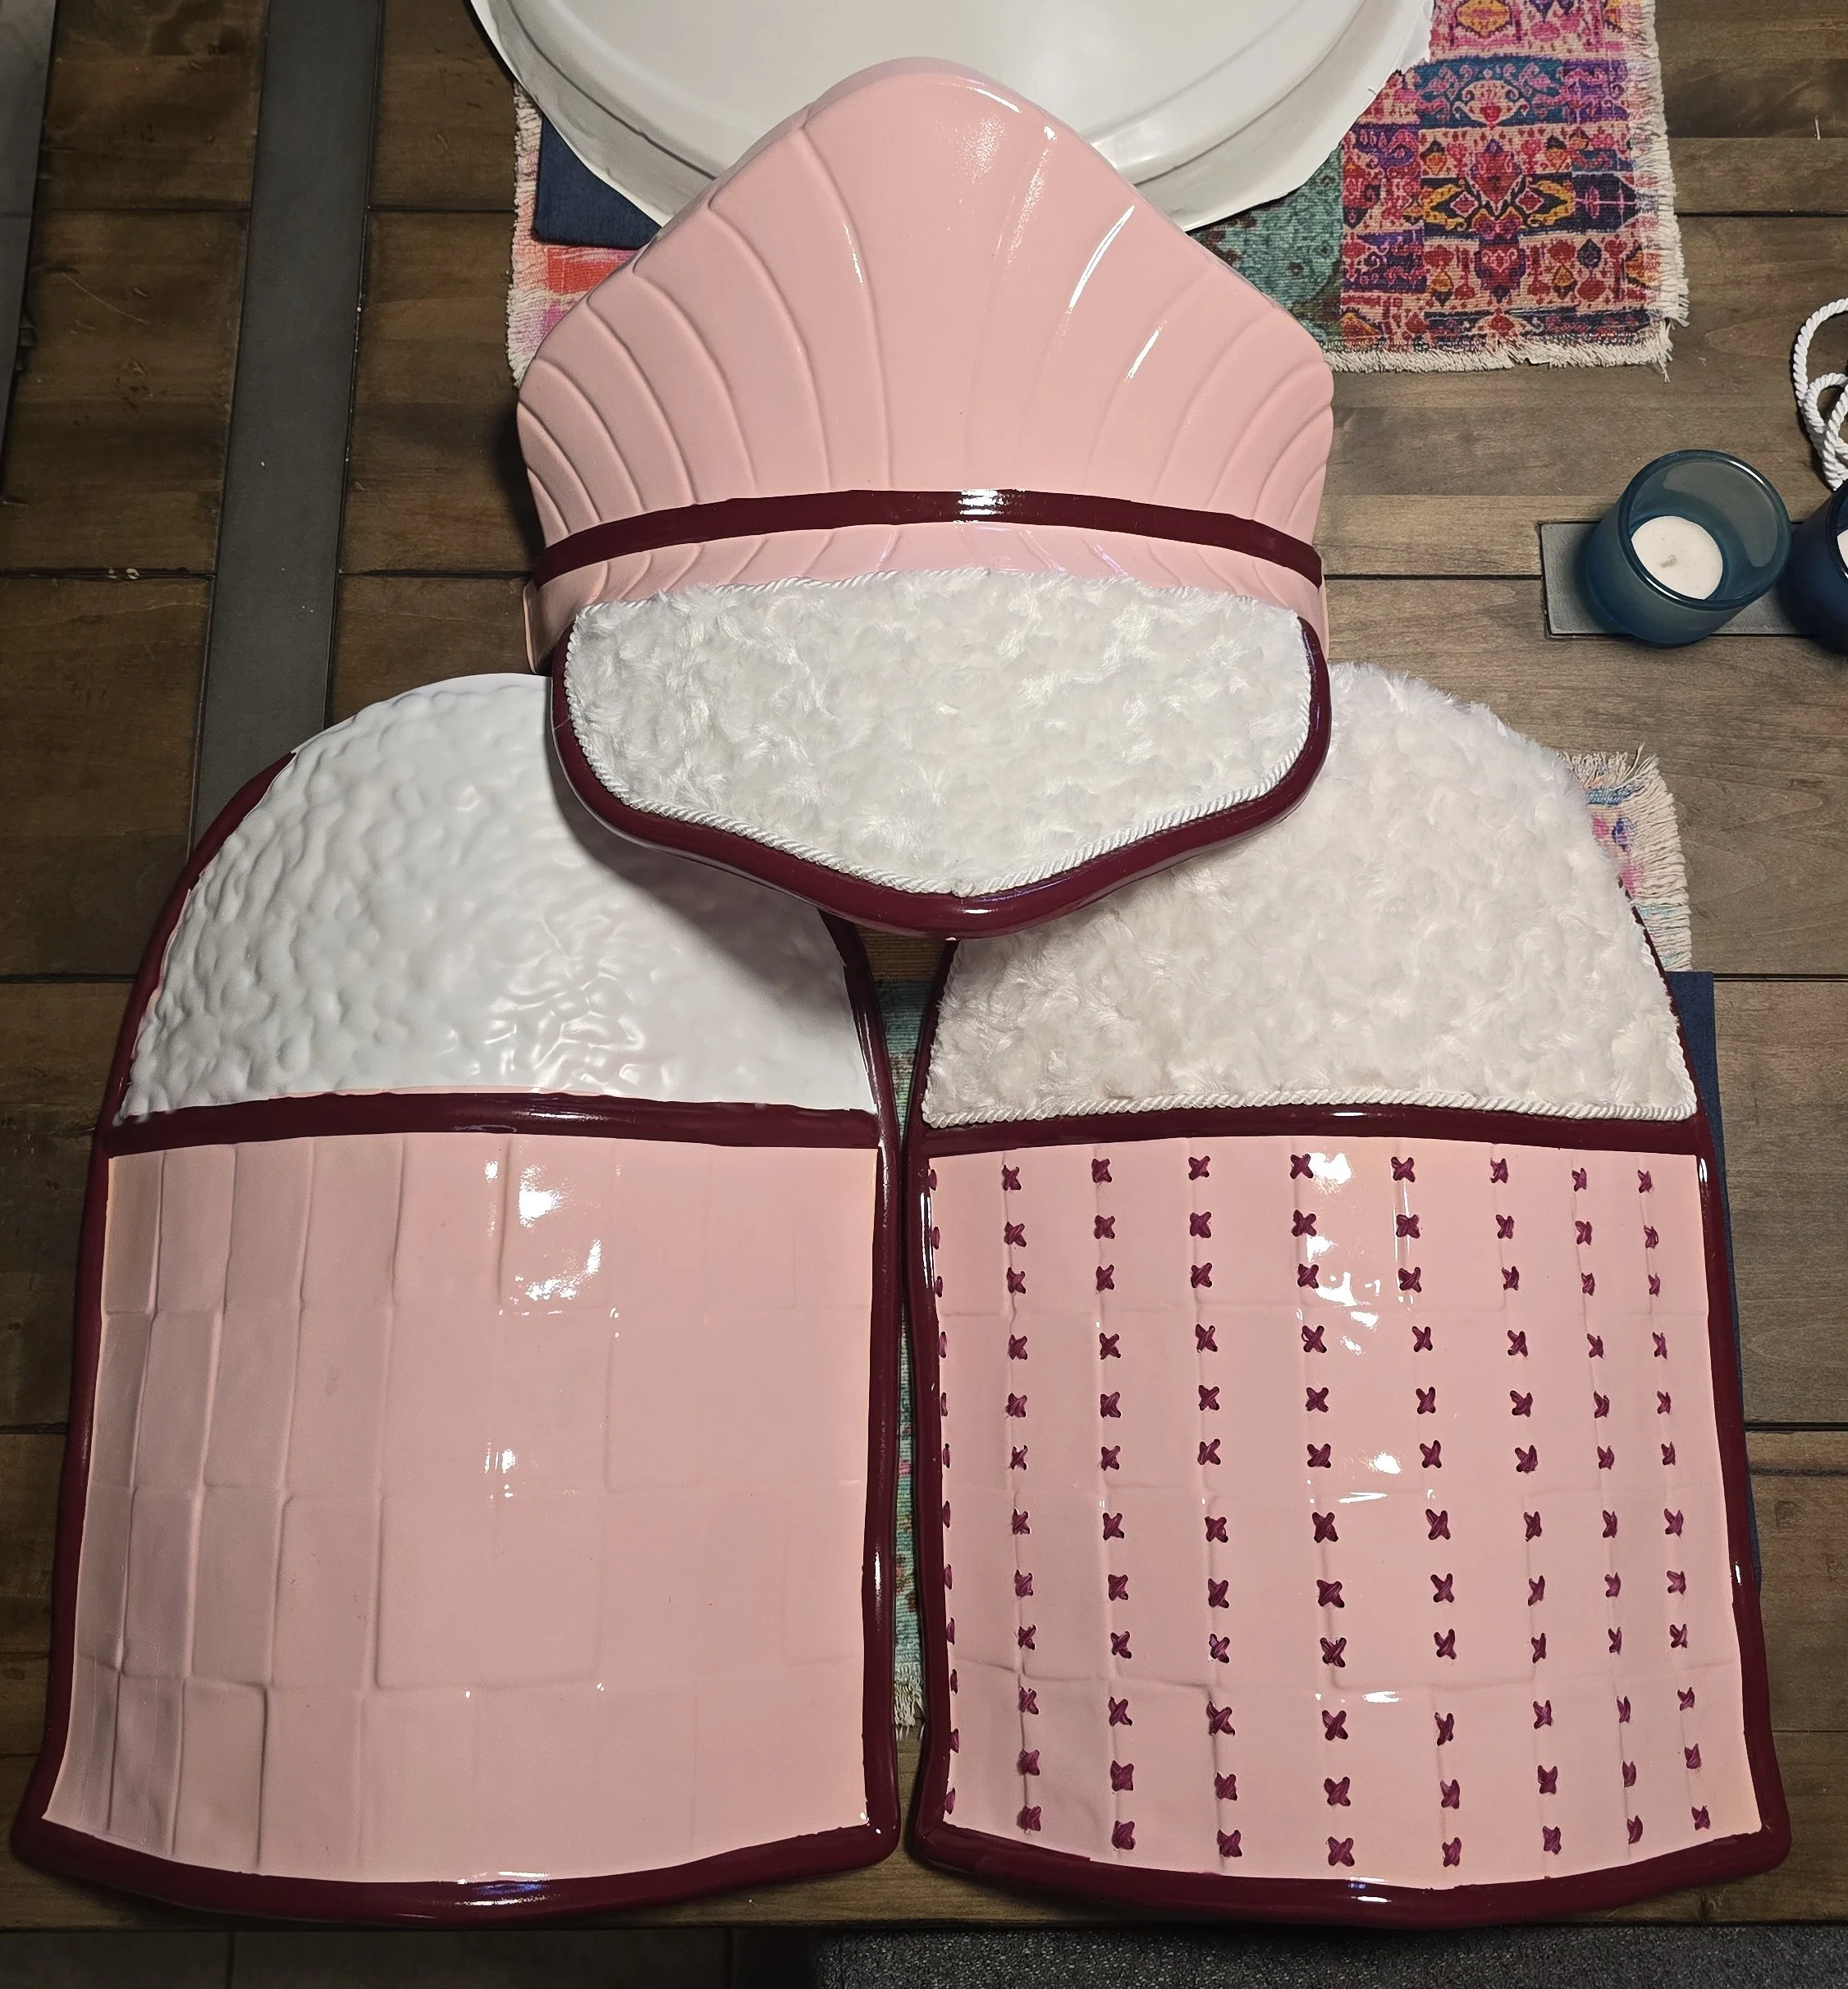
Next up was the waist and the Haidate which are the two panels which protect the thighs. I started with the waist which would be placed in front of the Haidate and once completed, I decided to take it up a notch. The armor was textured, but I thought adding some fake fur would give it a nicer look and feel. I added the fabric wherever the textured plastic appeared. I think it gave a little bit more excitement to the armor rather than just painting. Then, moving onto the thigh armor, I drilled several holes to add a bit more texture. I wanted to change the relative flatness and let it blend in more with the pieces that would be added in the next step. I separated a long stretch of the dyed rope into three strands. Then, took strands to weave it through the holes. On the front it gave an “assembled” look while on the back the threading created a uniform pattern. Once again, I was very pleased with my decisions and another section was completed!
Part 5: Kusazuri
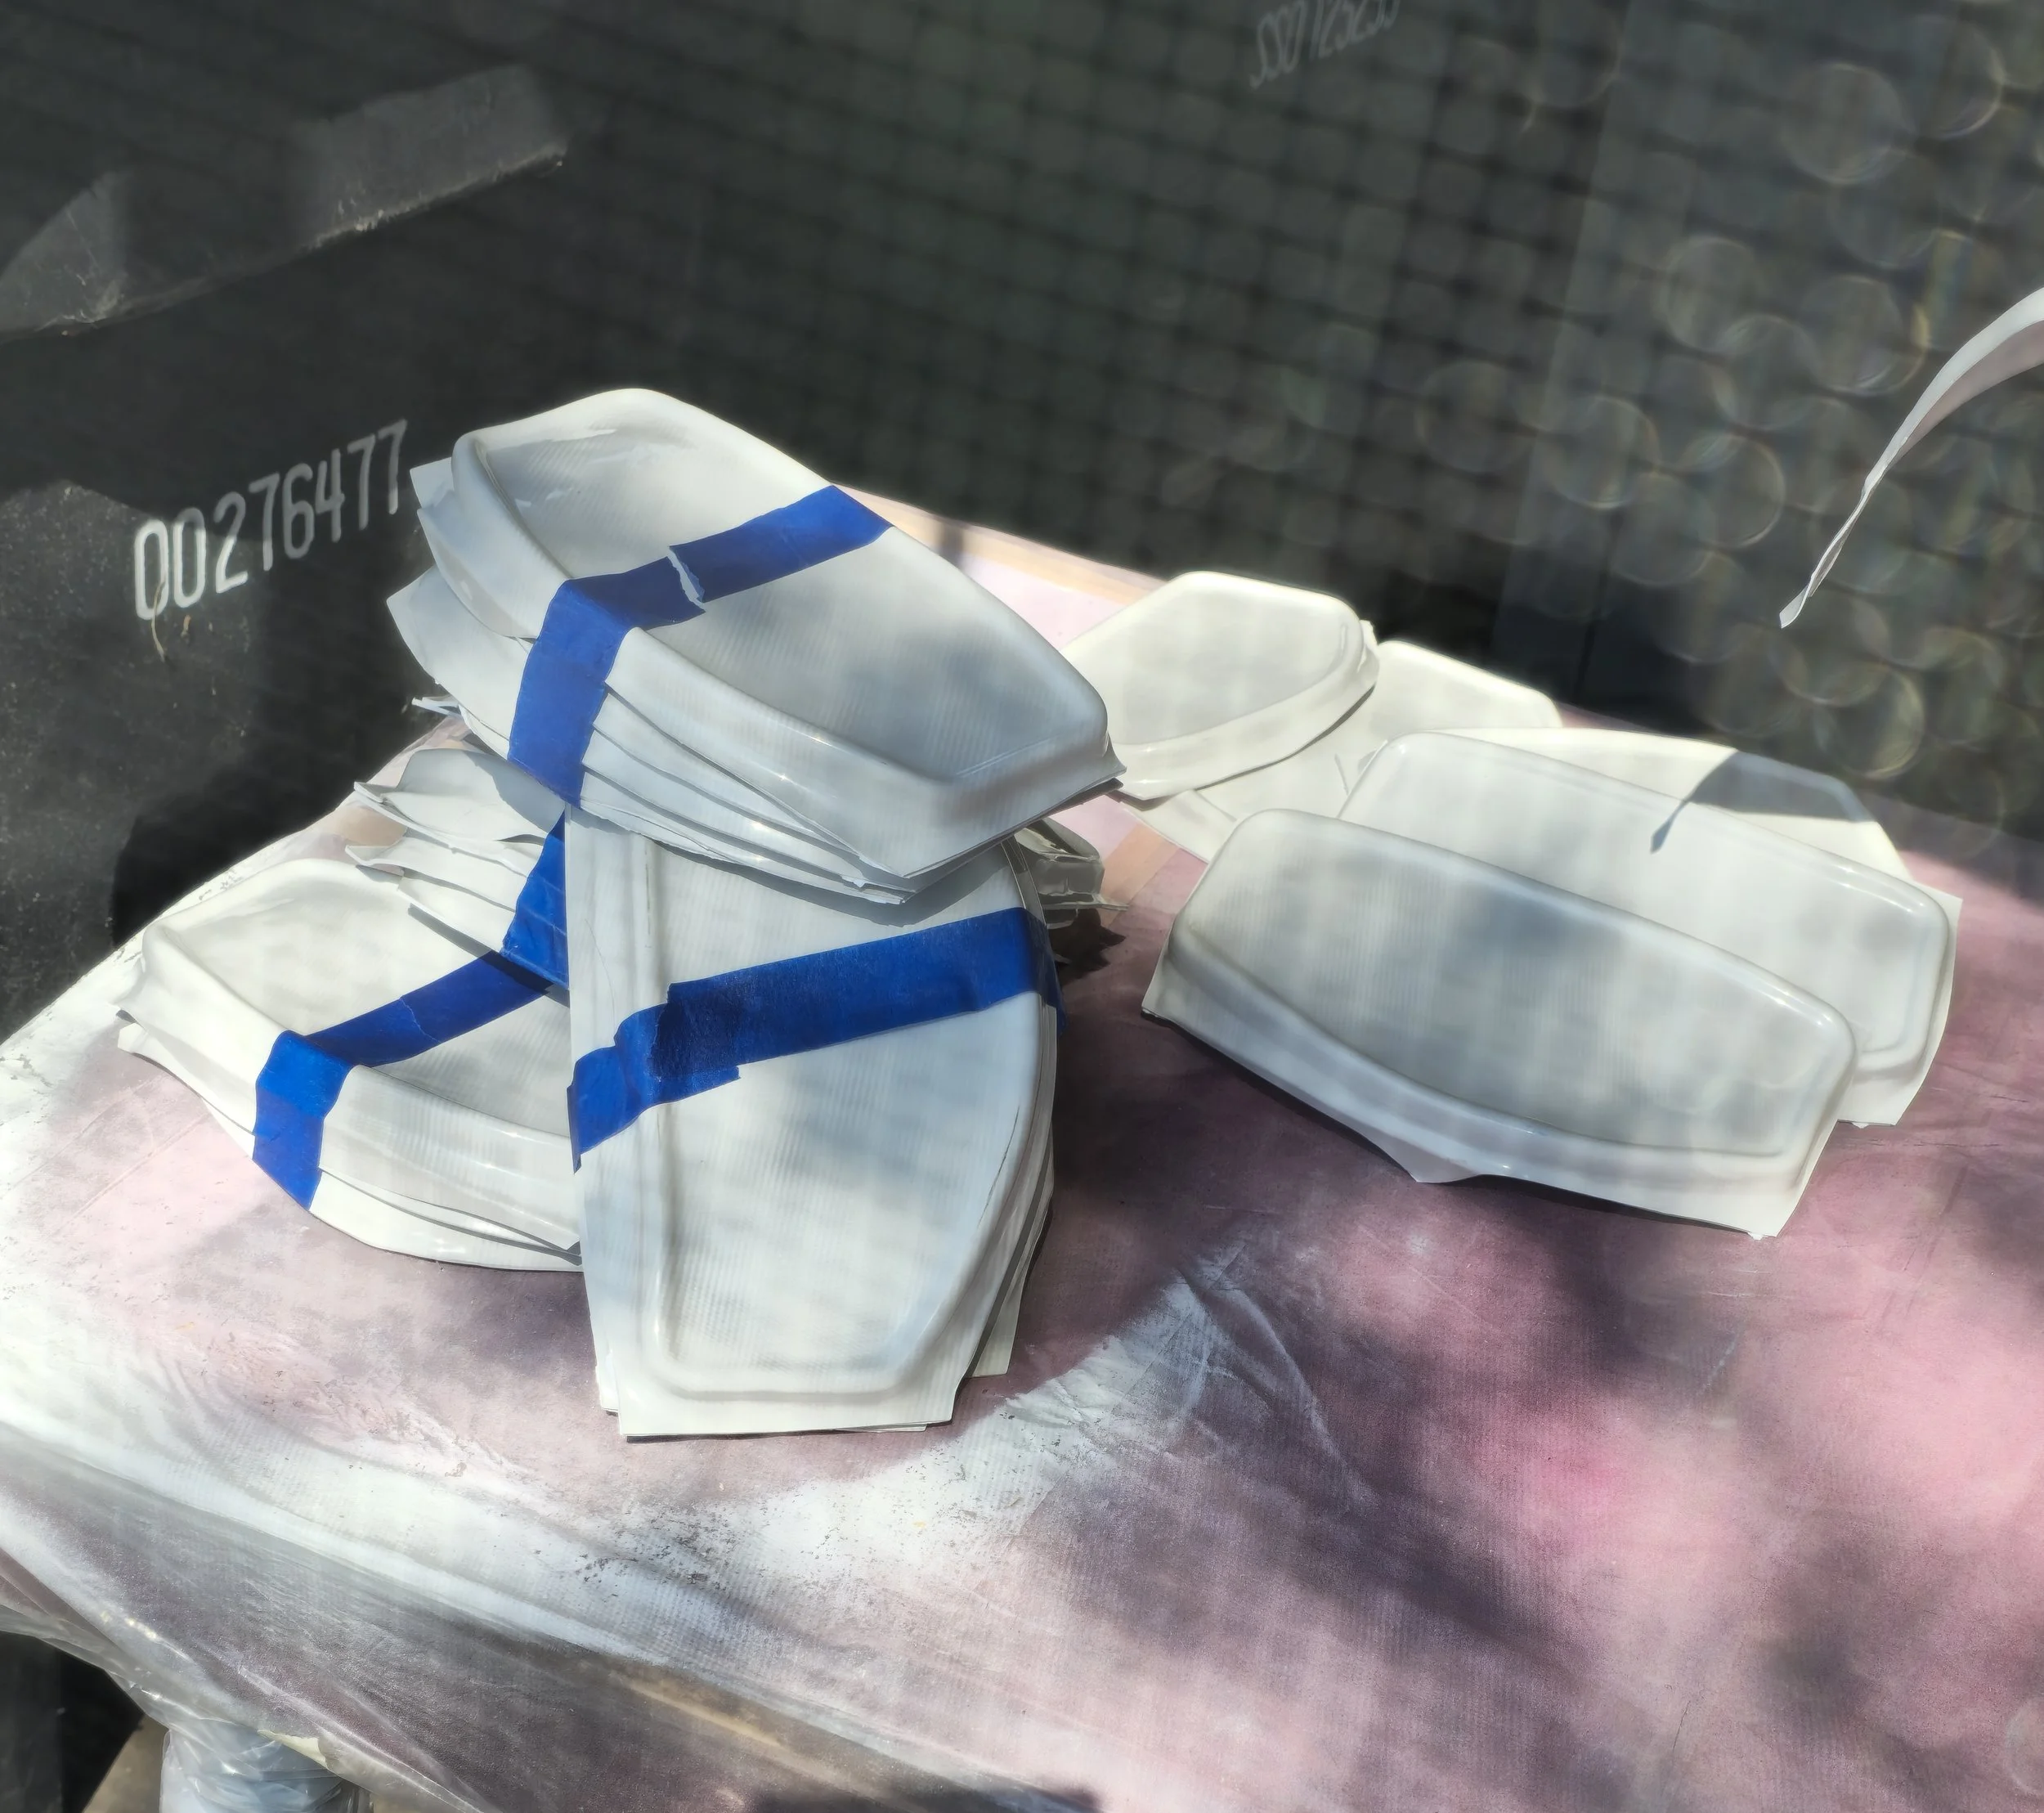
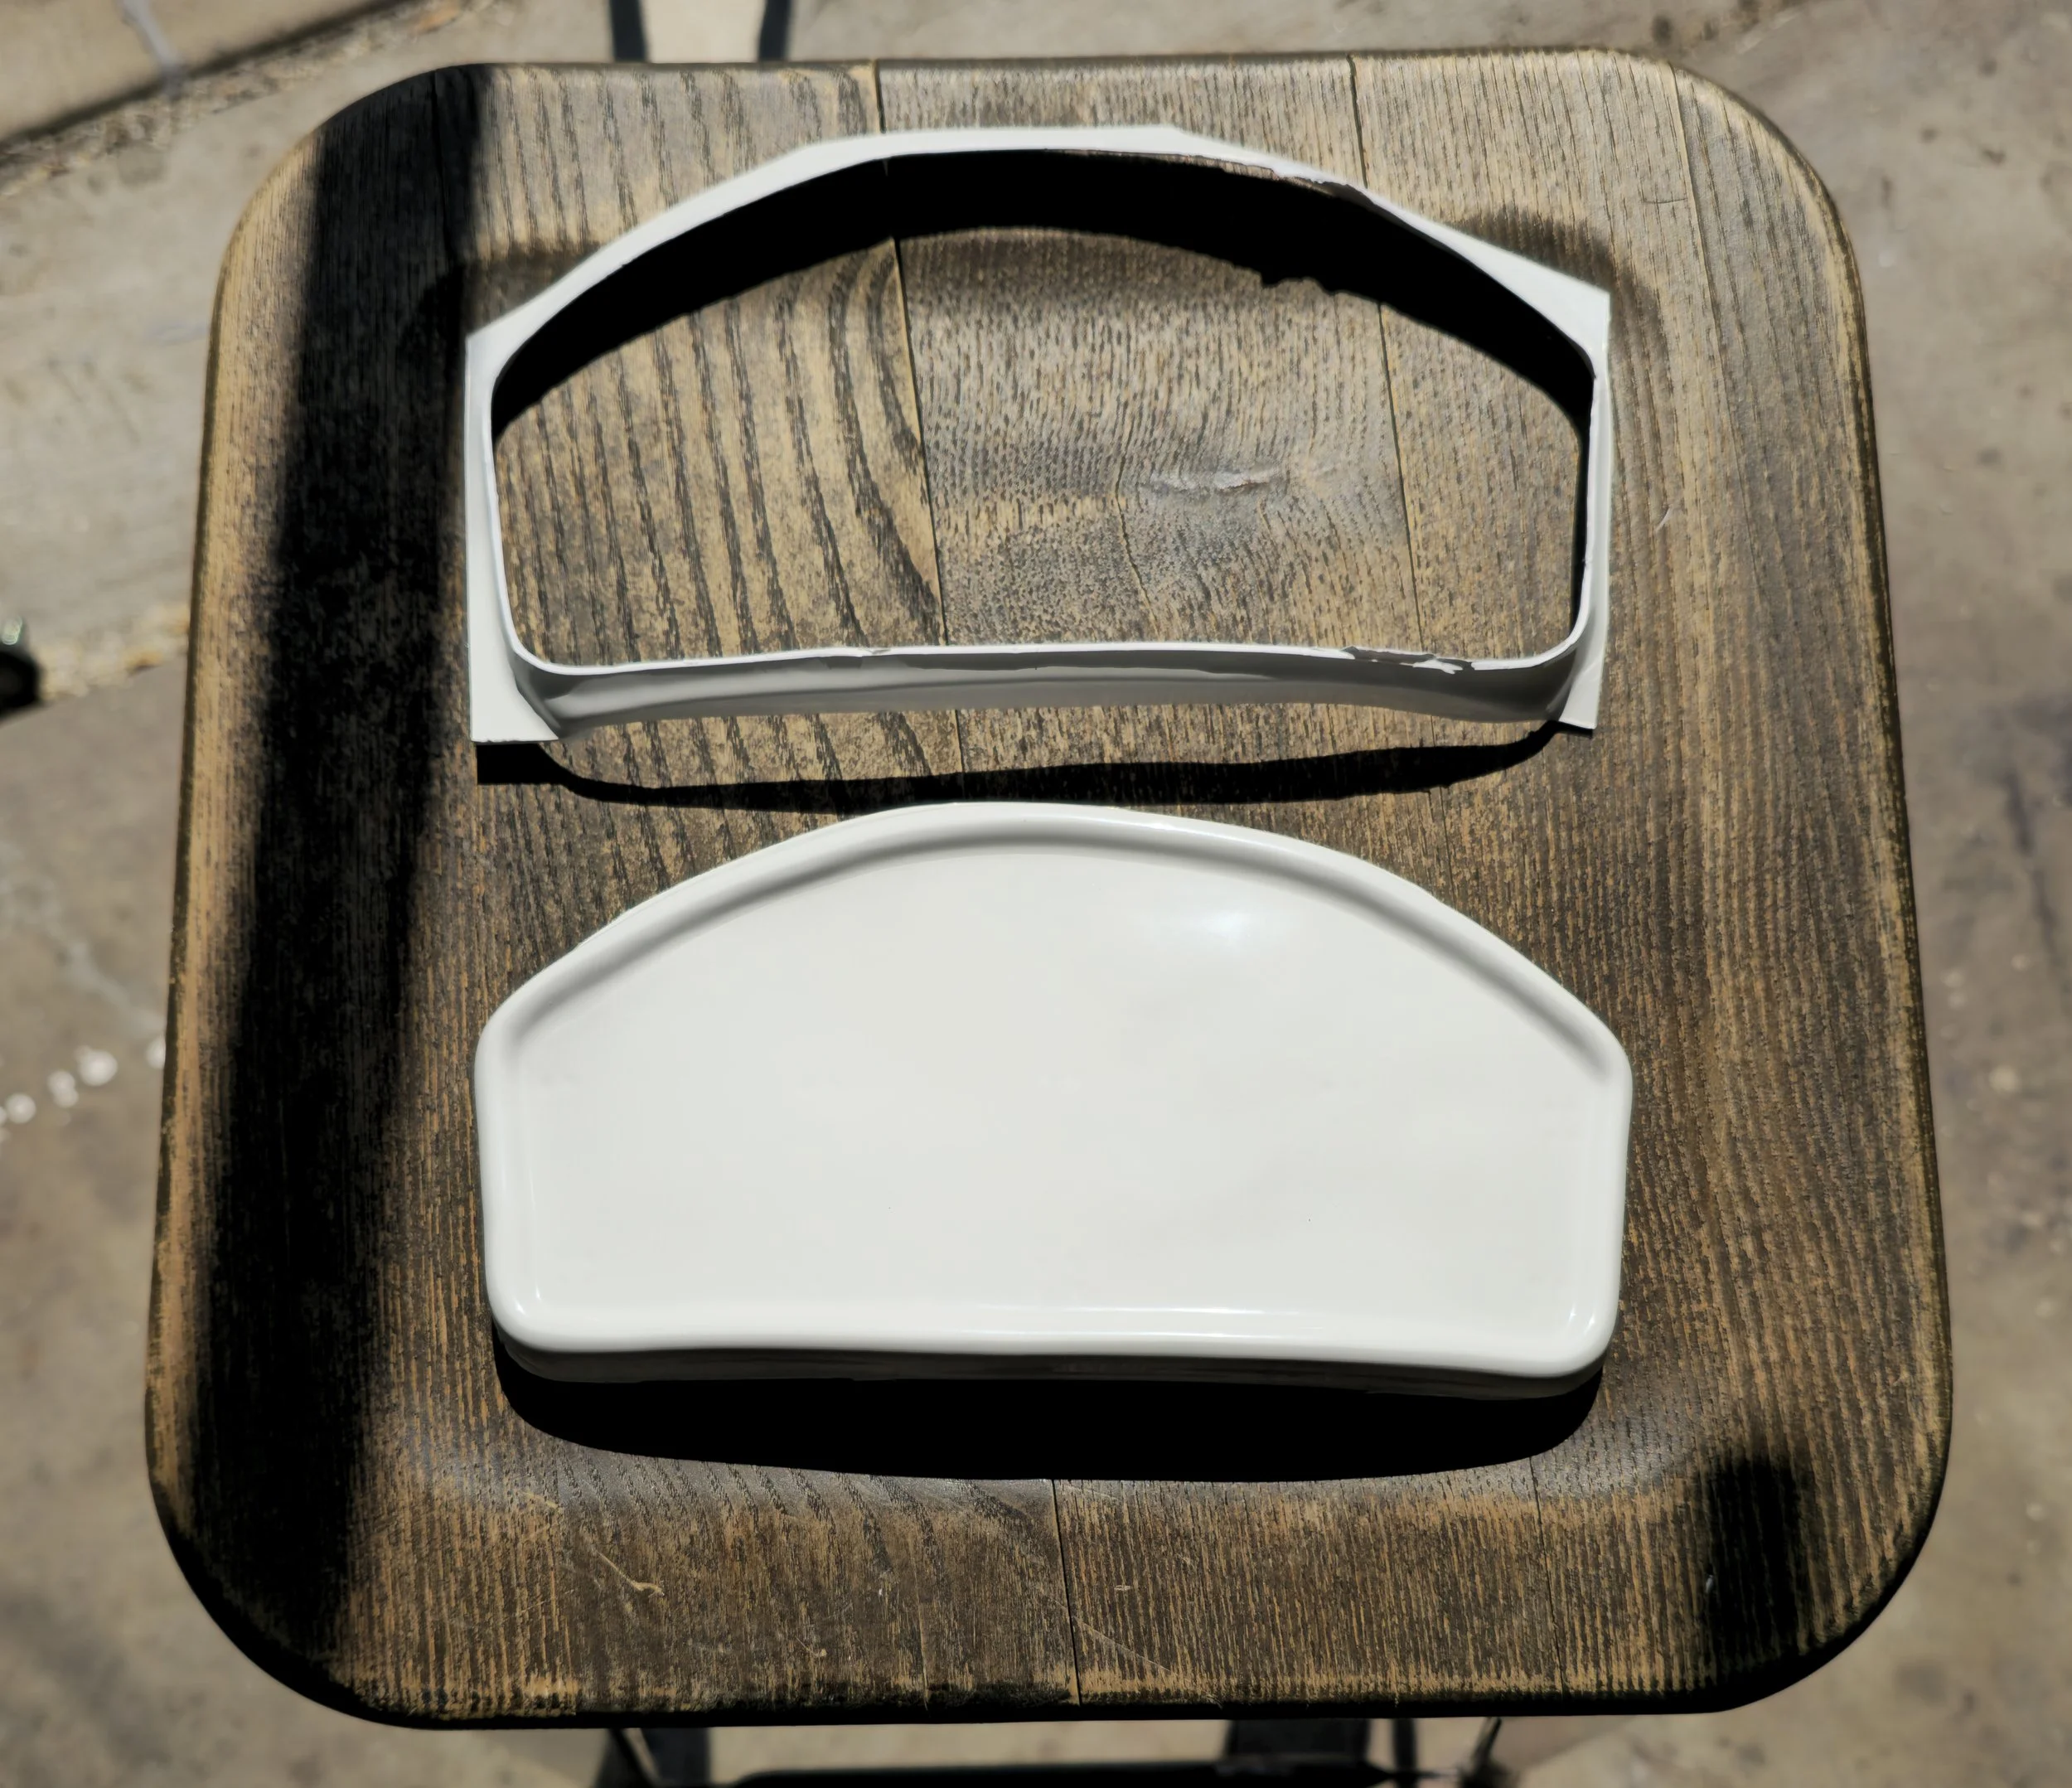
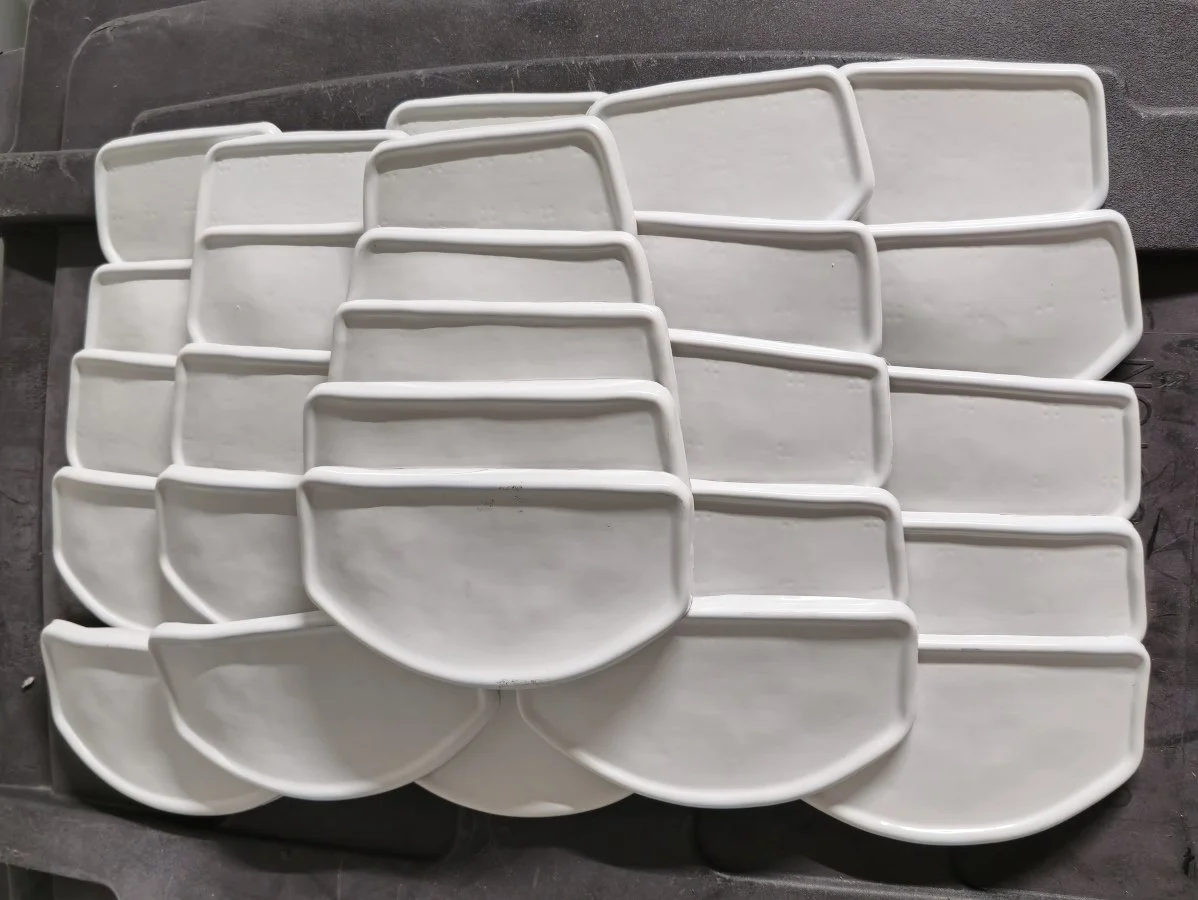
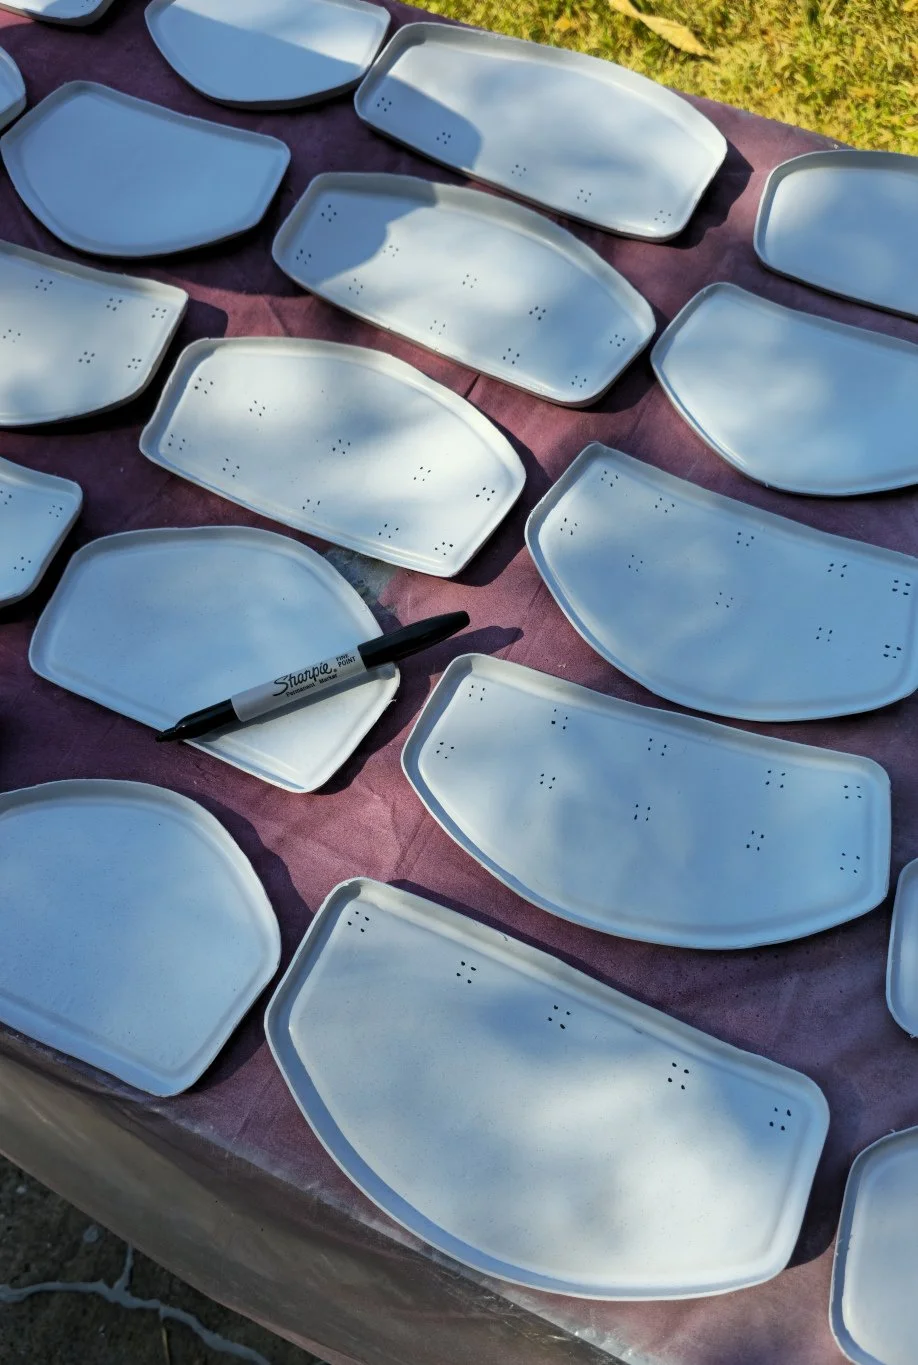
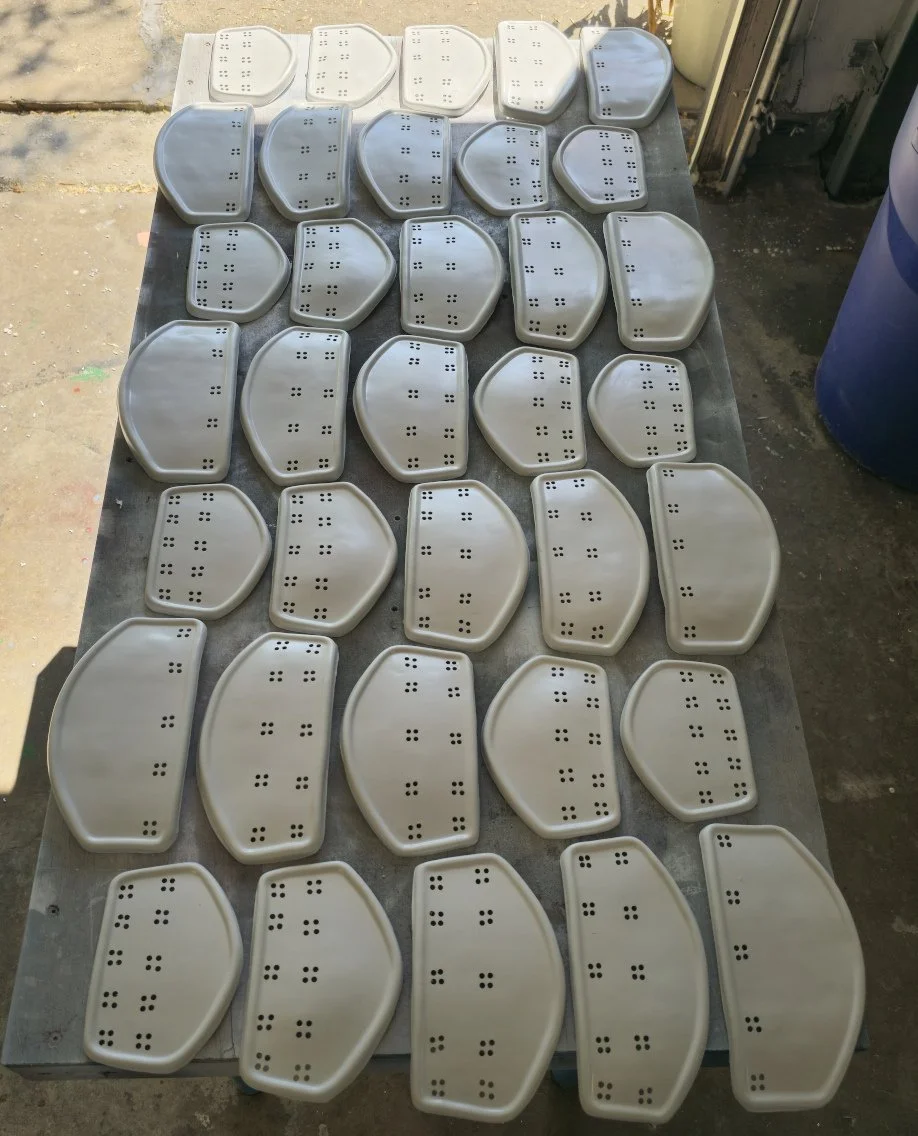
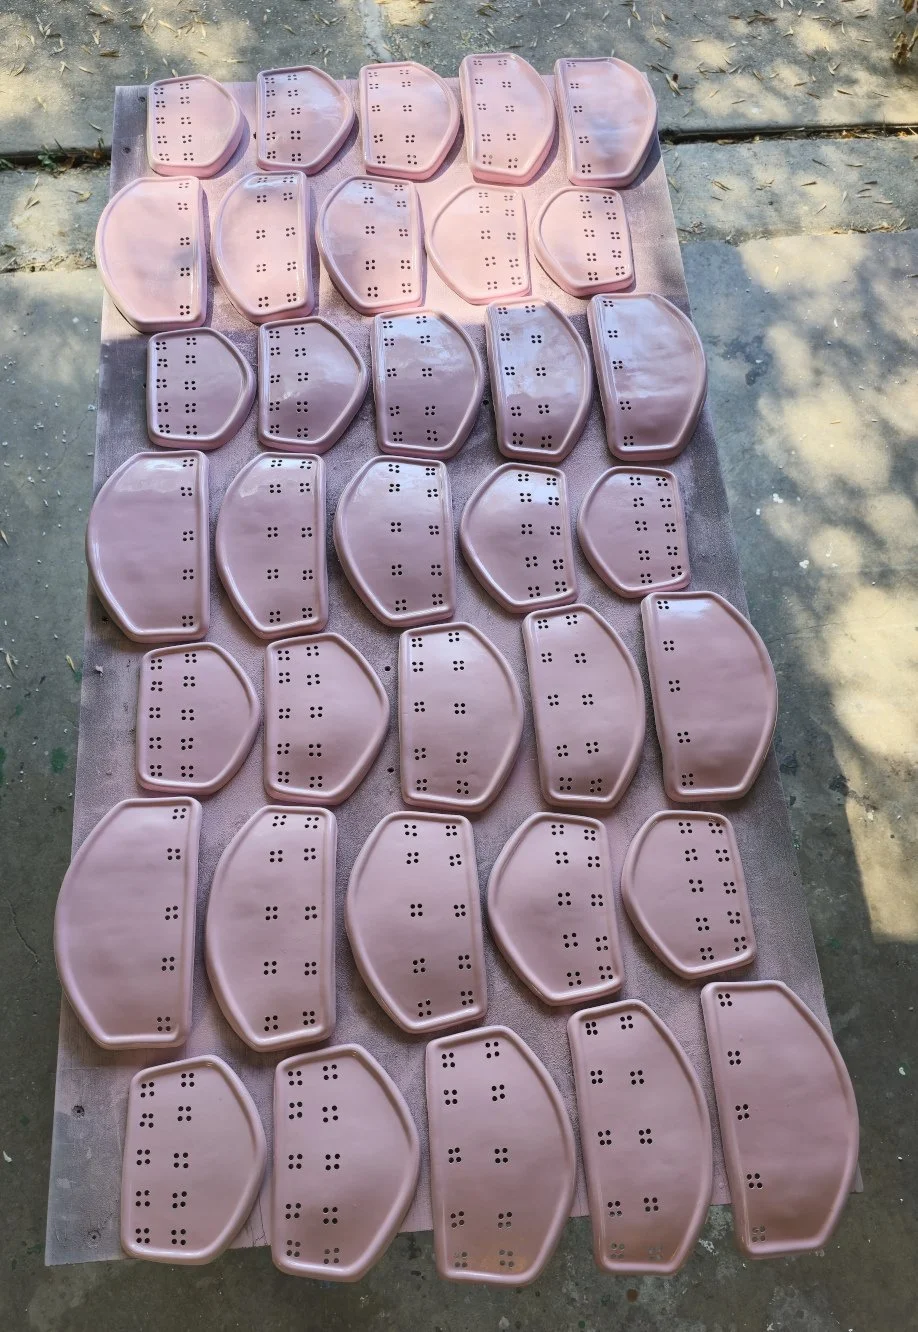
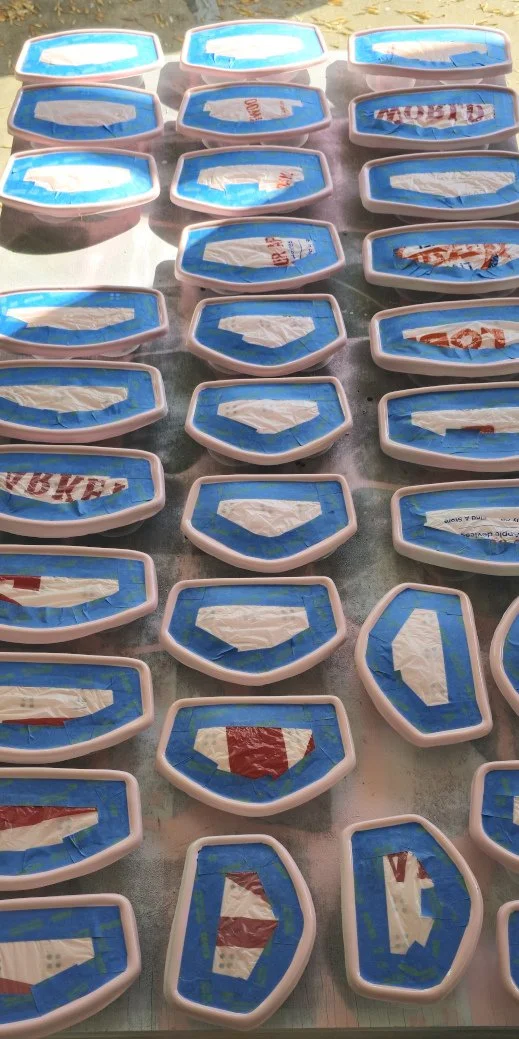
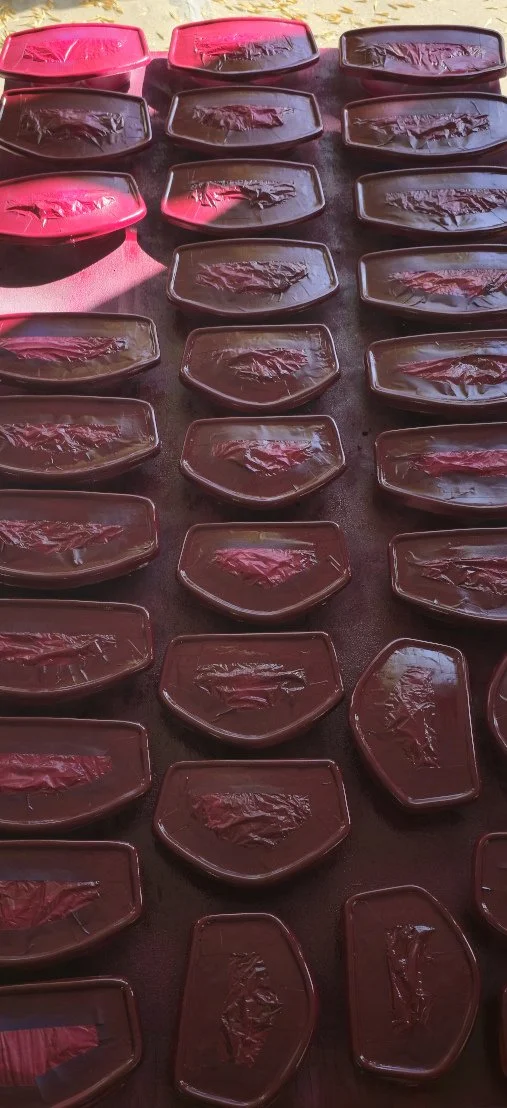
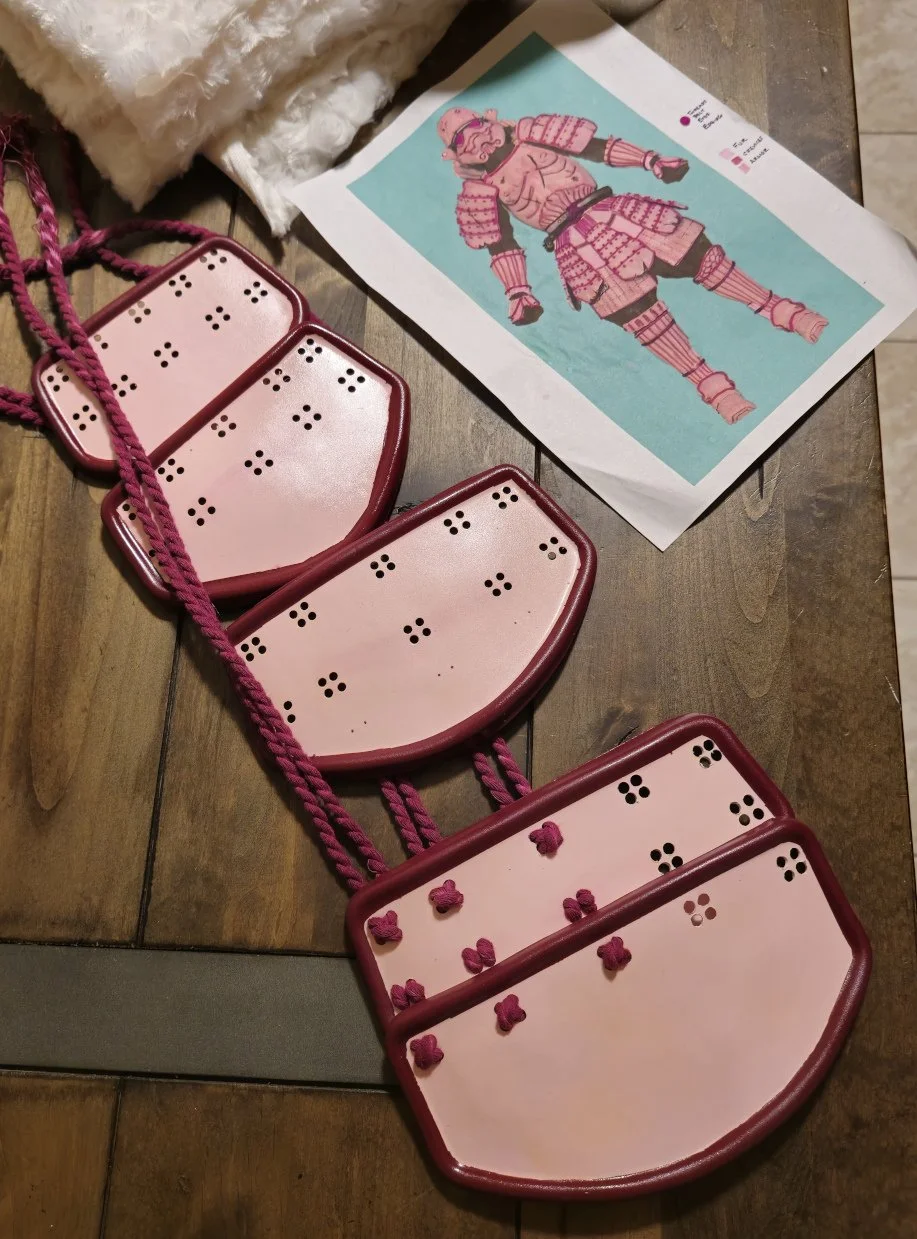
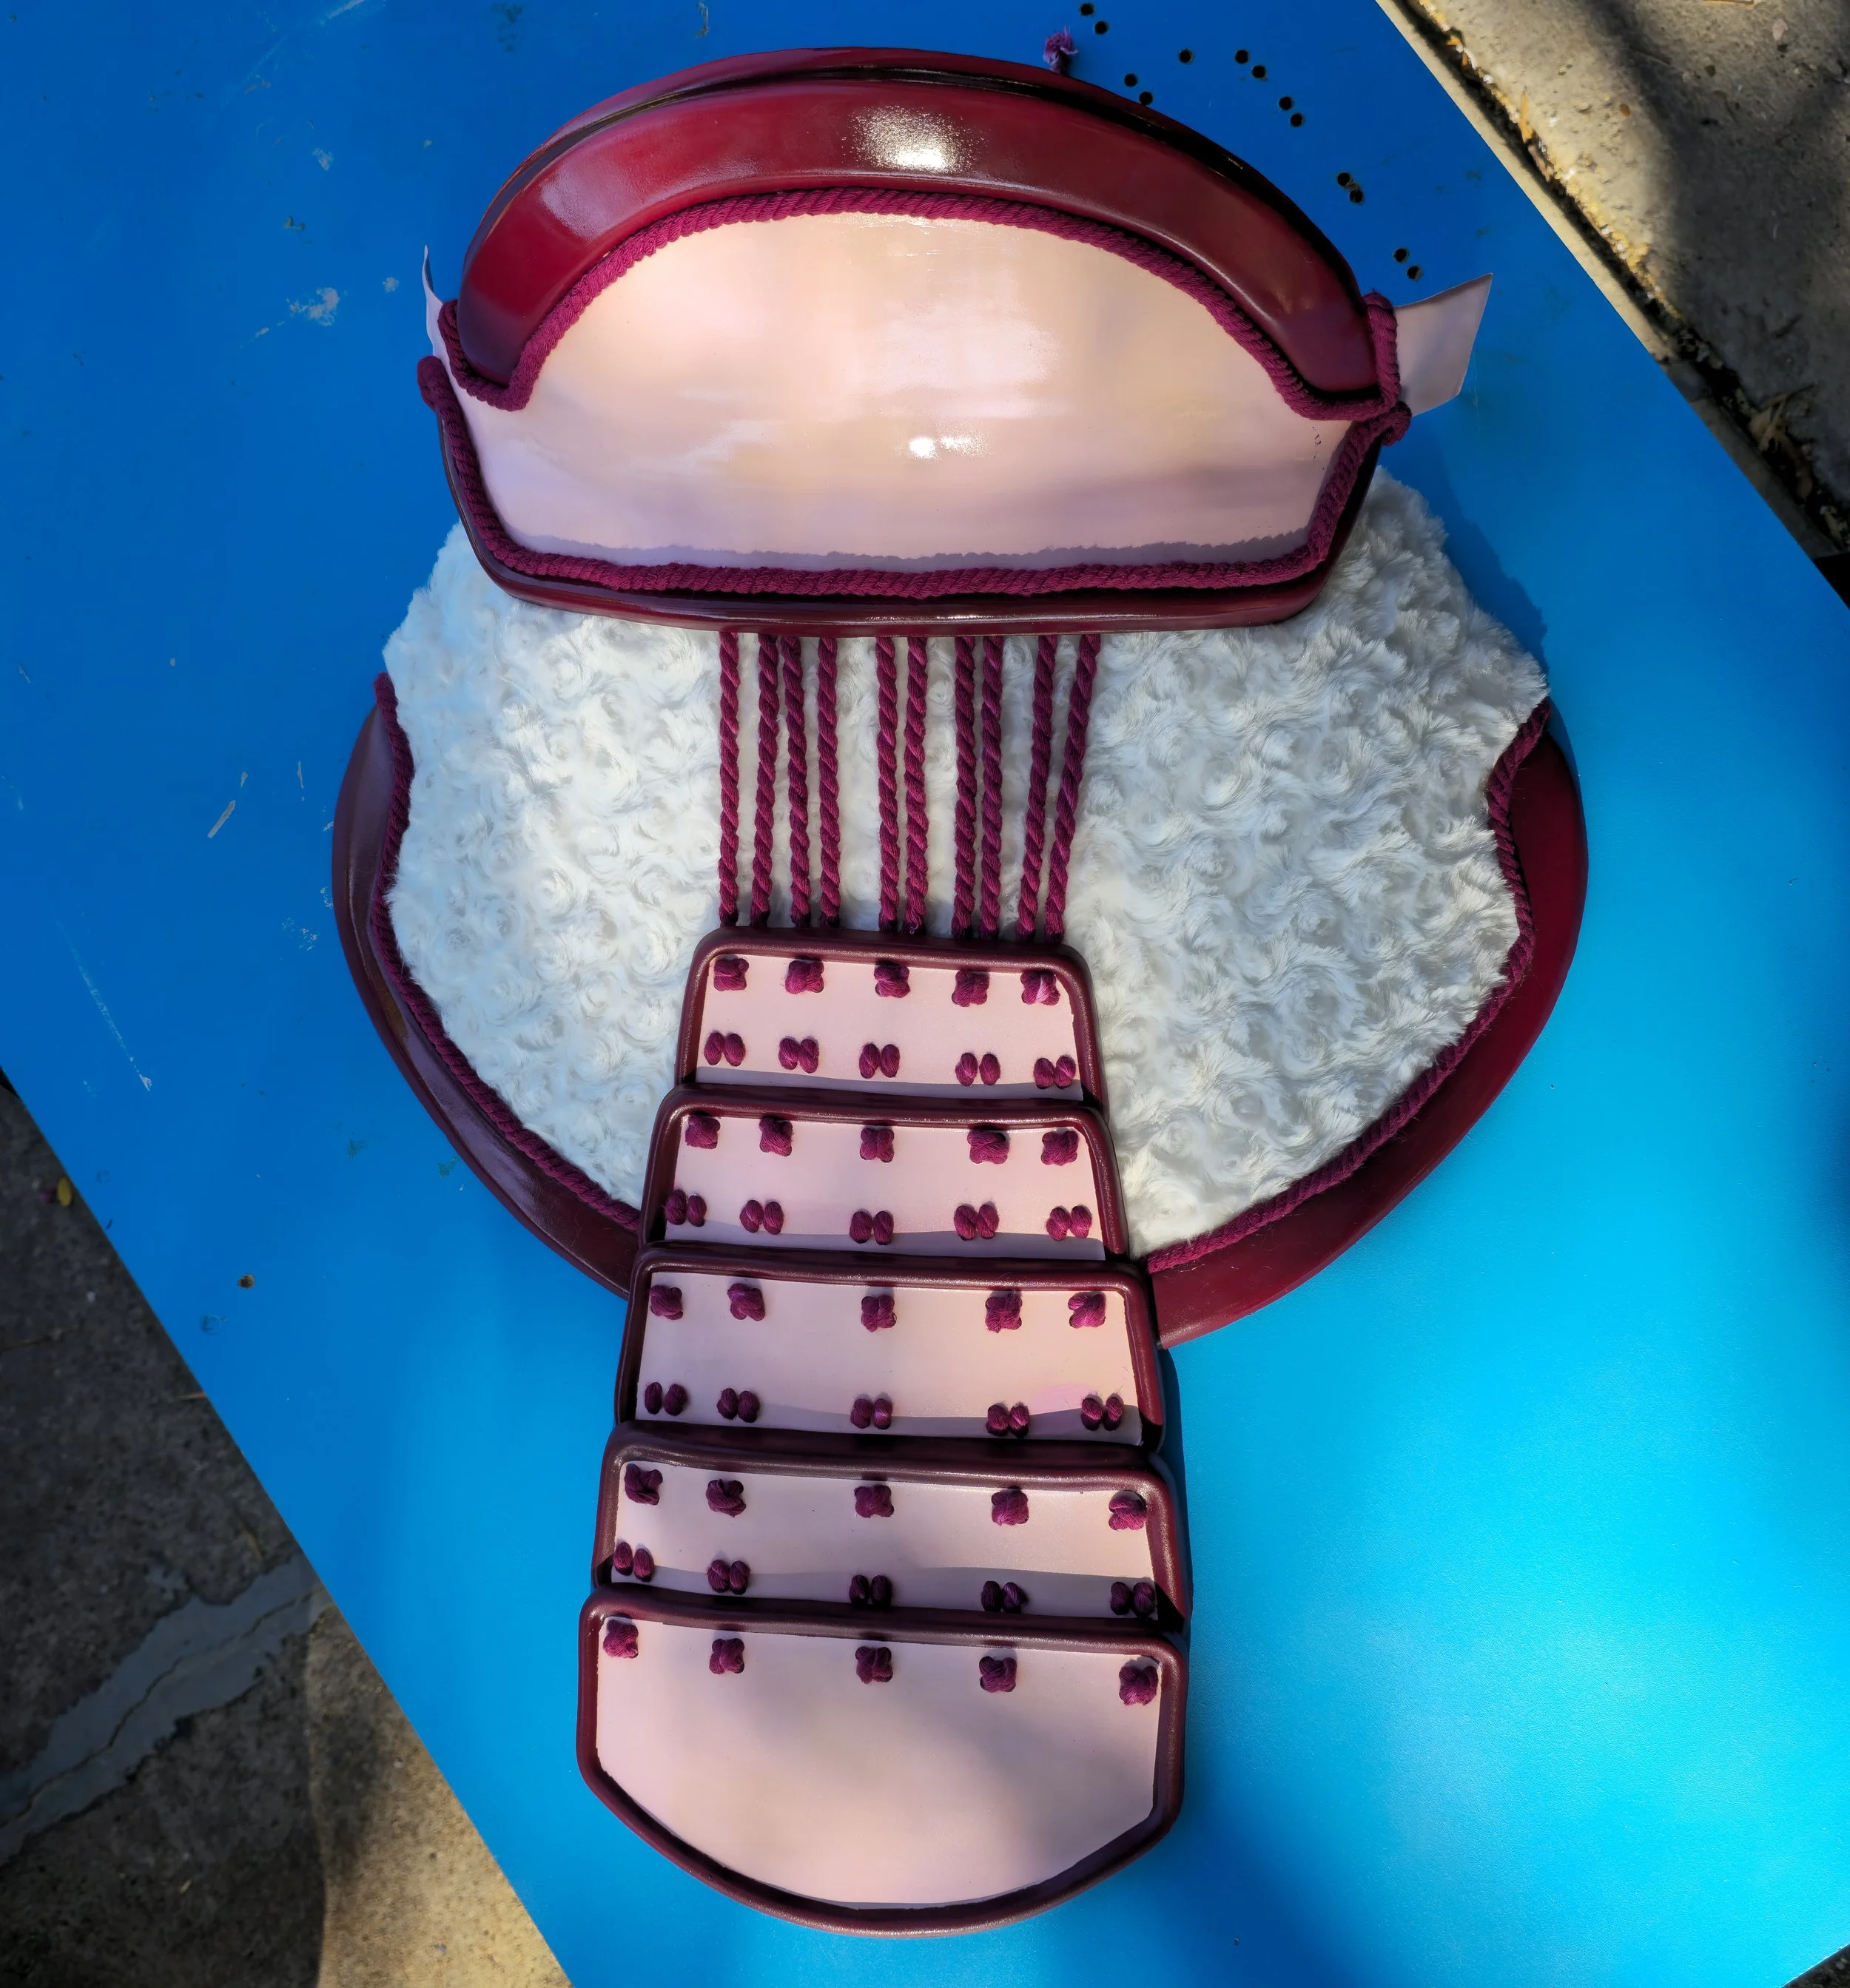
Then, the part that almost made me give up arrived. There were 35 plates that would make up the Kusazuri. These are the elements that protect the hips and upper legs. They are also the pieces which garnered the most trimming over and over and over again until my hands and fingers had enough cuts to make it look like I stuck them in a blender. Ok, that’s a little bit of an exaggeration, but it was enough to make me stop multiple times and come back later. I took a few days to get them all trimmed because I’d walk away mumbling something foul under my breath with each cut obtained. In hindsight.. I should have worn… gloves. Each piece was drilled out to allow the attachment to each other and painted pink with the cranberry border. It took me a minute to figure out how to thread them together. Once I got the first one done and put it with some of the previously created armor pieces, I liked the look. Now, I just had to do it six more times!
Part 6: Life Change
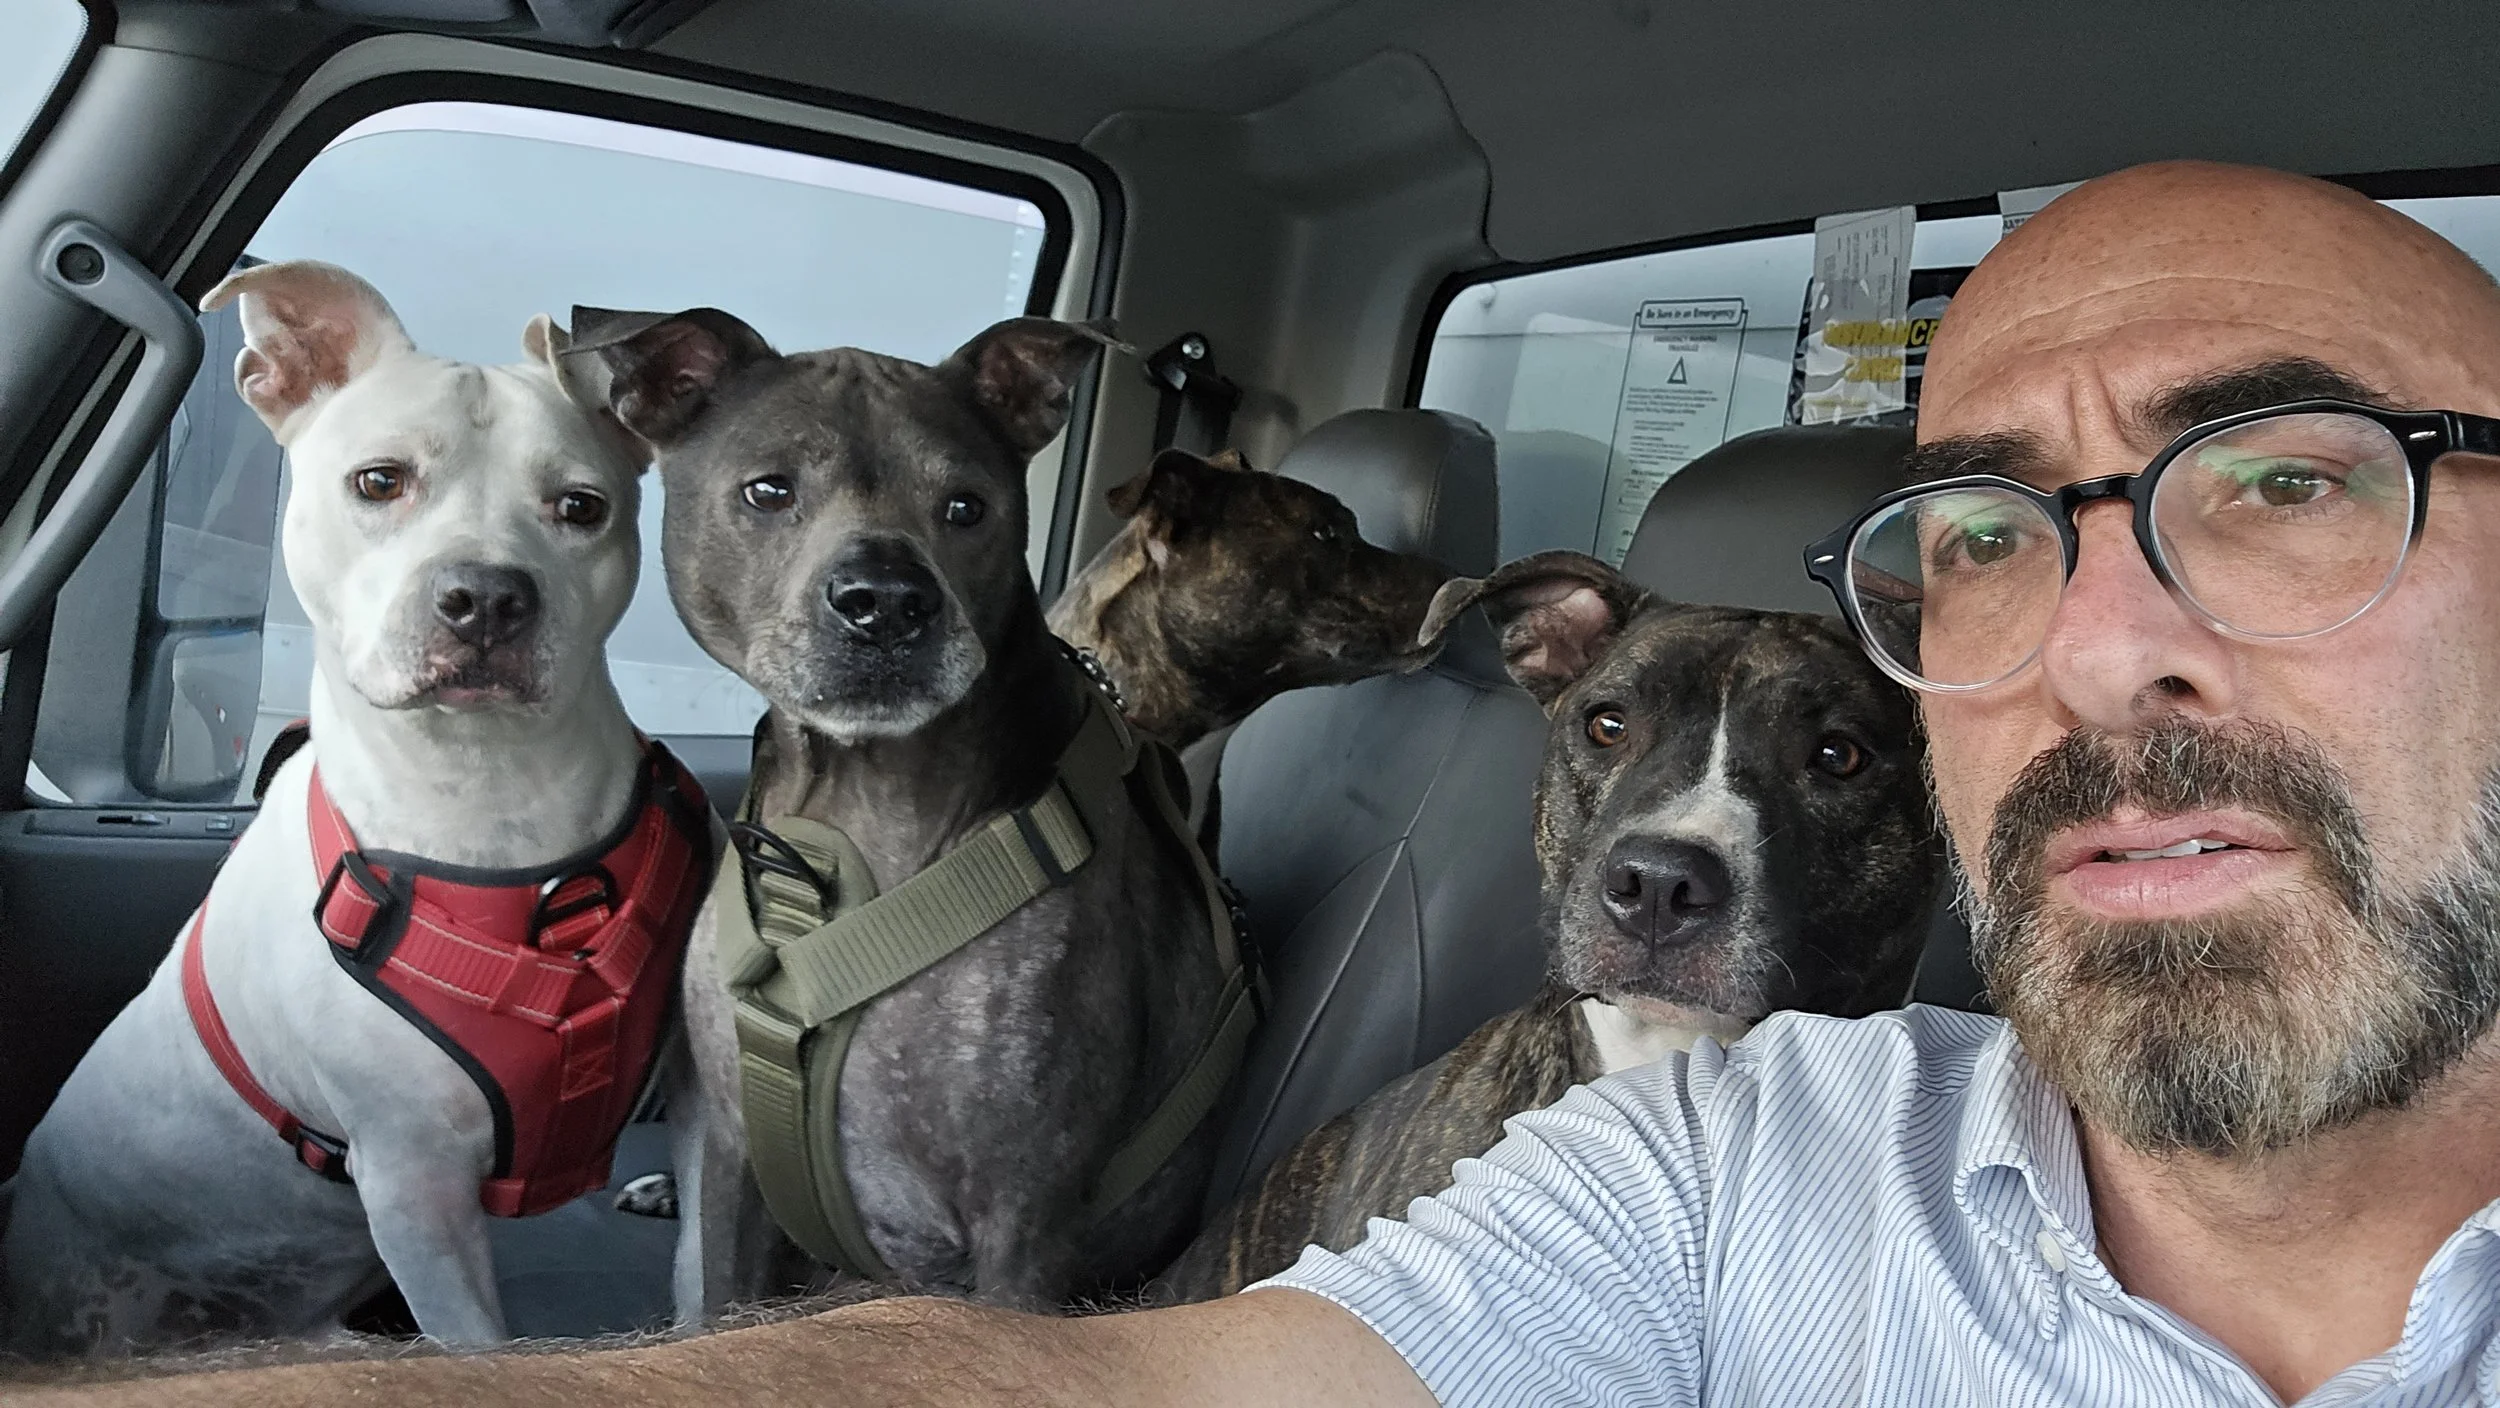
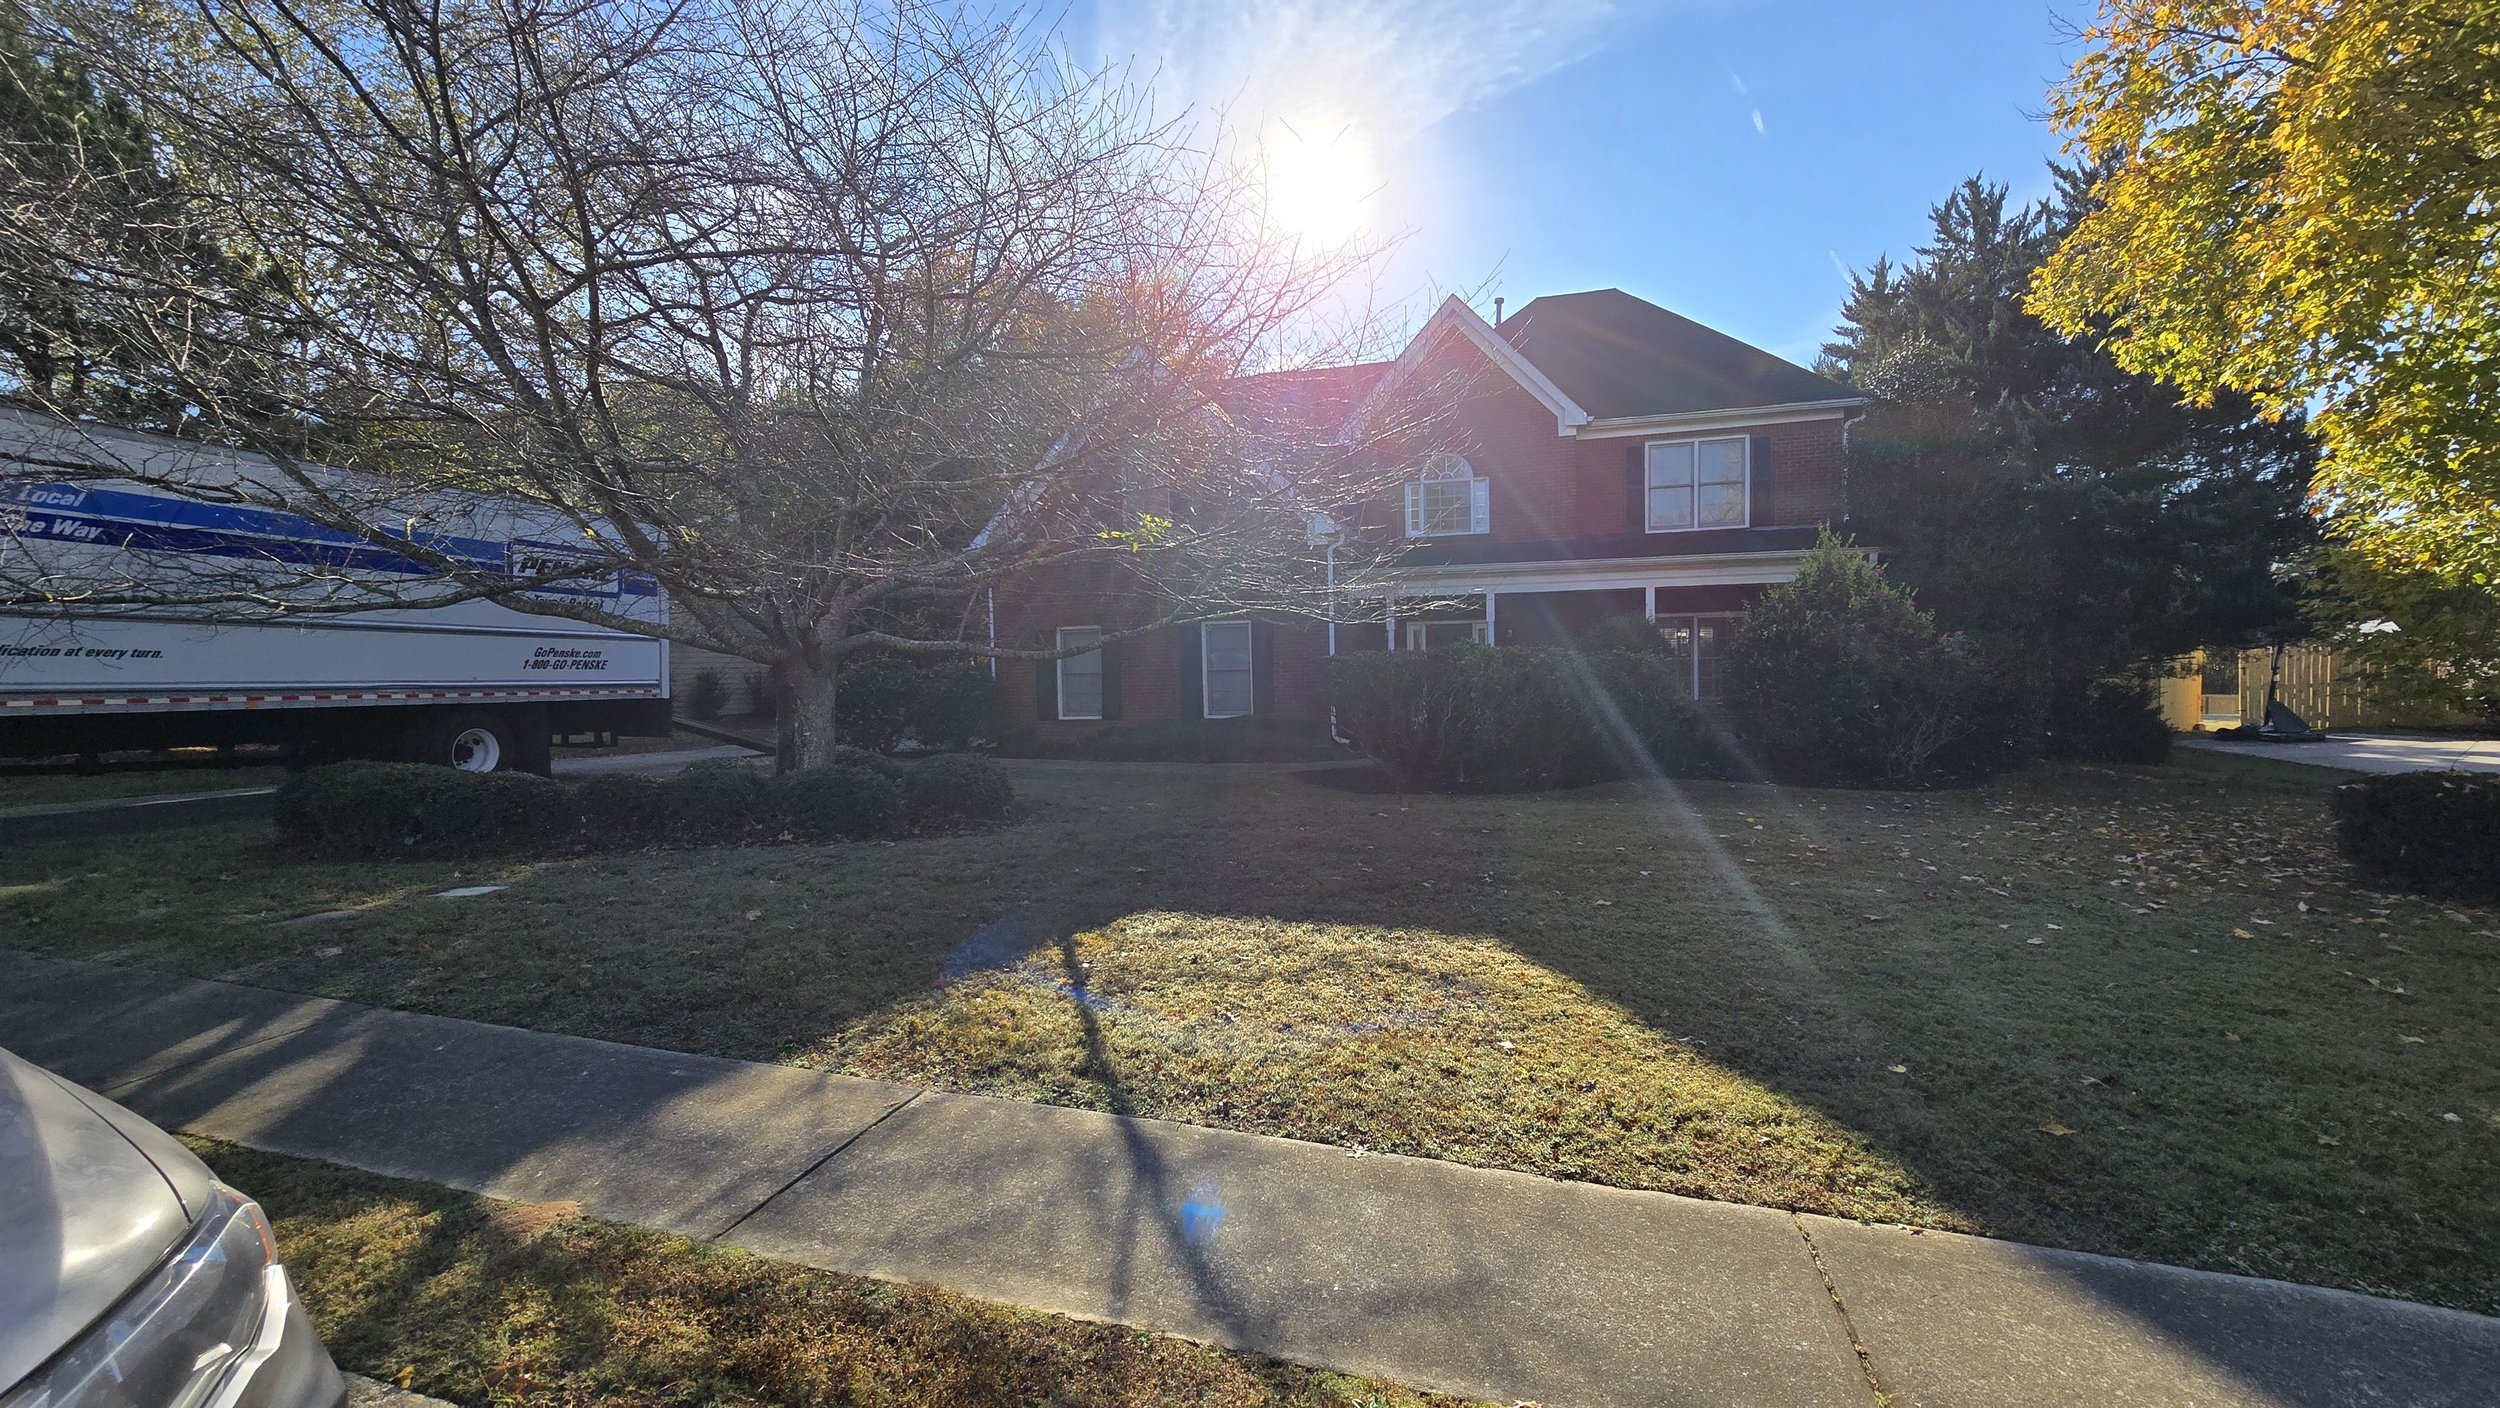
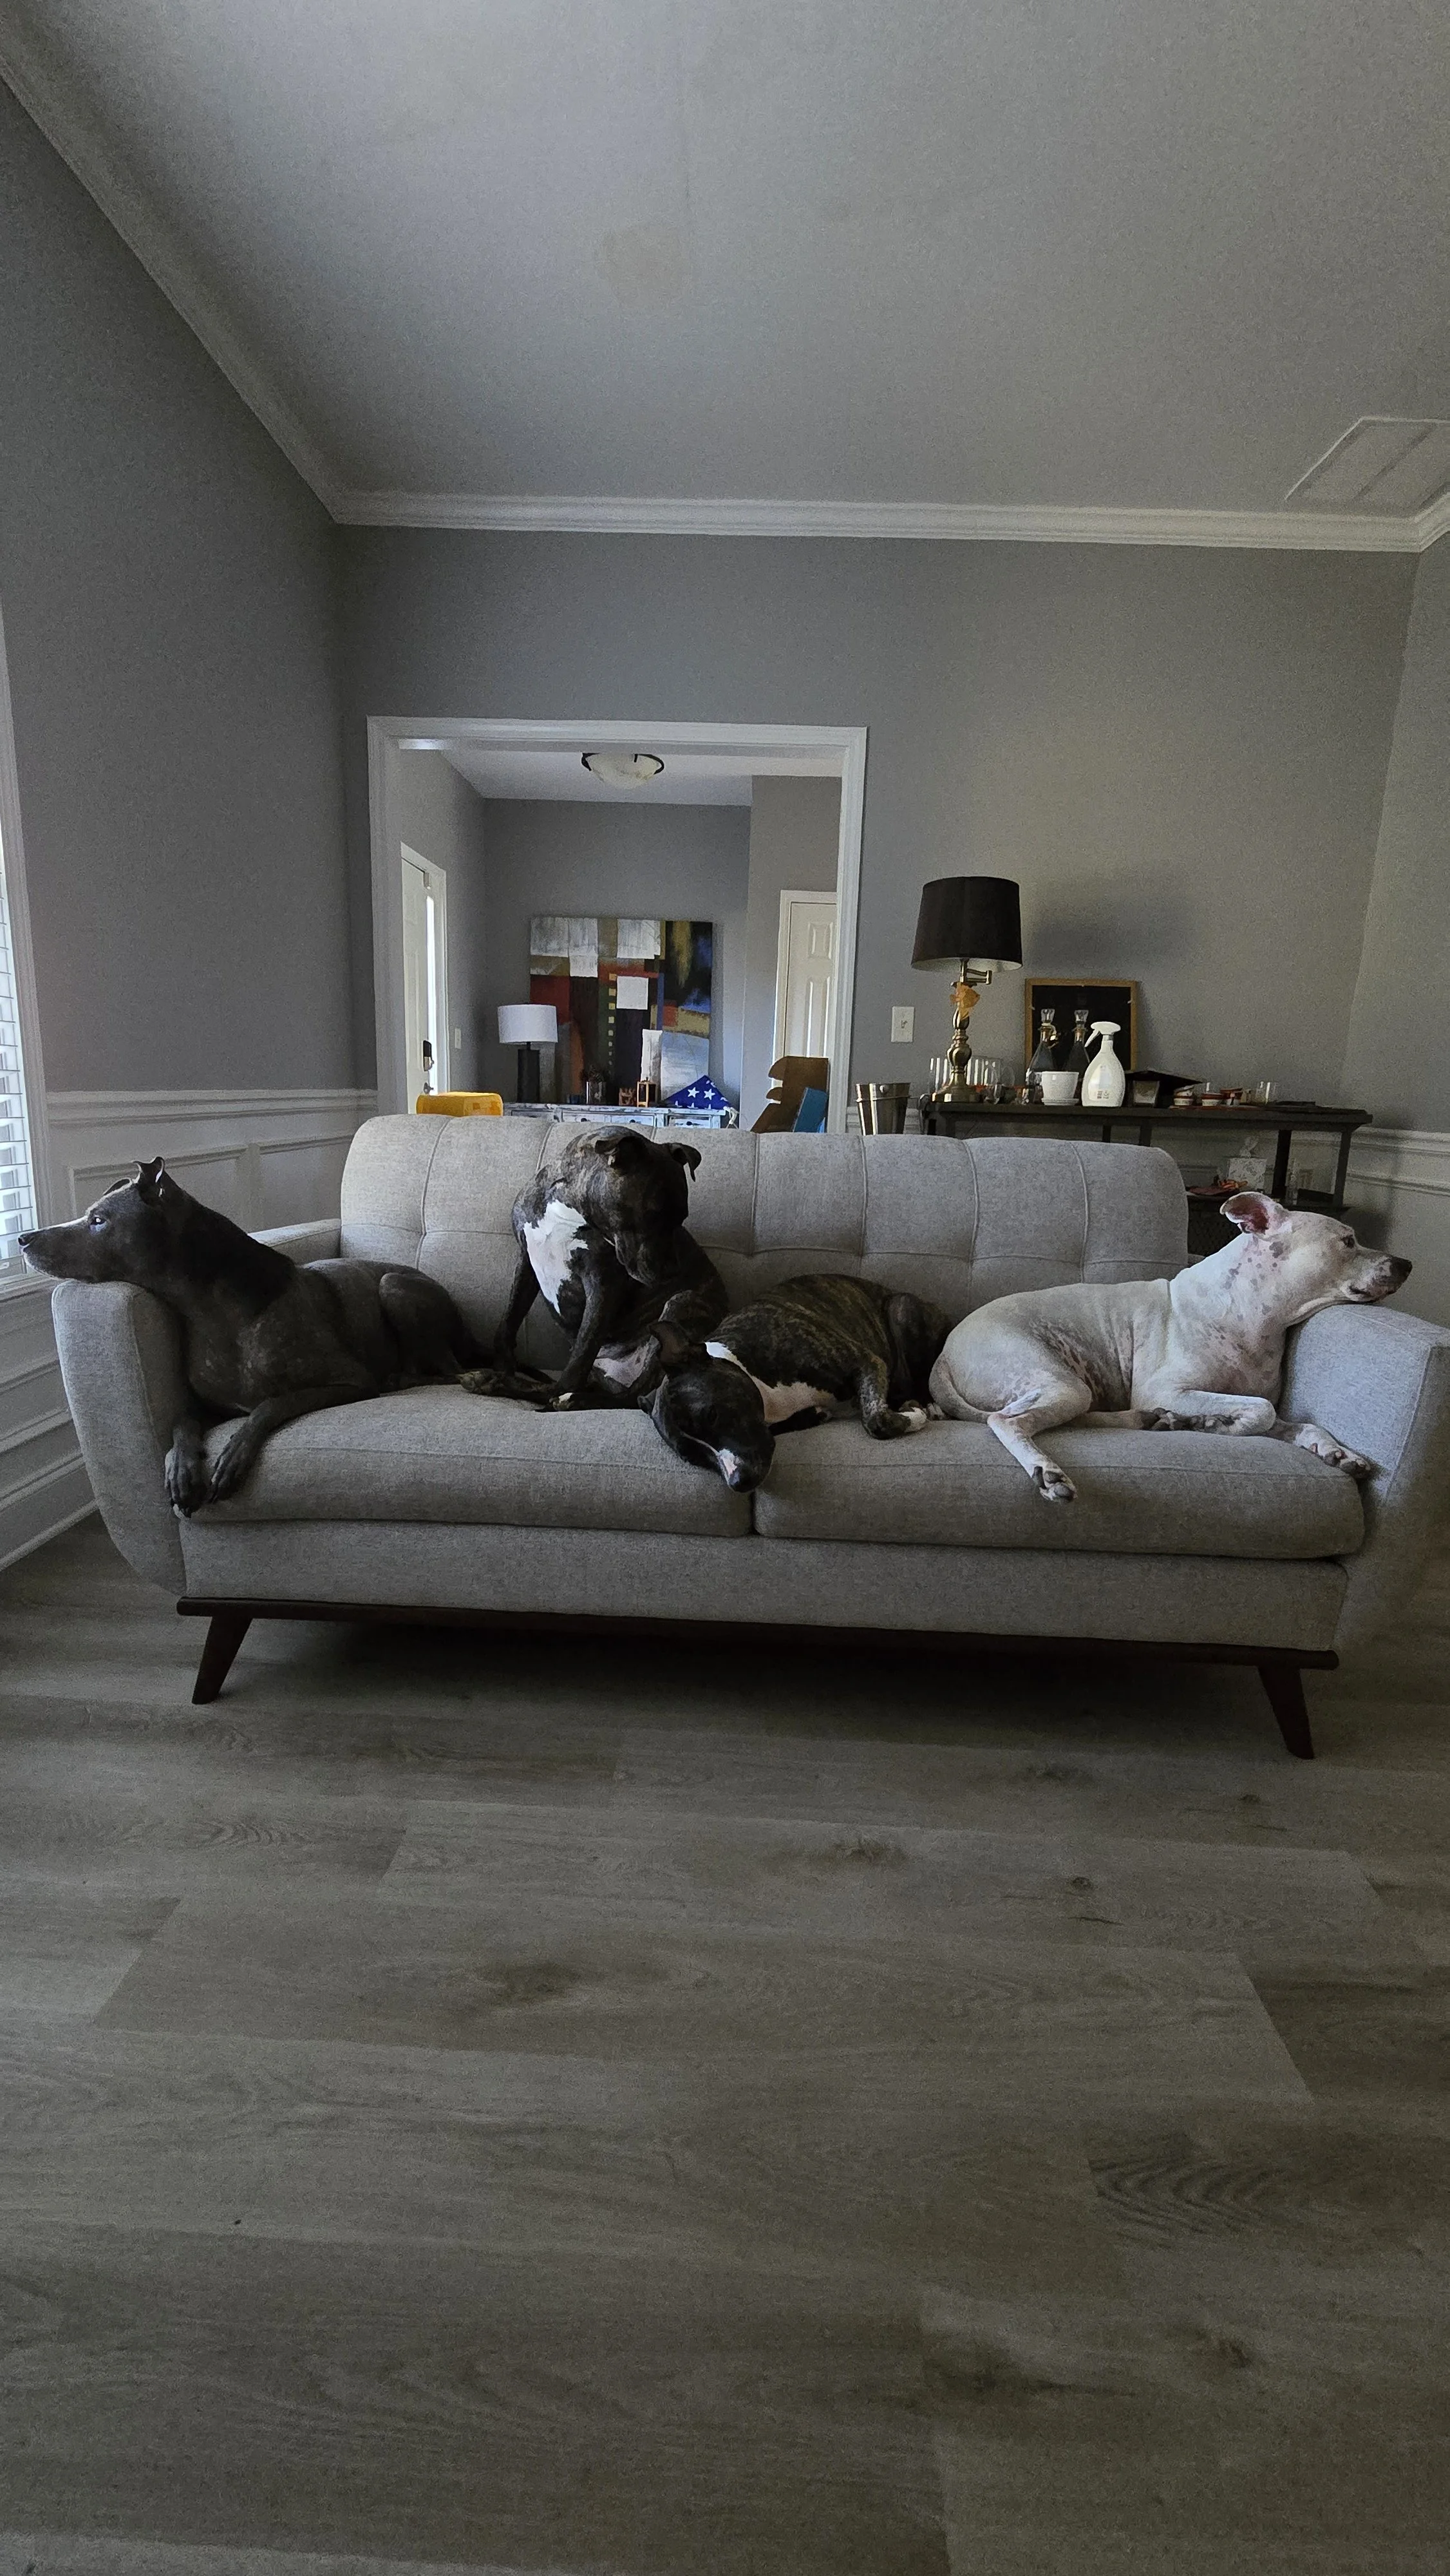
Then, everything came to a halt by the end of October. During my time living in Houston, I had experienced multiple weeks or more here and there without power and then multiple weeks without water. This cowboy was done with the shoddy infrastructure, packed up the house and together with his family, drove ½ way across the country to the suburbs of Atlanta. It was a long drive with Antilles, Harajuku, Kyber and Oola, but we made it safe and sound. By mid-November, I had some semblance of a functional home in order. But time was ticking and there was still much to do!